Before Pixel Shift Shooting
Note the following before starting pixel shift shooting.
Choose a Static Subject
As mentioned in "Notes on Pixel Shift" (Notes on Pixel Shift), choose a static object as the subject. Examples of subjects suitable for pixel shift merge include:
- Buildings
- Objects
- Specimens and taxidermy mounts
- Landscapes
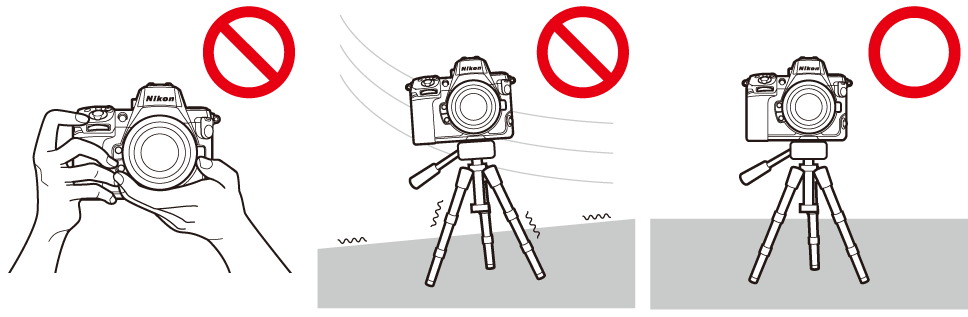
Fix the Camera
Be sure to fix the camera on a tripod or with a camera arm so that it will not move during pixel shift shooting. Choose a location where the tripod is not subject to vibrations from the ground or wind.
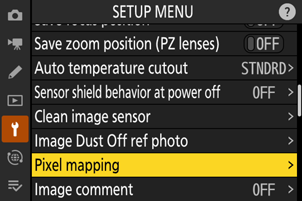
Perform Pixel Mapping
If unexpected bright spots appear in a shot taken during pixel shift shooting, performing a pixel shift merge may cause them to be more noticeable. We recommend using [Pixel mapping] in the setup menu before shooting.
Set Functions That Can Be Used with Pixel Shift Shooting
The following camera features can be used in combination with pixel shift shooting. Configure the settings before shooting begins.
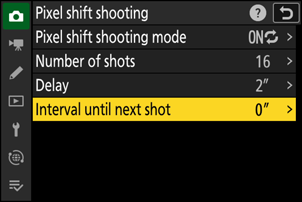
Flash photography
With the Z 8, an optional flash unit can also be used during pixel shift shooting. Choose a longer interval in [Pixel shift shooting] > [Interval until next shot] than the time needed for the flash to charge, so that the flash can fire at a constant intensity for each shot.
- Banding and uneven colors may occur during a merge due to variations in light intensity. If uneven colors are noticeable, use a flash unit with stable flash output. Also, uneven colors can be reduced by increasing noise reduction when adjusting merged pixel shift images.
Tone Mode [HLG]
You can select [HLG] for [Tone mode] in the photo shooting menu to take NEF (RAW) pictures that can be saved as HEIF copies with a wide dynamic range.
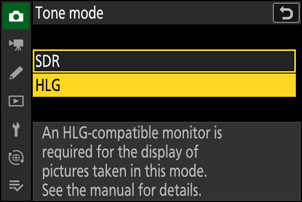
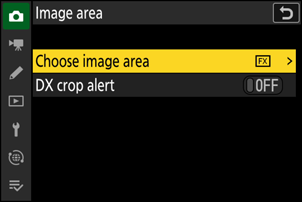
Image Area
Image areas can be selected using [Image area] in the photo shooting menu. Image areas other than [FX (36 x 24)] can also be set for pixel shift shooting.