Vibration reduction (VR) is supported with VR lenses. To reduce camera blur, choose a setting suited to the subject.
Because blur is less likely, OFF is recommended at fast shutter speeds.

Select ON or Normal to reduce the effects of vibration.
Select Active. Note that the image in the viewfinder may be affected by panning or excessive vibration.
Select TRIPOD, but note that NORMAL is suggested if the head is not fixed or you are using a monopod.
Note :
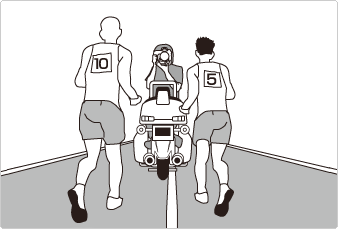
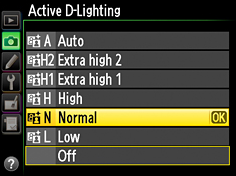
Active D-Lighting helps preserve details in highlights and shadows. Use Active D-Lighting for natural contrast when photographing day matches in stadiums and other venues that mix sunlight and shade.
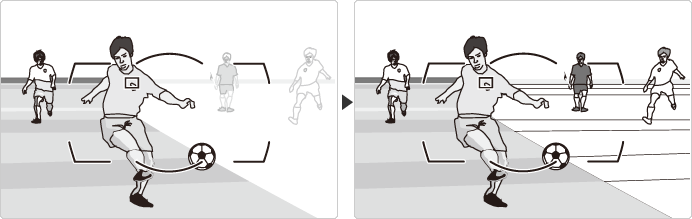
Note : Noise may appear when Active D-Lighting is used at high ISO sensitivities.
The following settings are suggested:
Use the shooting menu bank option in the shooting menu when you need to switch rapidly from one group of setting to another, for example when alternating between sunlight and shade.
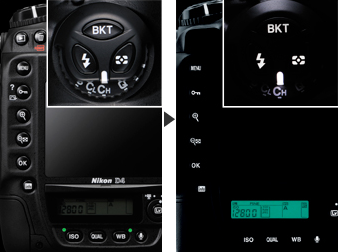
Shooting Menu Bank Selection
When shooting menu bank selection is assigned to the Fn or Pv button using the Press + command dials option for Custom Setting f3 (Assign Fn button) or f4 (Assign preview button), menu banks can be selected by pressing the button and rotating a command dial.
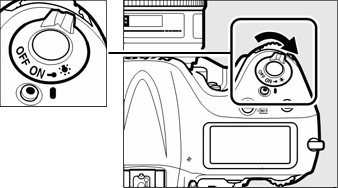
If you are having trouble finding camera controls in the dark, rotate the power switch toward ![]() to activate the control panel and button backlights.
to activate the control panel and button backlights.
The backlights remain on for 6 s after the switch is released.
Use the High ISO NR option in the shooting menu to reduce "noise"( randomly-spaced bright pixels or fog) at high ISO sensitivities.
| High Normal Low |
Reduce noise, particularly in photographs taken at high ISO sensitivities. |
|---|---|
| Off | Noise reduction is only performed at sensitivities of 3200 and higher. The amount performed when Low is selected for High ISO NR. |
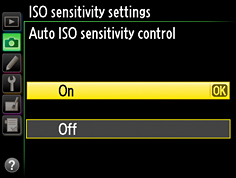
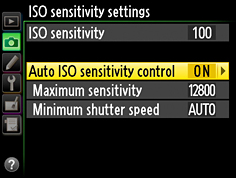
When On is selected for ISO sensitivity settings> Auto ISO sensitivity control in the shooting menu, the camera automatically adjusts ISO sensitivity if optimal exposure can not be achieved at the value selected by the user.
| Maximum Sensitivity |
Choose the maximum value available for auto ISO sensitivity control (200-Hi 4). The minimum is ISO 100. |
|---|---|
| Minimum Shutter Speed |
In exposure modes e and g, sensitivity will only be adjusted if shutter speed would otherwise be slower than this value (1/4000 s or Auto). If Auto is selected, the camera will adjust the threshold for auto ISO sensitivity control according to the focal length of the lens. |
Tips
We recommend using matrix metering (L) and choose exposure mode e and g. Exposure compensation can be used.
To reduce the amount of noise made by the shutter during viewfinder photography, rotate the release mode dial to Q(Quiet) . In live view, shutter noise can be eliminated by selecting Silent for Live view photography in the shooting menu. The effects of these settings are summarized below.
| Release mode | |||
|---|---|---|---|
| Viewfinder | Live view | ||
| Q (Quiet) | Quiet | Silent1 | |
| Shutter sound | Slight | Slight2 | None2 |
| Burst shooting | n/a | Up to 11 fps | Up to 24 fps3 |
NOTE :
While FX format pictures taken when Quiet is selected for Live view photography are the same size as those taken during viewfinder photography — about 16.2 megapixels — those taken when Silent is selected are only about 2.5 megapixels in size.
Digitutor is a Nikon website featuring various information that includes basic knowledge, useful techniques, and tips on taking good photos with Nikon Digital Cameras.