Global Support for Professionals
Auto white balance can handle most stadium light sources. Where AUTO fails to produce the desired results, spot white balance can be used for quick adjustments during shooting.
Choose auto white balance (the default setting) for good results with most light sources. Press the button and rotate the main command dial until is displayed in the rear control panel.

The White balance item in the camera shooting menu also offers an Auto option, which gives you a choice of Normal and Keep warm lighting colors.
For best results, use type G, E, or D lenses. White balance is adjusted appropriately when optional flash units are used.
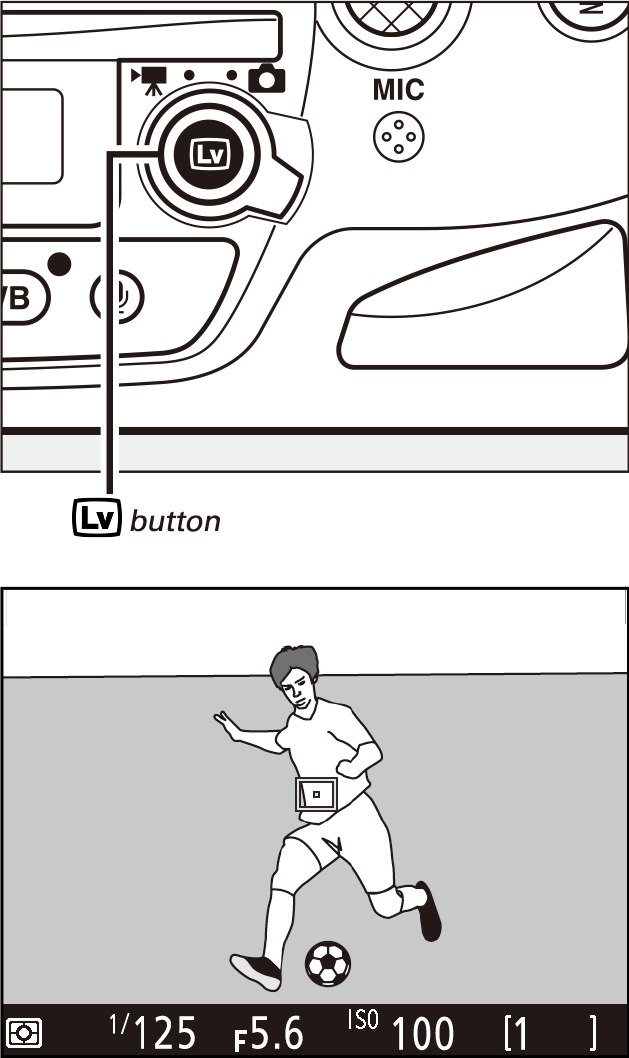
Spot white balance can be useful if auto white balance fails to produce results adapted to the lighting on the pitch. White balance is measured directly from a selected area of the frame. As long as there is anything in the frame that is either white or gray, there is no need for a standard gray panel or other reference object. Nor is there any need to change lenses: spot white balance can be measured even with a telephoto lens.
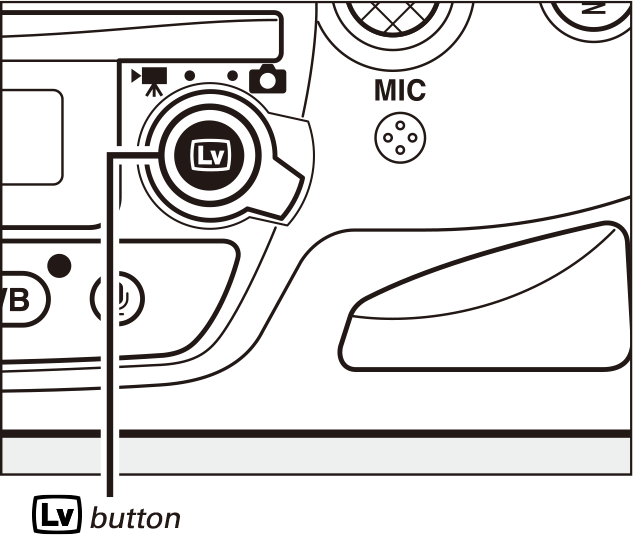
1 Start live view.
Spot white balance is measured during live view photography.
Press the button. The mirror will be raised and the view through the lens will be displayed in the monitor.

2 Set white balance to (Preset manual).
Press the button and rotate the main command dial until is displayed in the rear control panel.

3 Select a preset.
Press the button and rotate the sub-command dial until the desired white balance preset is displayed in the rear control panel.

4 Select direct measurement mode.
Release the button briefly and then press the button until the icon in the rear control panel starts to flash. A spot white balance target () will be displayed at the selected focus point.

5 Position the target over a white or gray area.
While flashes in the display, use the multi selector to position the over a white or grey area of the subject. To zoom the area around the target in for more precise positioning, press the button.

6 Measure white balance.
Press the center of the multi selector or press the shutter-release button all the way down to measure white balance. If the operation succeeds, press or the button to exit direct measurement mode.

If the message at right is displayed or if the results are not to your satisfaction, choose a new white balance target and repeat the process from Step 5.

7 Exit live view.
Press the button to exit live view.

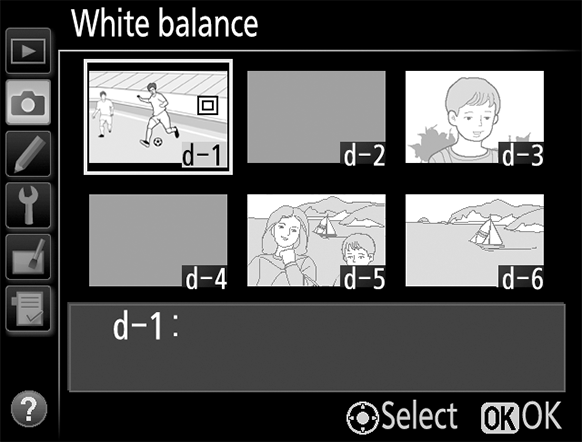
Viewing the Metered Area
When Preset manual is selected for white balance in the shooting menu, the position of the target used to measure preset white balance will be displayed on presets recorded during live view photography.
