The D500 can fine-tune autofocus automatically. The results can be used with all lenses of the same type.
Use only as required. AF fine-tuning should be performed at the focus distance at which the lens is normally used; fine-tuning performed at short focus distances may be less effective with distant subjects and vice versa.
1 Ready the camera.
Mount the camera on a tripod and aim the camera at a flat, high-contrast subject parallel to the camera focal plane. Note that auto AF fine-tuning works best at maximum aperture and may not function in dark surroundings.
2 Start live view.
Rotate the live view selector to and press the button.

3 Adjust focus settings.
Rotate the focus-mode selector to AF and use the AF-mode button and command dials to select the following:
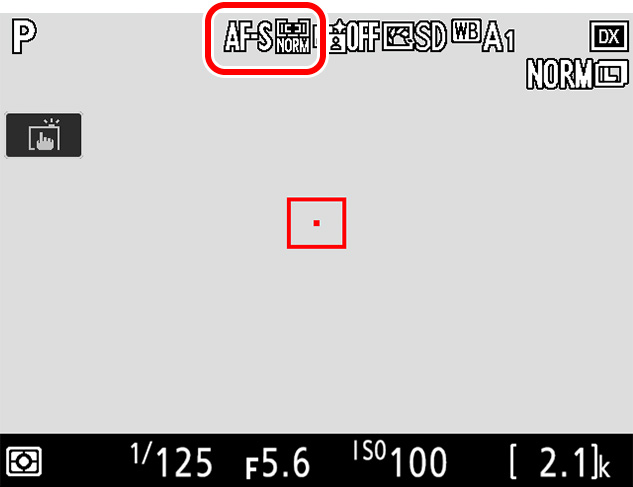
4 Select the center focus point.
Press the center of the multi selector to select the center focus point.
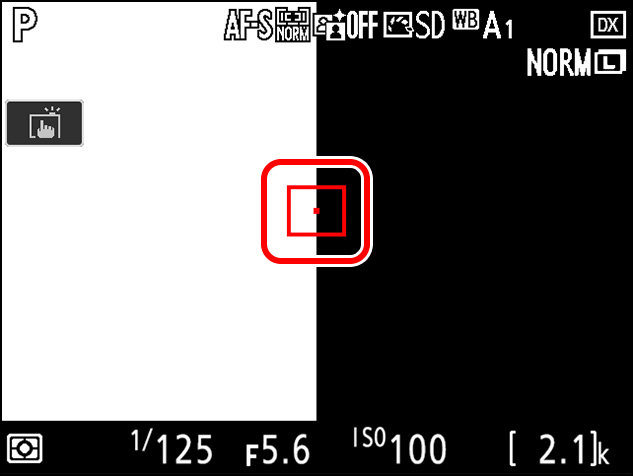
5 Focus.
Press the shutter-release button halfway to focus, then zoom in on the view through the lens to confirm that the subject is in focus.
6 Perform auto AF fine-tuning.
Press the AF-mode and movie-record buttons simultaneously and keep them pressed until the dialog shown in Step 7 is displayed (this should take slightly over two seconds).
AF-mode button
Movie-record button
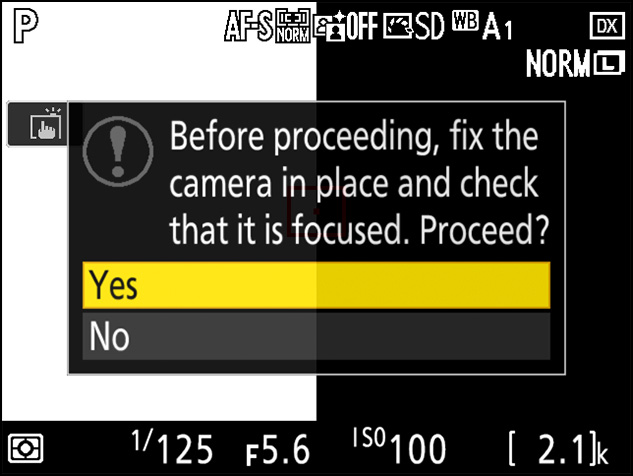
7 Save the new value.
Highlight Yes and press to add the AF fine-tuning value for the current lens to the saved values list (CPU lenses only). Note that only one value can be stored for each type of lens.
8 Enable AF fine-tuning.
In the camera setup menu, select AF fine-tune > AF fine-tune (On/Off), then highlight On and press .
