The core settings for portrait and wedding photography are:
| AF-area mode | Wide-area AF (L-people) |
|---|---|
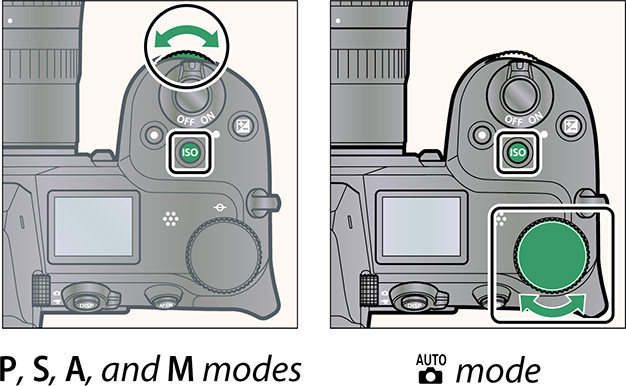
| ISO sensitivity | ISO 200 |
| Picture Control | Portrait |
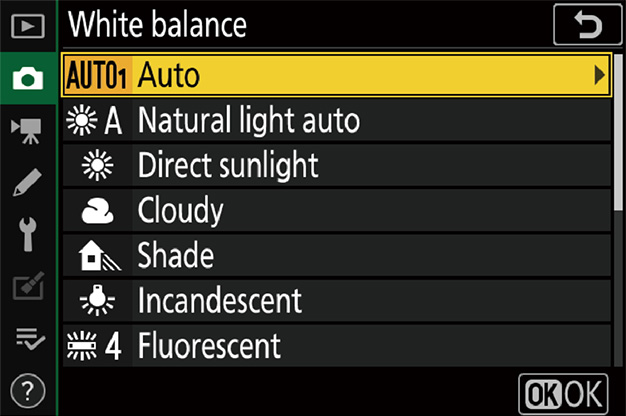
| White balance | Auto |
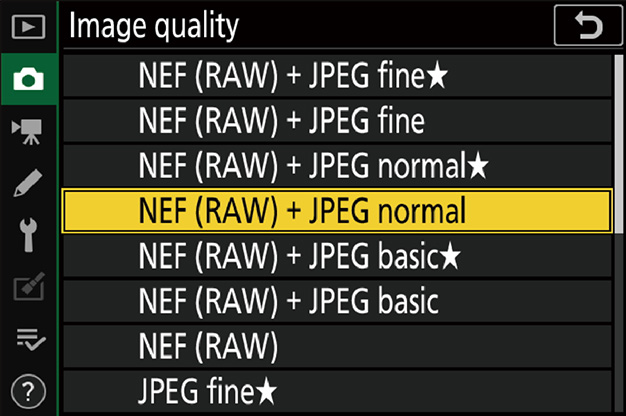
| Image quality | NEF (RAW) + JPEG normal |
| Photo shooting menu | |
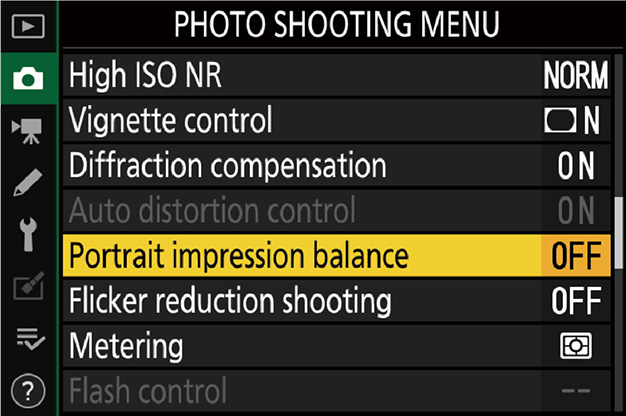
| Portrait impression balance | Adjust hue and brightness for portraits as desired |
| Custom Settings | |
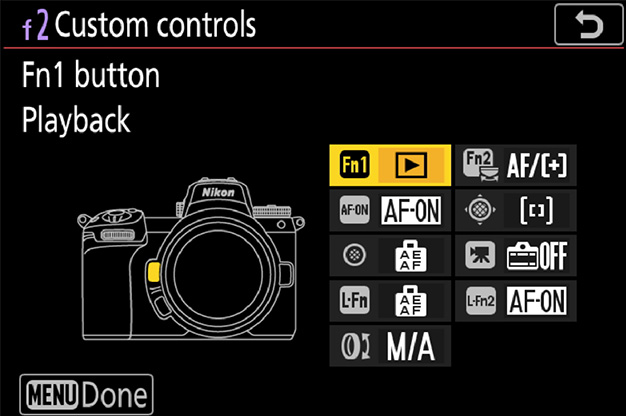
| f2 Custom controls | Assign [Playback] to the Fn1 or Fn2 button |
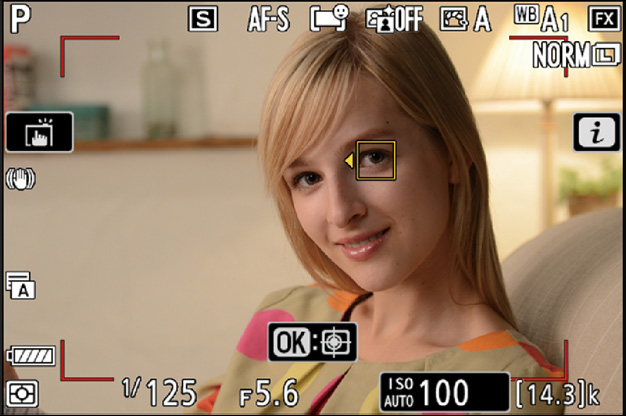
This mode uses a wider area for focus than single-point AF. Another benefit is that the camera detects the faces and eyes of human portrait subjects automatically. You still have the option of focusing on a specific subject if, for example, you want to single out the bride in a photograph of the wedding couple.
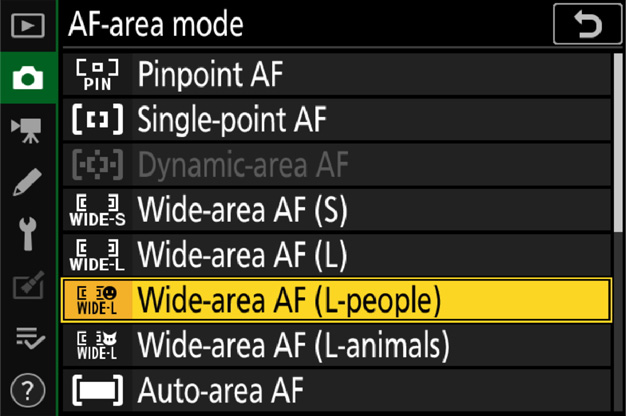
An AF-area mode of [Auto-area AF (people)] is recommended for more accurate focus on individual portrait subjects.
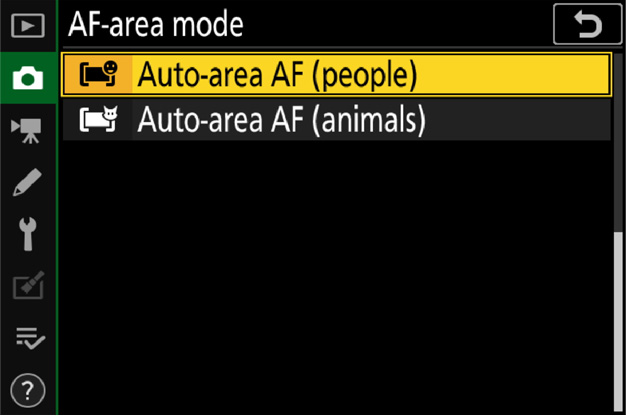
The camera detects the faces and eyes of human portrait subjects when [Wide-area AF (L-people)] or [Auto-area AF (people)] is selected for [AF-area mode] in the photo shooting menu (face/eye-detection AF).
When choosing a value for ISO sensitivity, you'll need to consider such factors as ambient lighting (natural or designed) and whether your subject is static or in motion—try starting with values between ISO 100 and 800. You can always use auto ISO sensitivity control if you have trouble deciding.
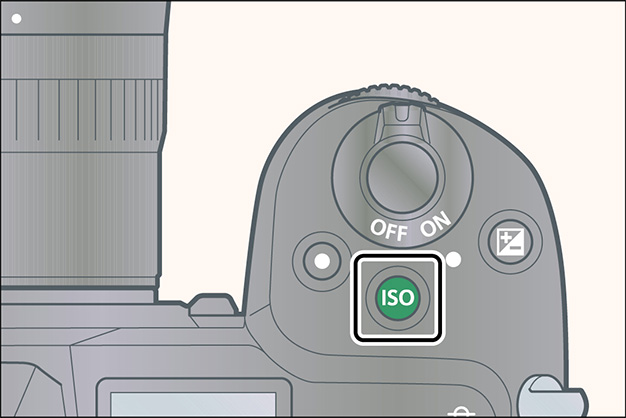
Enabling auto ISO sensitivity control lets the camera adjust ISO sensitivity automatically.
This choice smooths complexions for natural-looking portraits.

Picture Control parameters can be fine-tuned and the results saved as custom Picture Controls using [Manage Picture Control] in the photo shooting menu. It's a good idea to use the [Portrait] Picture Control as a starting point when creating custom Picture Controls for portrait photography.
Picture Control settings for softening skin tones while leaving the eyes clearly visible can be found under 'Step 2: Fine-Tune "Sharpening", "Mid-Range Sharpening", and "Clarity"' in the Z 7/Z 6 Professional Technical Guide: Images, available for download from https://downloadcenter.nikonimglib.com/. The Technical Guide uses the [Standard] Picture Control as an example, but this has no effect on the techniques described.
White balance will be adjusted automatically for optimal results with most light sources. If an optional flash unit is used, white balance will be adjusted in accord with the conditions in effect when the flash fires.
The camera will record two copies of each picture, one in NEF (RAW) format and the other a normal-quality JPEG copy.
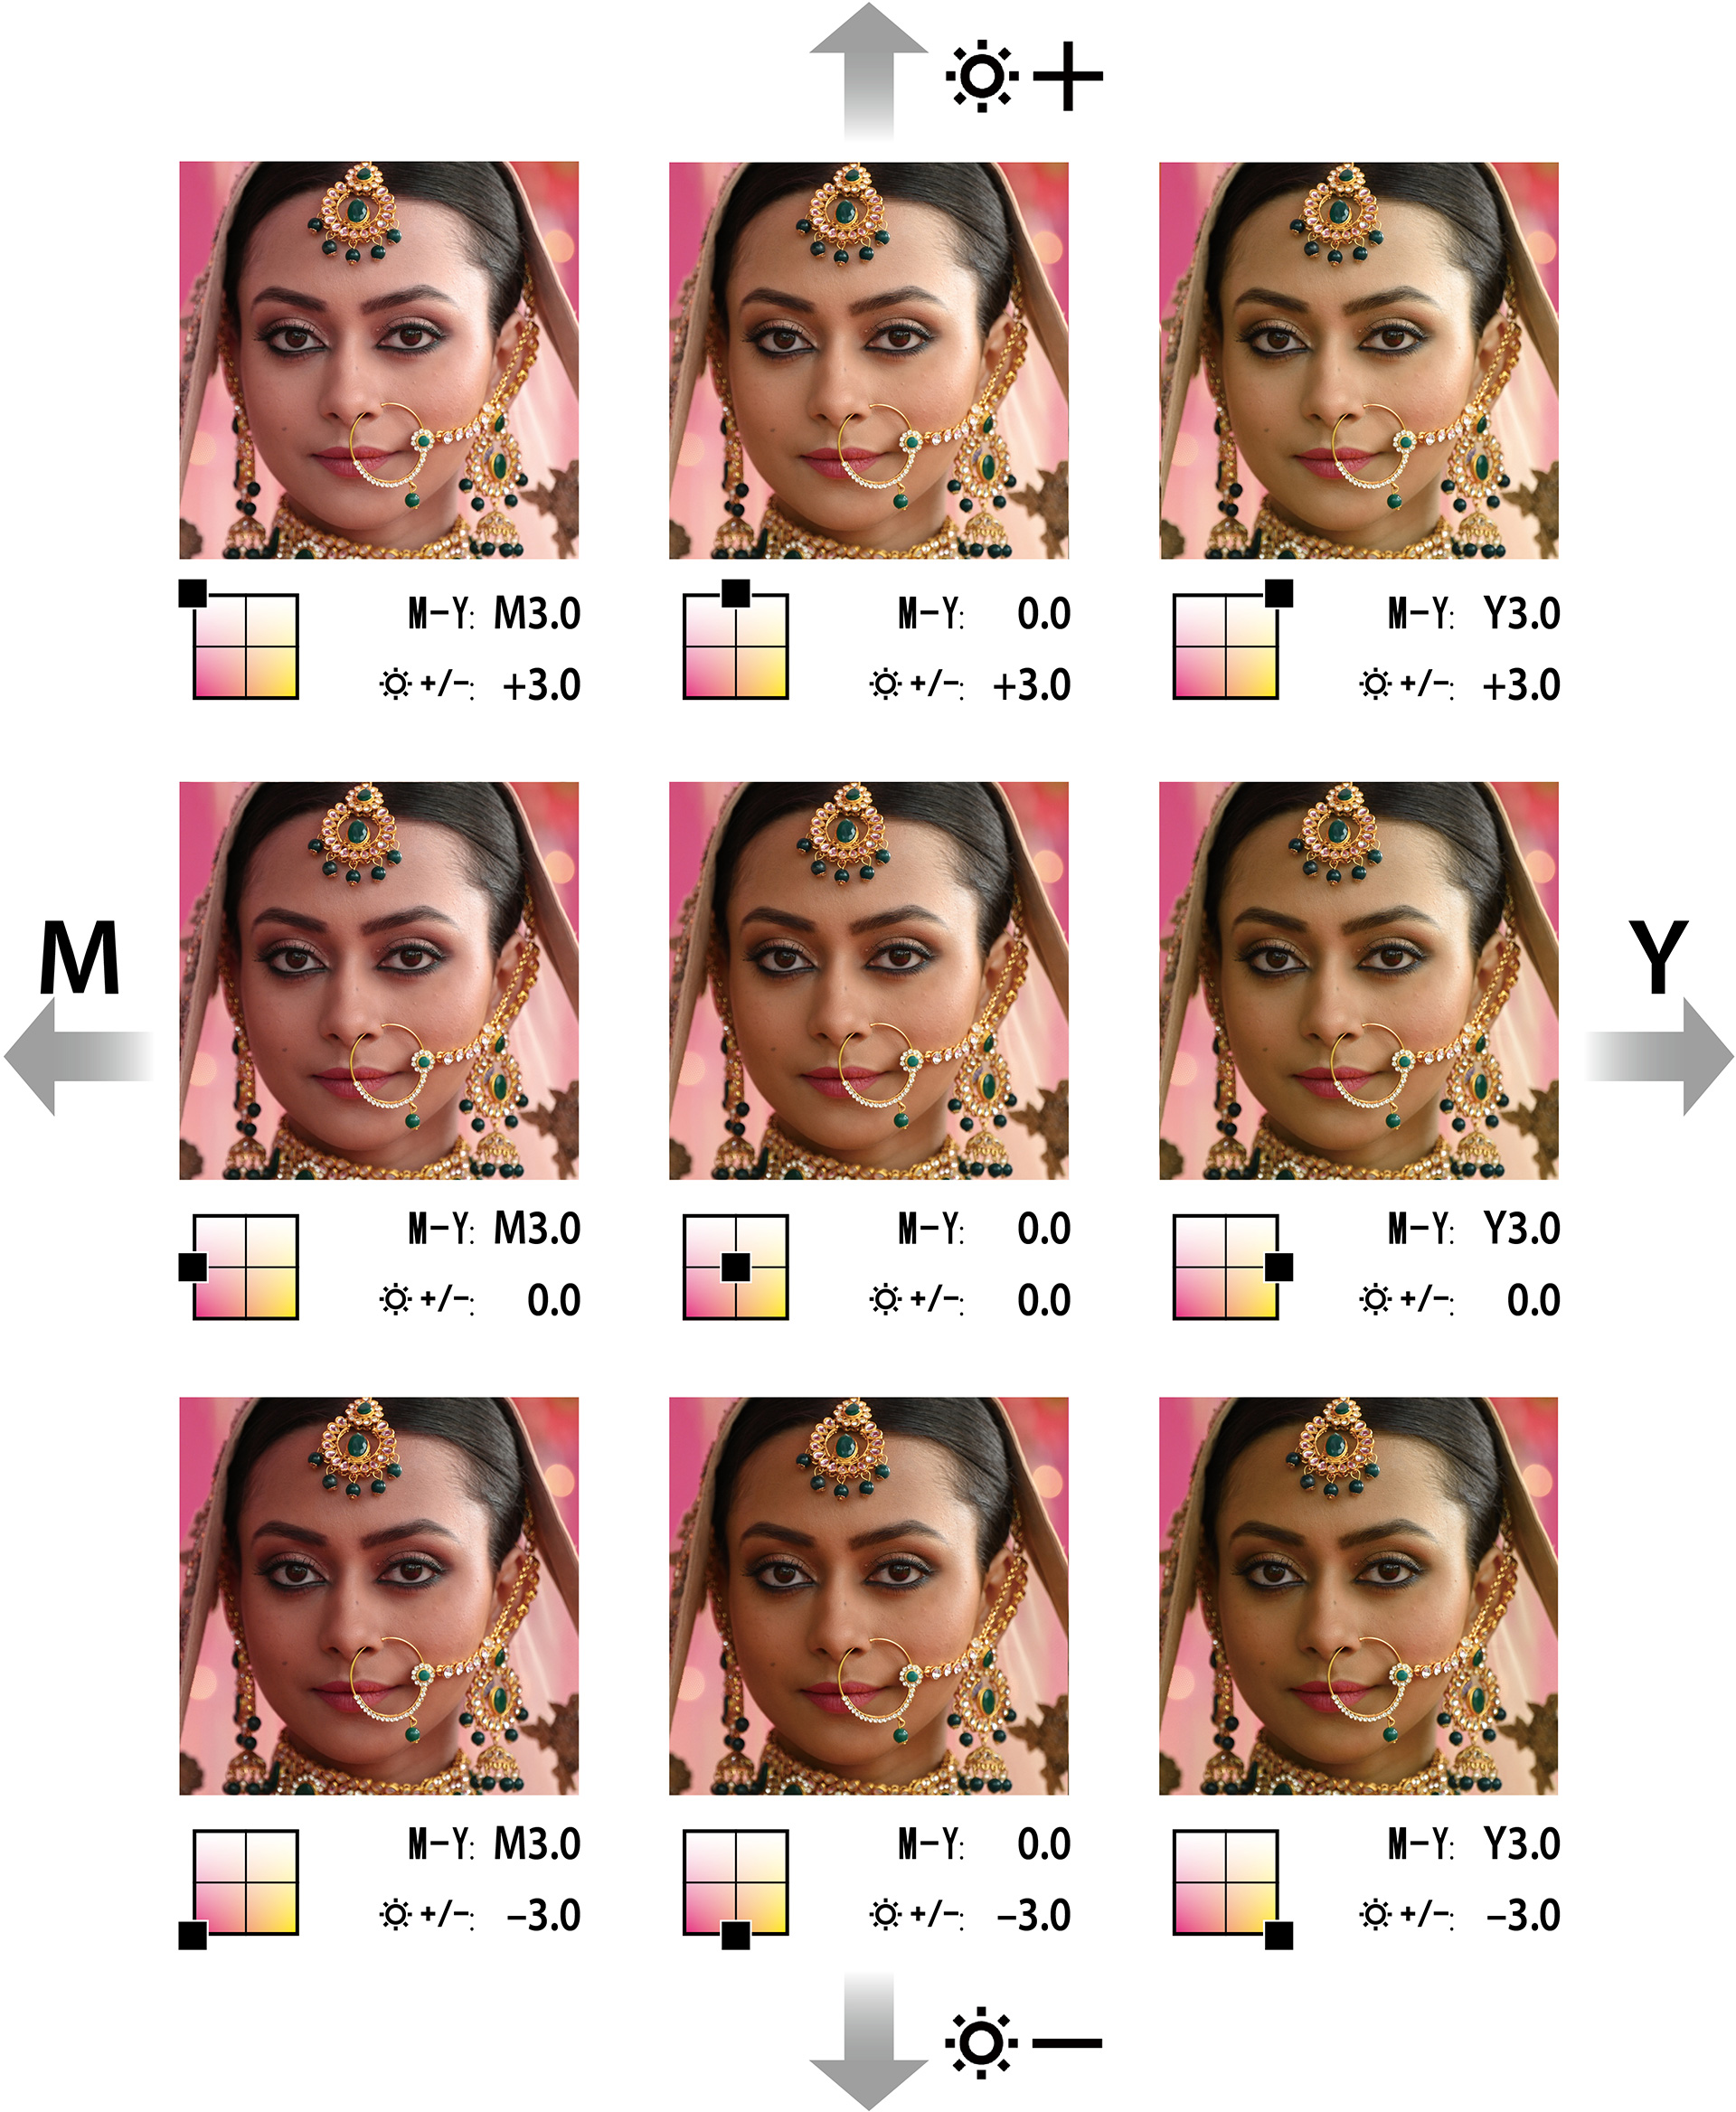
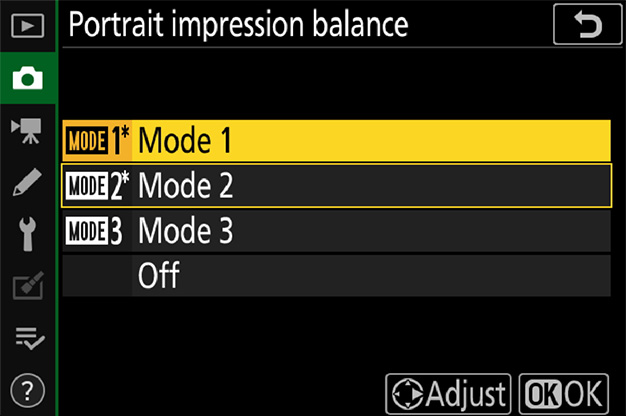
Use [Portrait impression balance] to fine-tune hue and brightness for portrait photos and save the results as [Mode 1], [Mode 2], or [Mode 3]. The saved modes can be applied to new pictures. The steps involved are as follows:
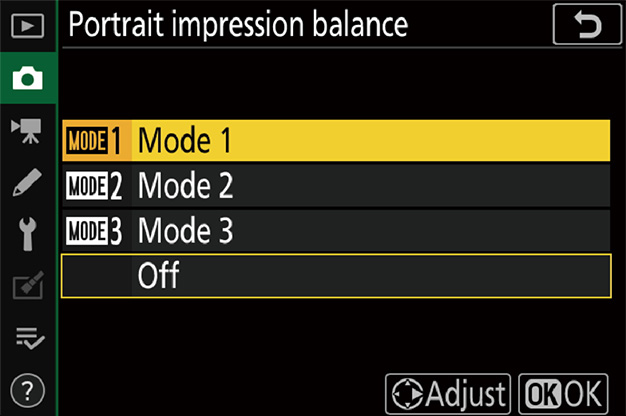
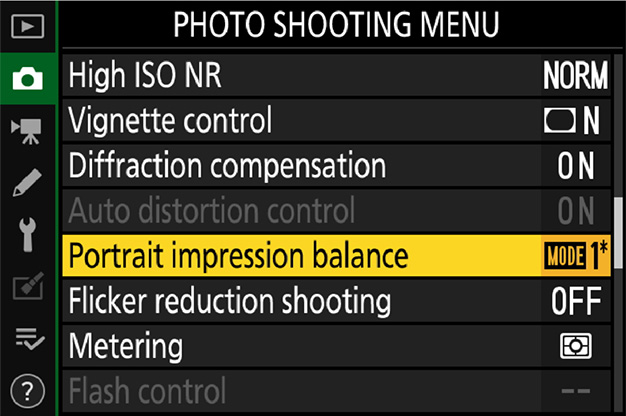
1 Select [Portrait impression balance] in the photo shooting menu.
2 Highlight a mode from [Mode 1] through [Mode 3] and press .
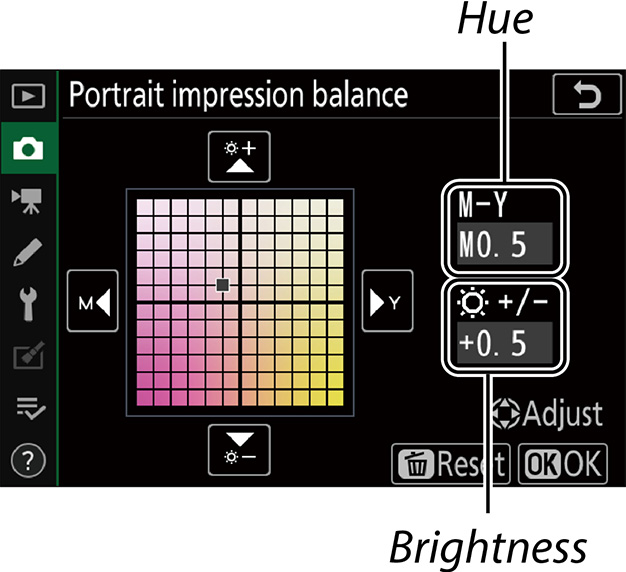
3 Adjust and save hue and brightness settings.
4 Highlight the desired mode in the [Portrait impression balance] display and press .
Assigning this role to the Fn1 or Fn2 button lets you start playback without taking your eye from the viewfinder.
Pressing during playback zooms in on the active focus point (assuming that the default setting —[Zoom on/off]— is selected for Custom Setting f3 [OK button] > [Playback mode]). Pressing a second time cancels zoom. A single press of the button zooms in a preselected amount, a feature that comes in handy for quick focus checks and the like.
Assigning related functions to the Fn1 and Fn2 buttons—for example, assigning [Playback] to the former and [Protect] or [Rating] to the latter—makes for smoother shooting and helps speed post-shooting review.