Before proceeding, you will need to install DaVinci Resolve 15 and download the N-Log 3D LUT.
This guide assumes you are using DaVinci Resolve 15. Install the software after downloading it from the site below (link current as of July 2019).
The N-Log 3D LUT is available from the Nikon Download Center. Visit the site for your camera and download the LUT file from the "Software" tab:
https://downloadcenter.nikonimglib.com/en/products/492/Z_7.html
https://downloadcenter.nikonimglib.com/en/products/493/Z_6.html
This information is current as of July 2019.
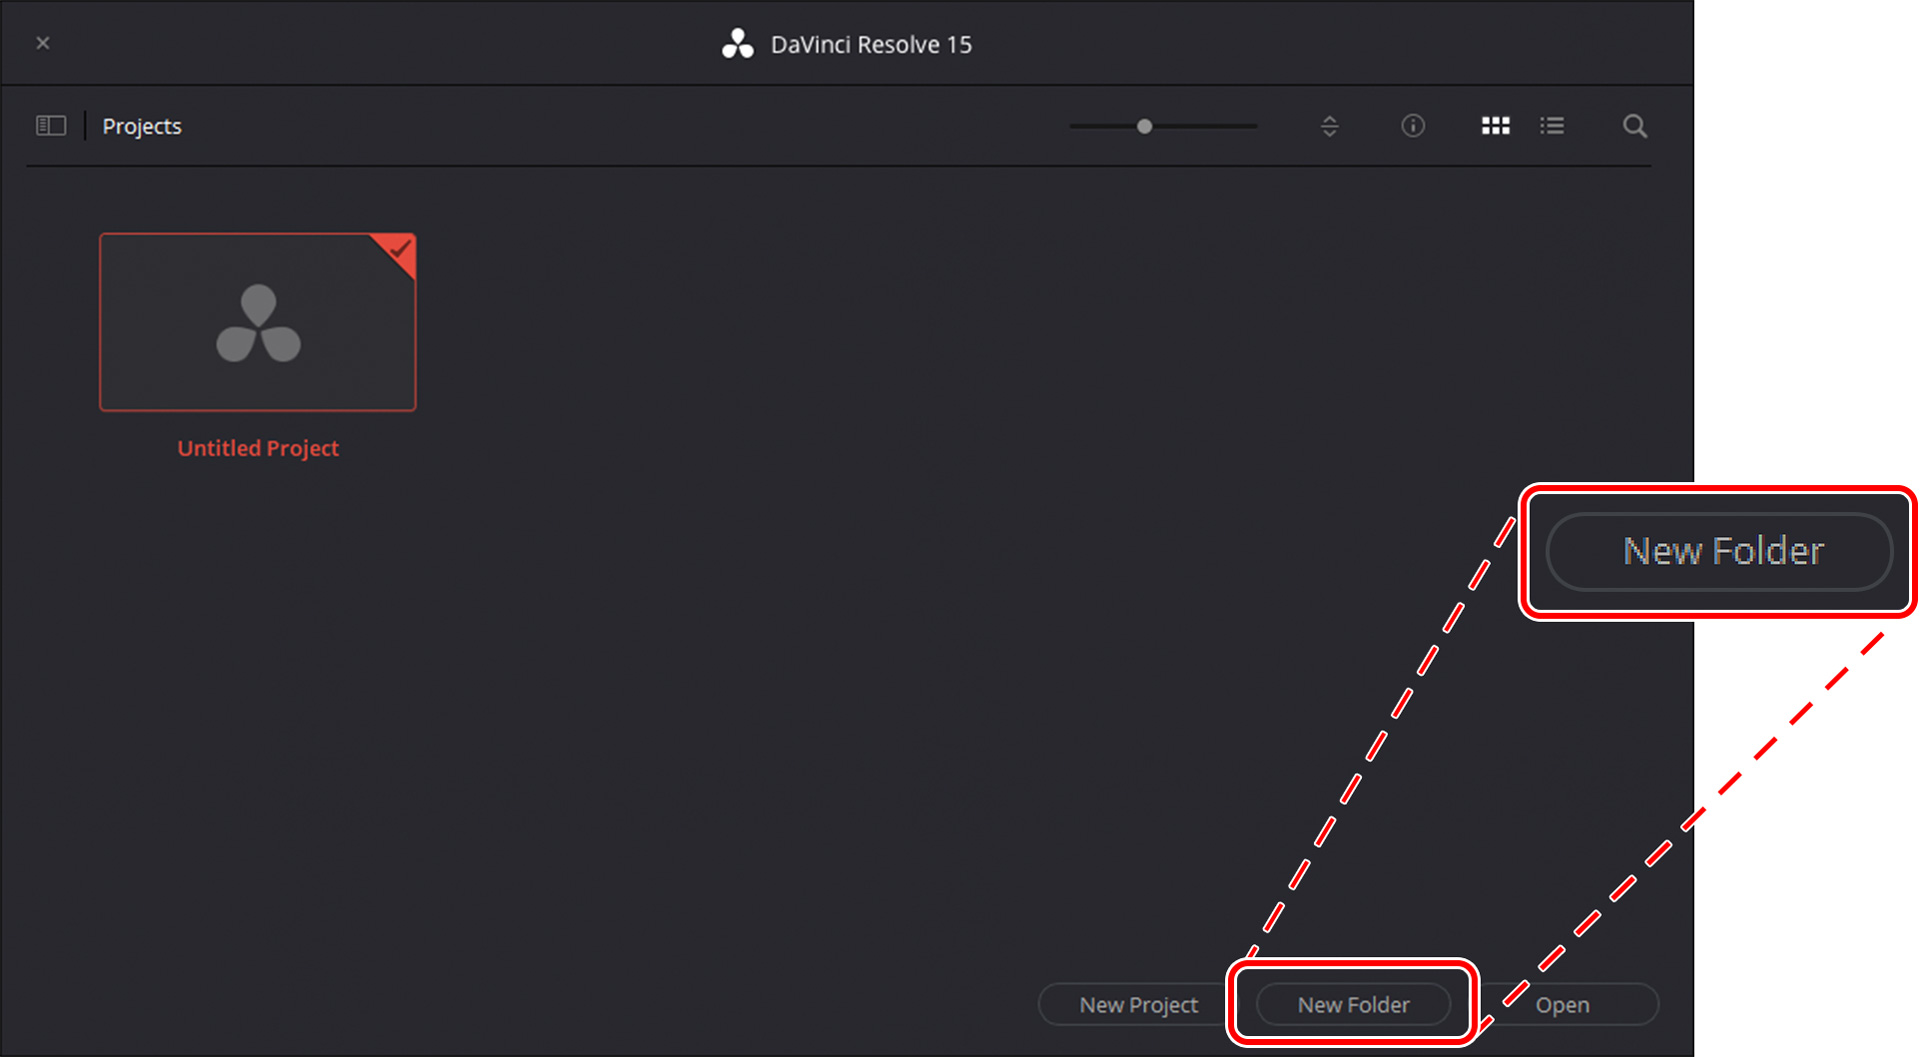
1 Launch DaVinci Resolve 15 and start a new project.
In the Project Manager, click New Project and name the new project as desired.
2 Click the "Project Settings" () icon.
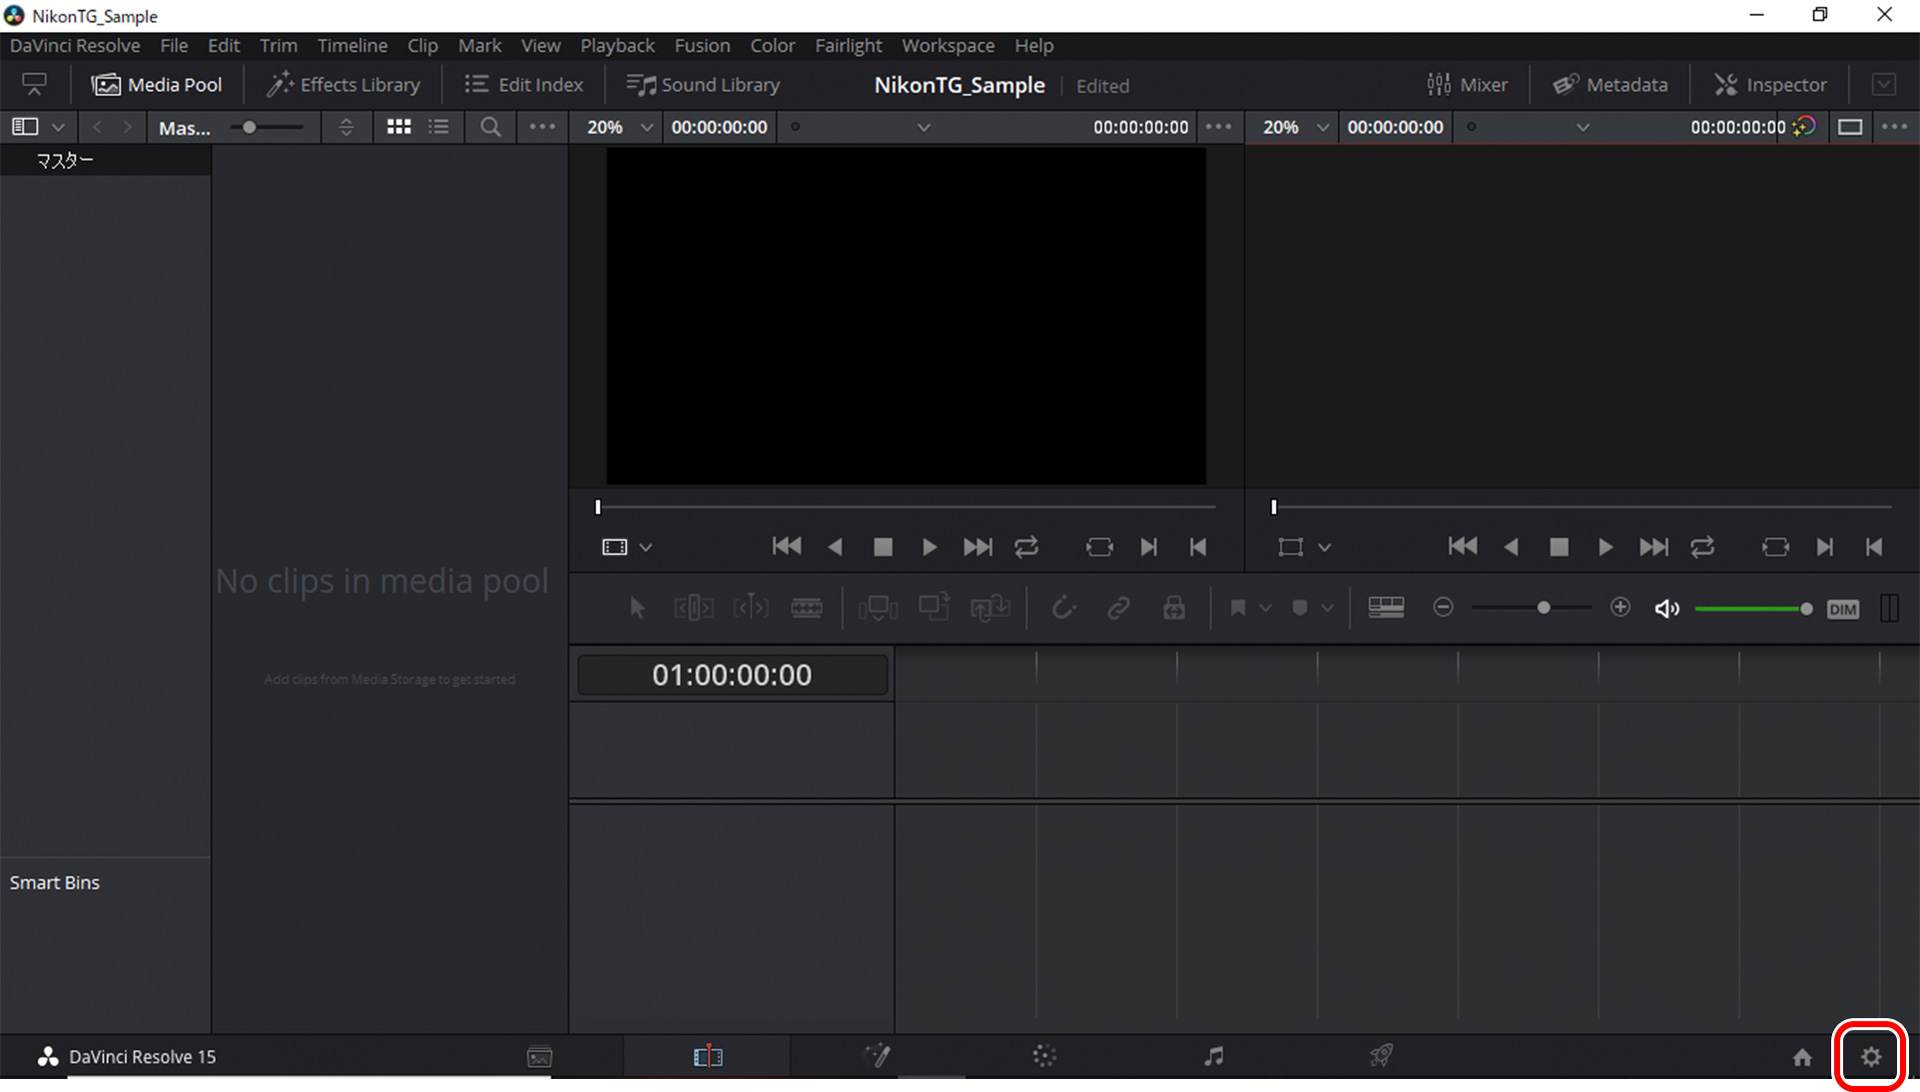
3 Open the LUT folder.
Select Color Management in the project settings window and click Open LUT Folder.

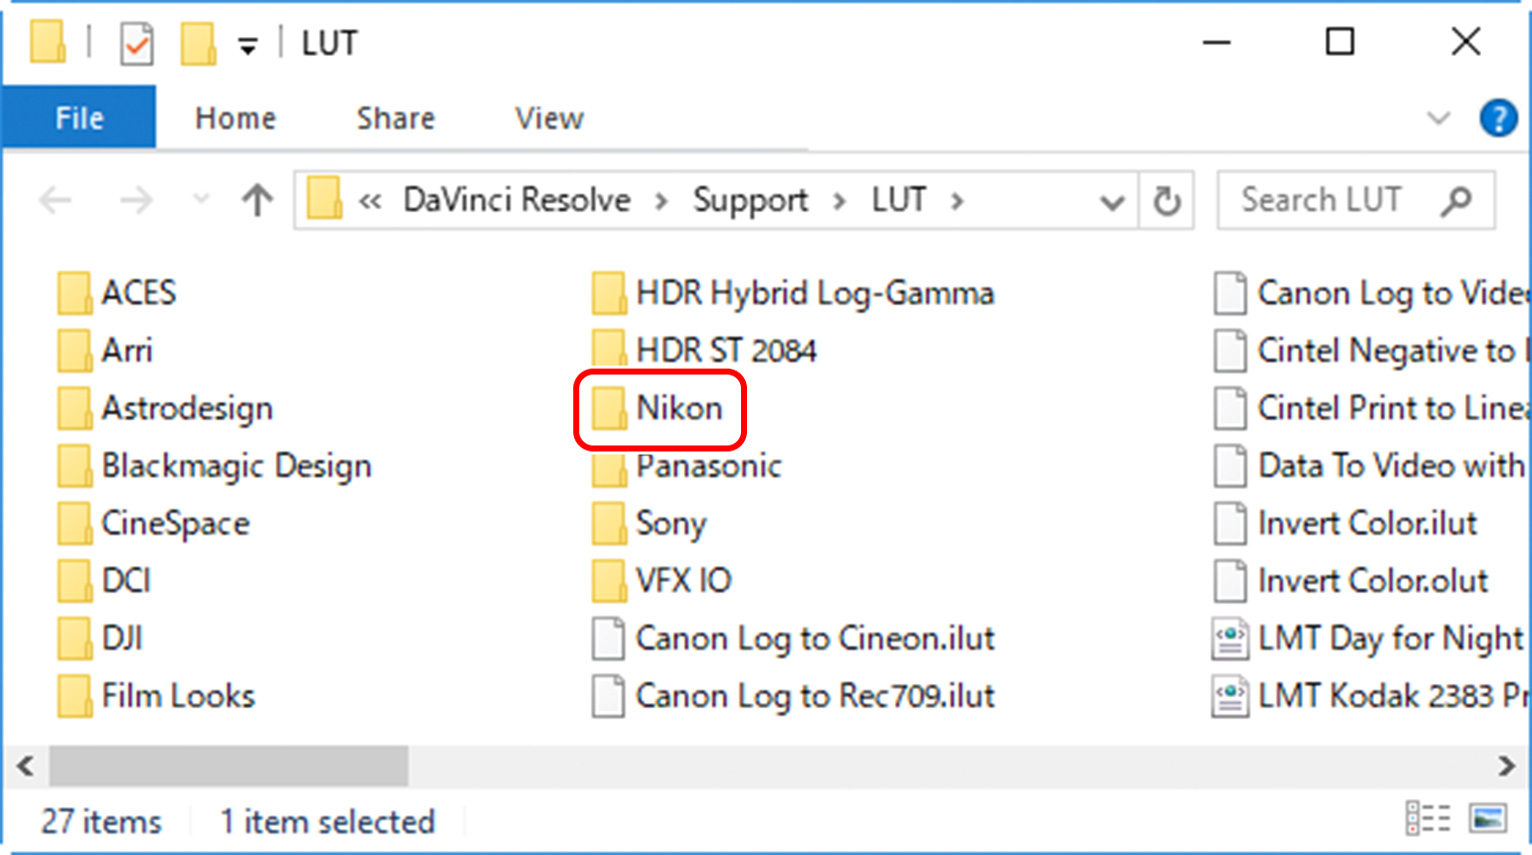
The DaVinci Resolve 15 LUT folder will open. The folder path is:
4 Add the N-Log 3D LUT.
Create a sub-folder under the LUT folder, name it as desired, and copy the N-Log 3D LUT to the new sub-folder (named "Nikon" in this example).
5 Click Update Lists and then click Save.
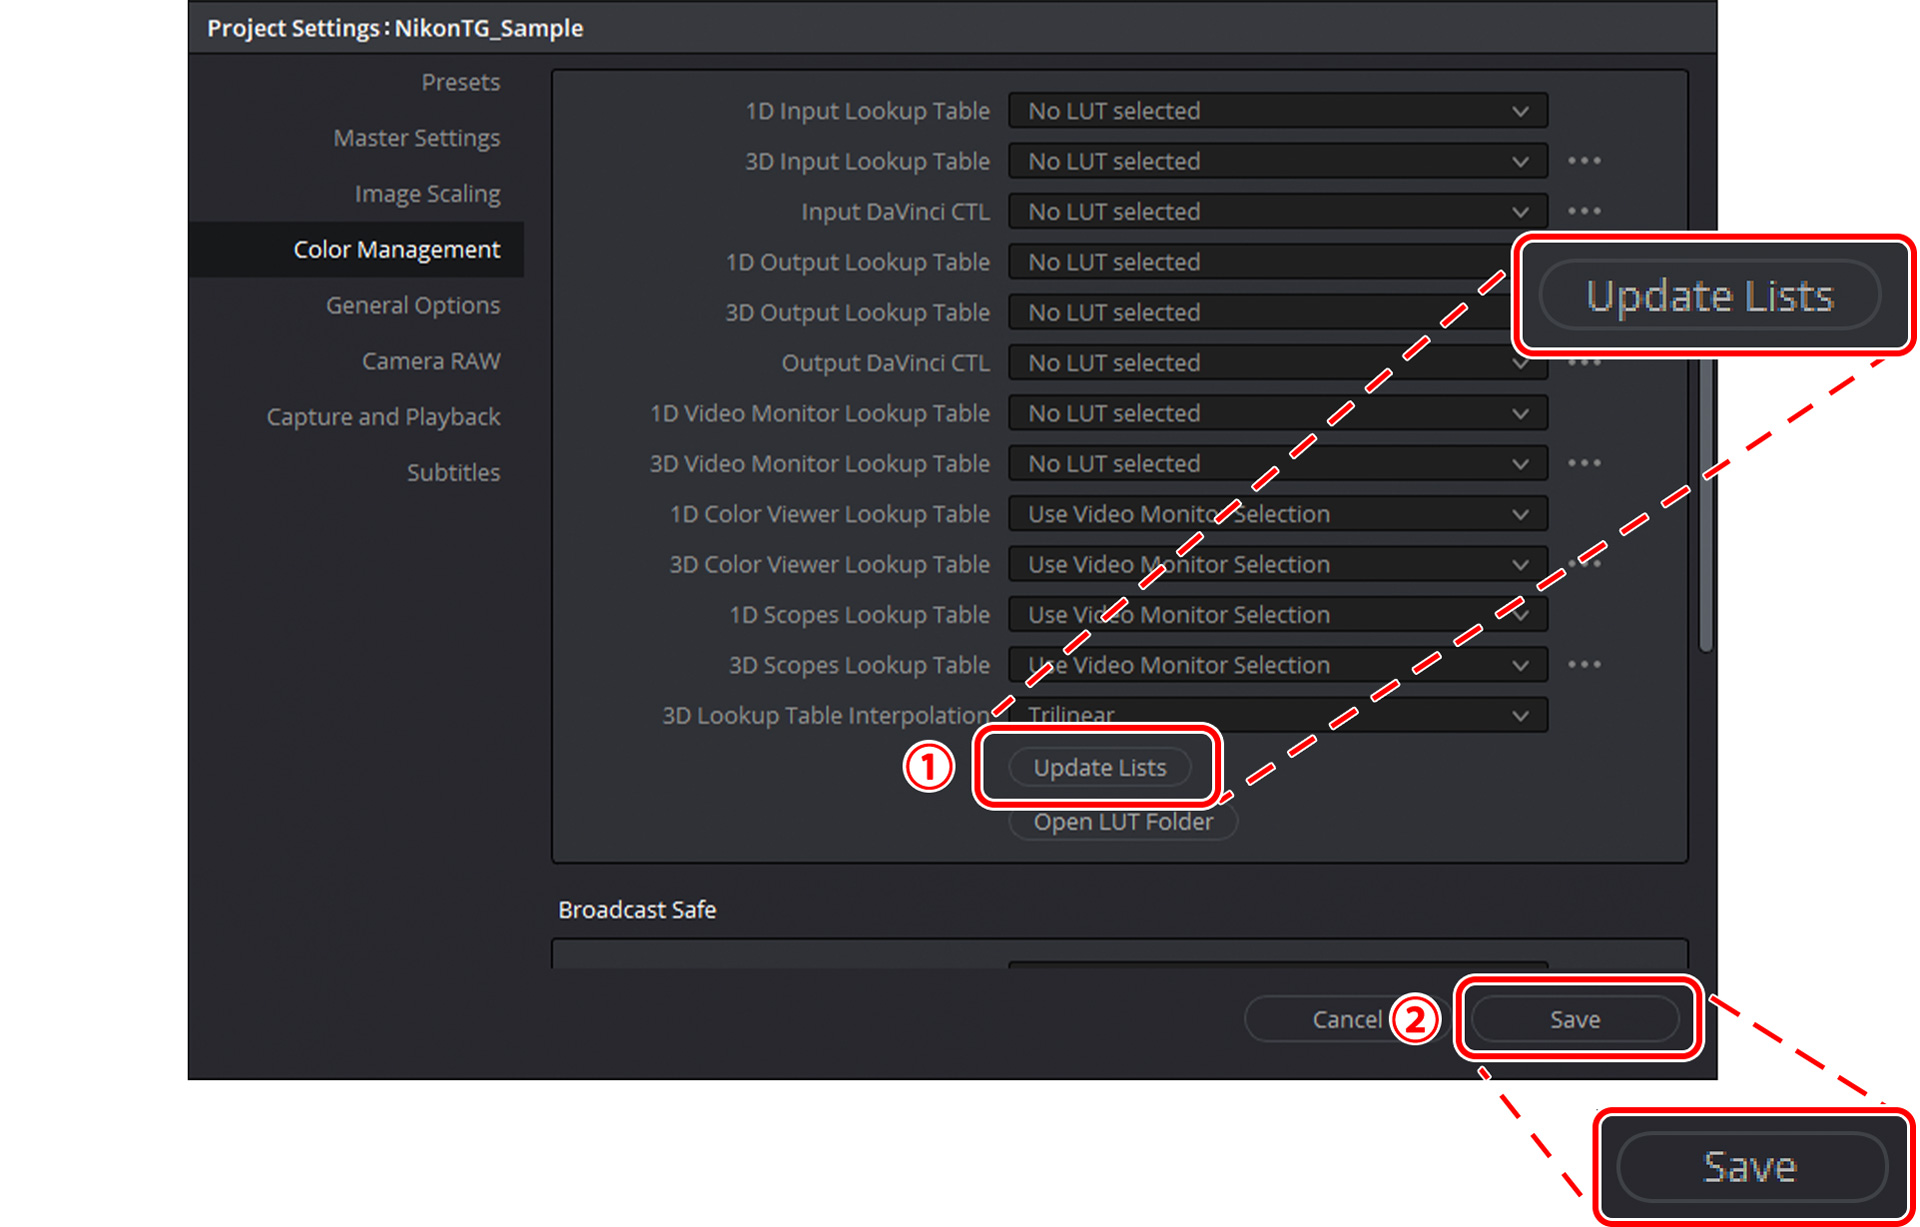
DaVinci Resolve will load the new LUT.
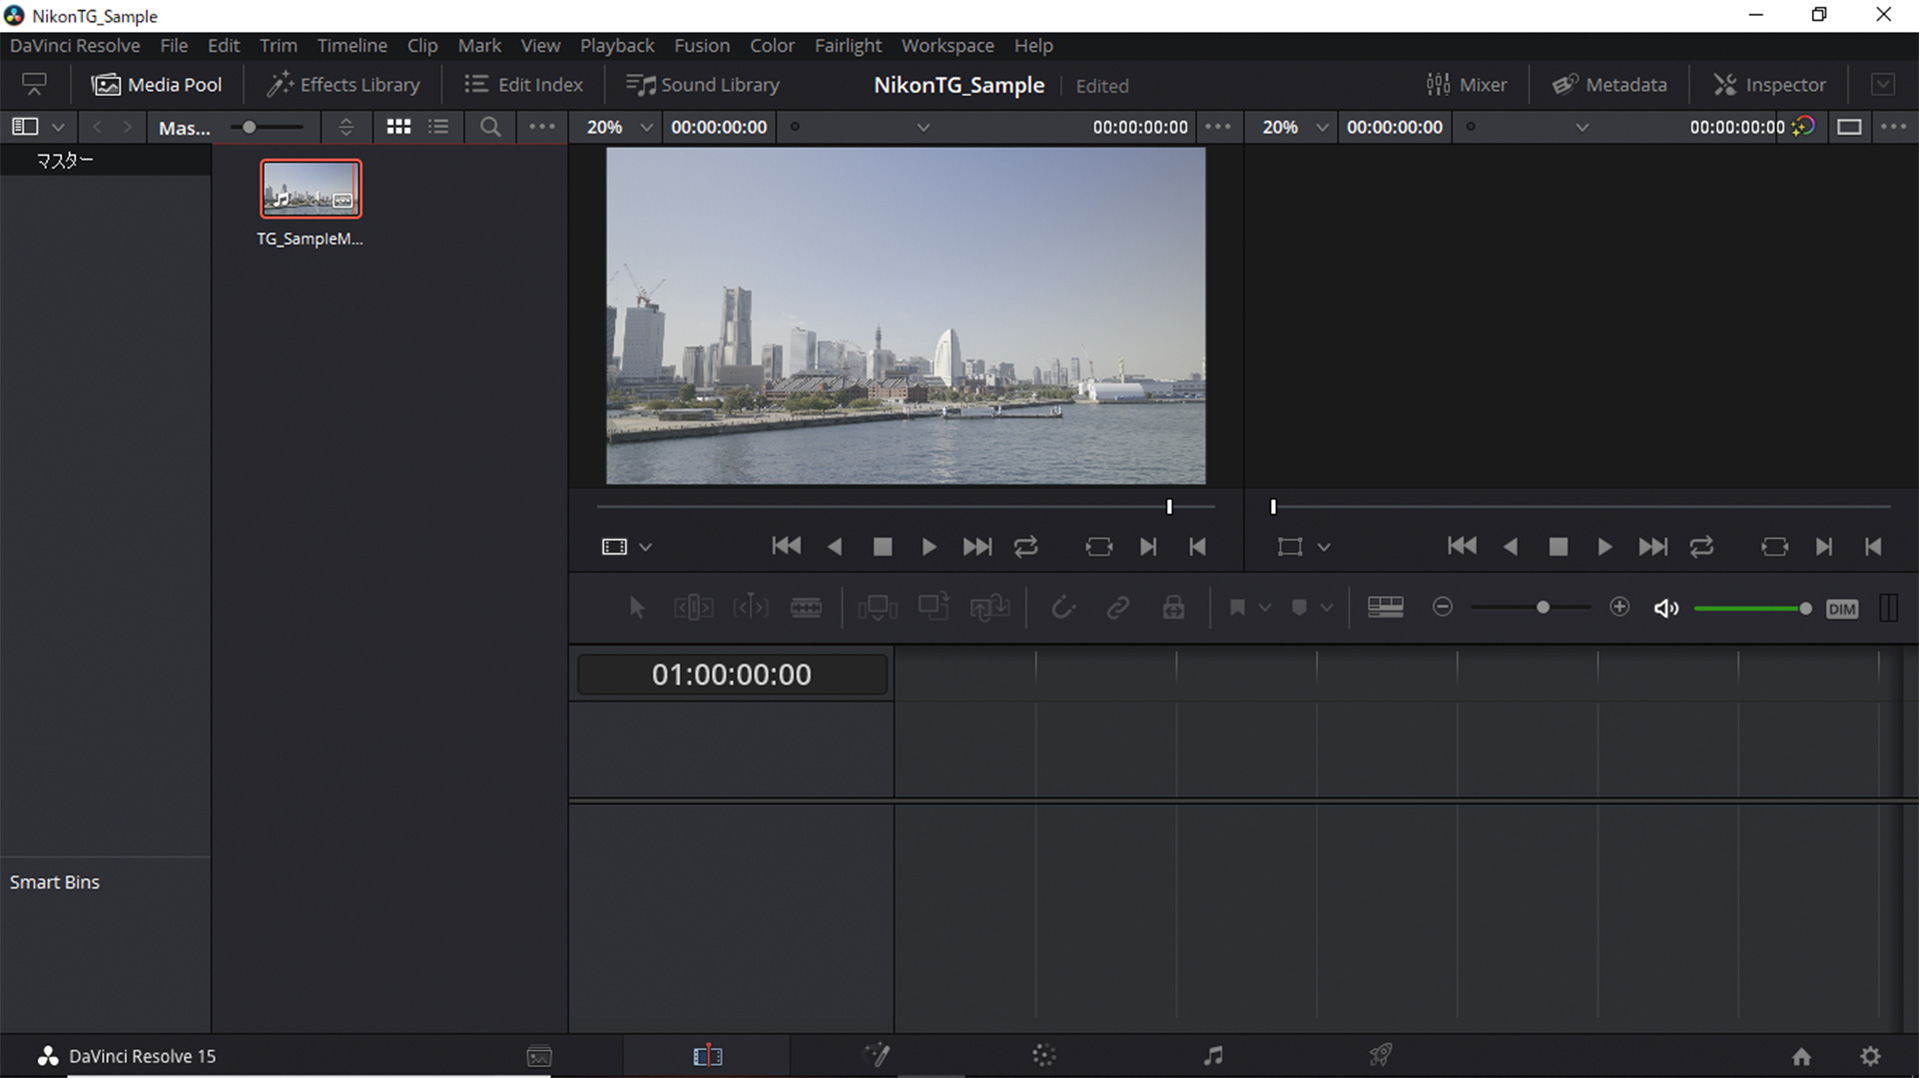
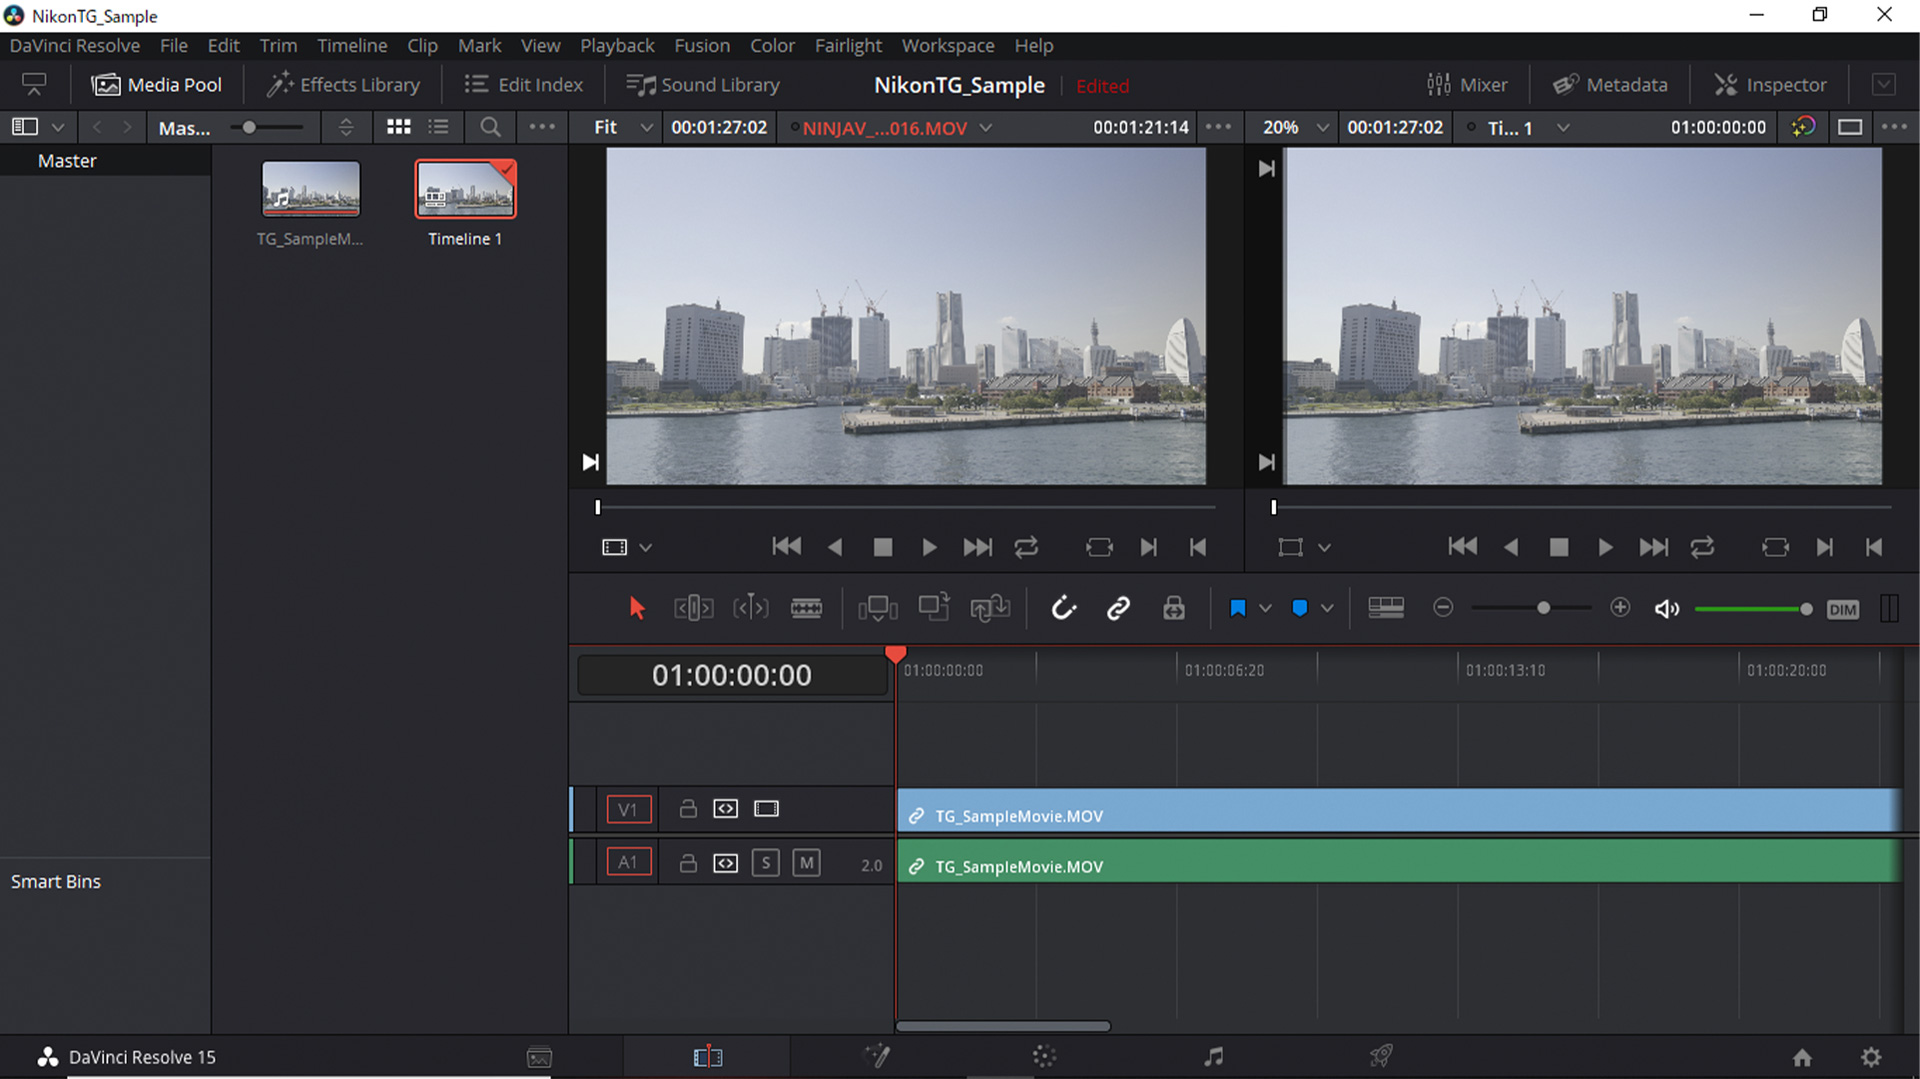
6 Load N-Log footage.
Drag N-Log footage from the operating system file navigation window into DaVinci Resolve 15.
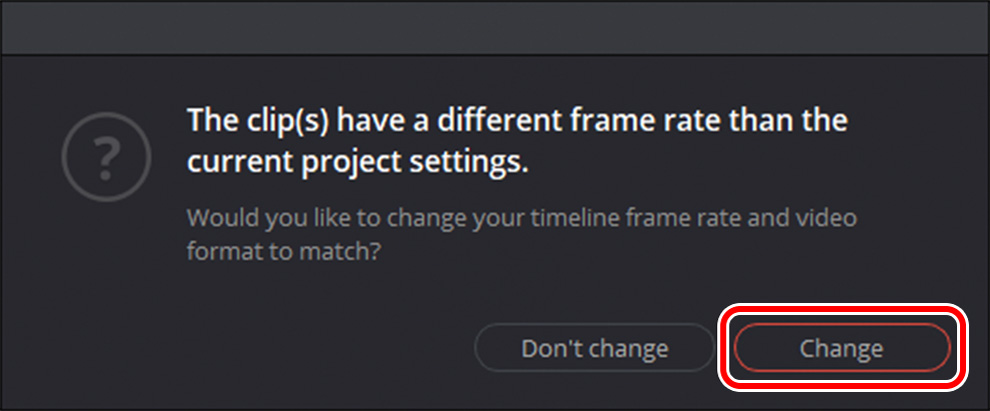
If the frame rates of the footage and project do not match, a message will be displayed. Click Change to update the project frame rate to match the footage.
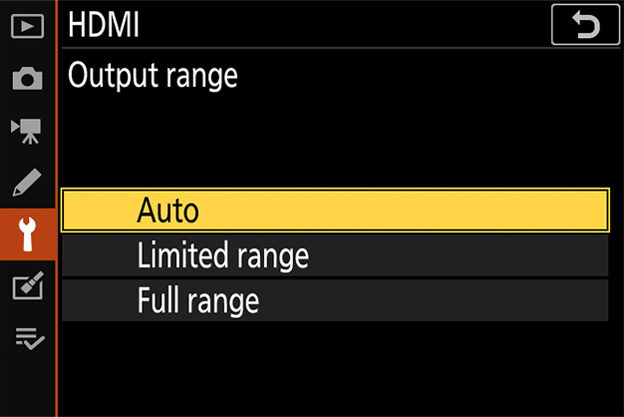
7 Match the data level to the output range.
Check that the Data Levels option in DaVinci Resolve 15 matches the option selected for HDMI > Advanced > Output range in the camera setup menu when the footage was recorded.
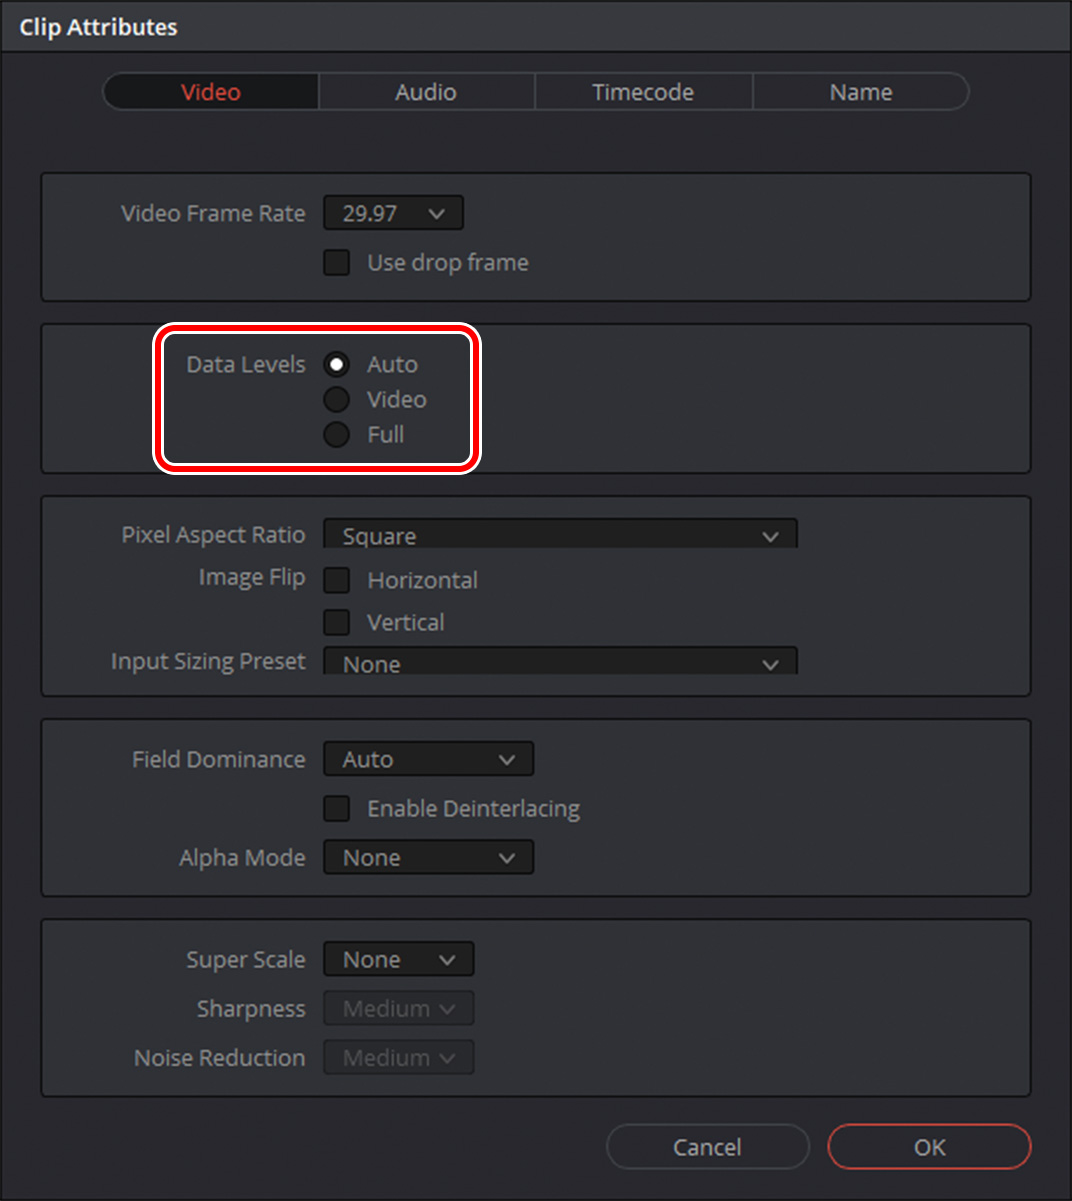
Right-click the thumbnail for the footage in the Media Pool, select Clip Attributes, and check the option selected for Data Levels. If the footage was recorded with Limited range selected on the camera, choose Video; if it was recorded with Full range selected, choose Full.
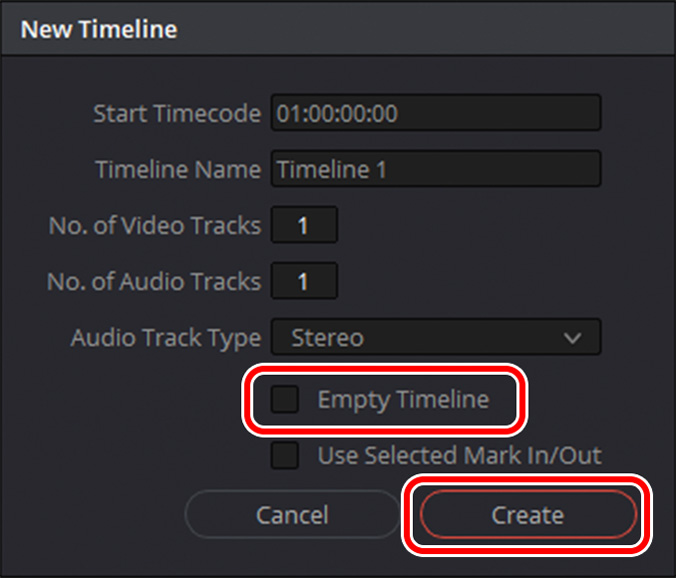
8 Create a timeline.
Select New Timeline in the File menu, then deselect the Empty Timeline check box and click Create to create a new timeline using the selected footage.
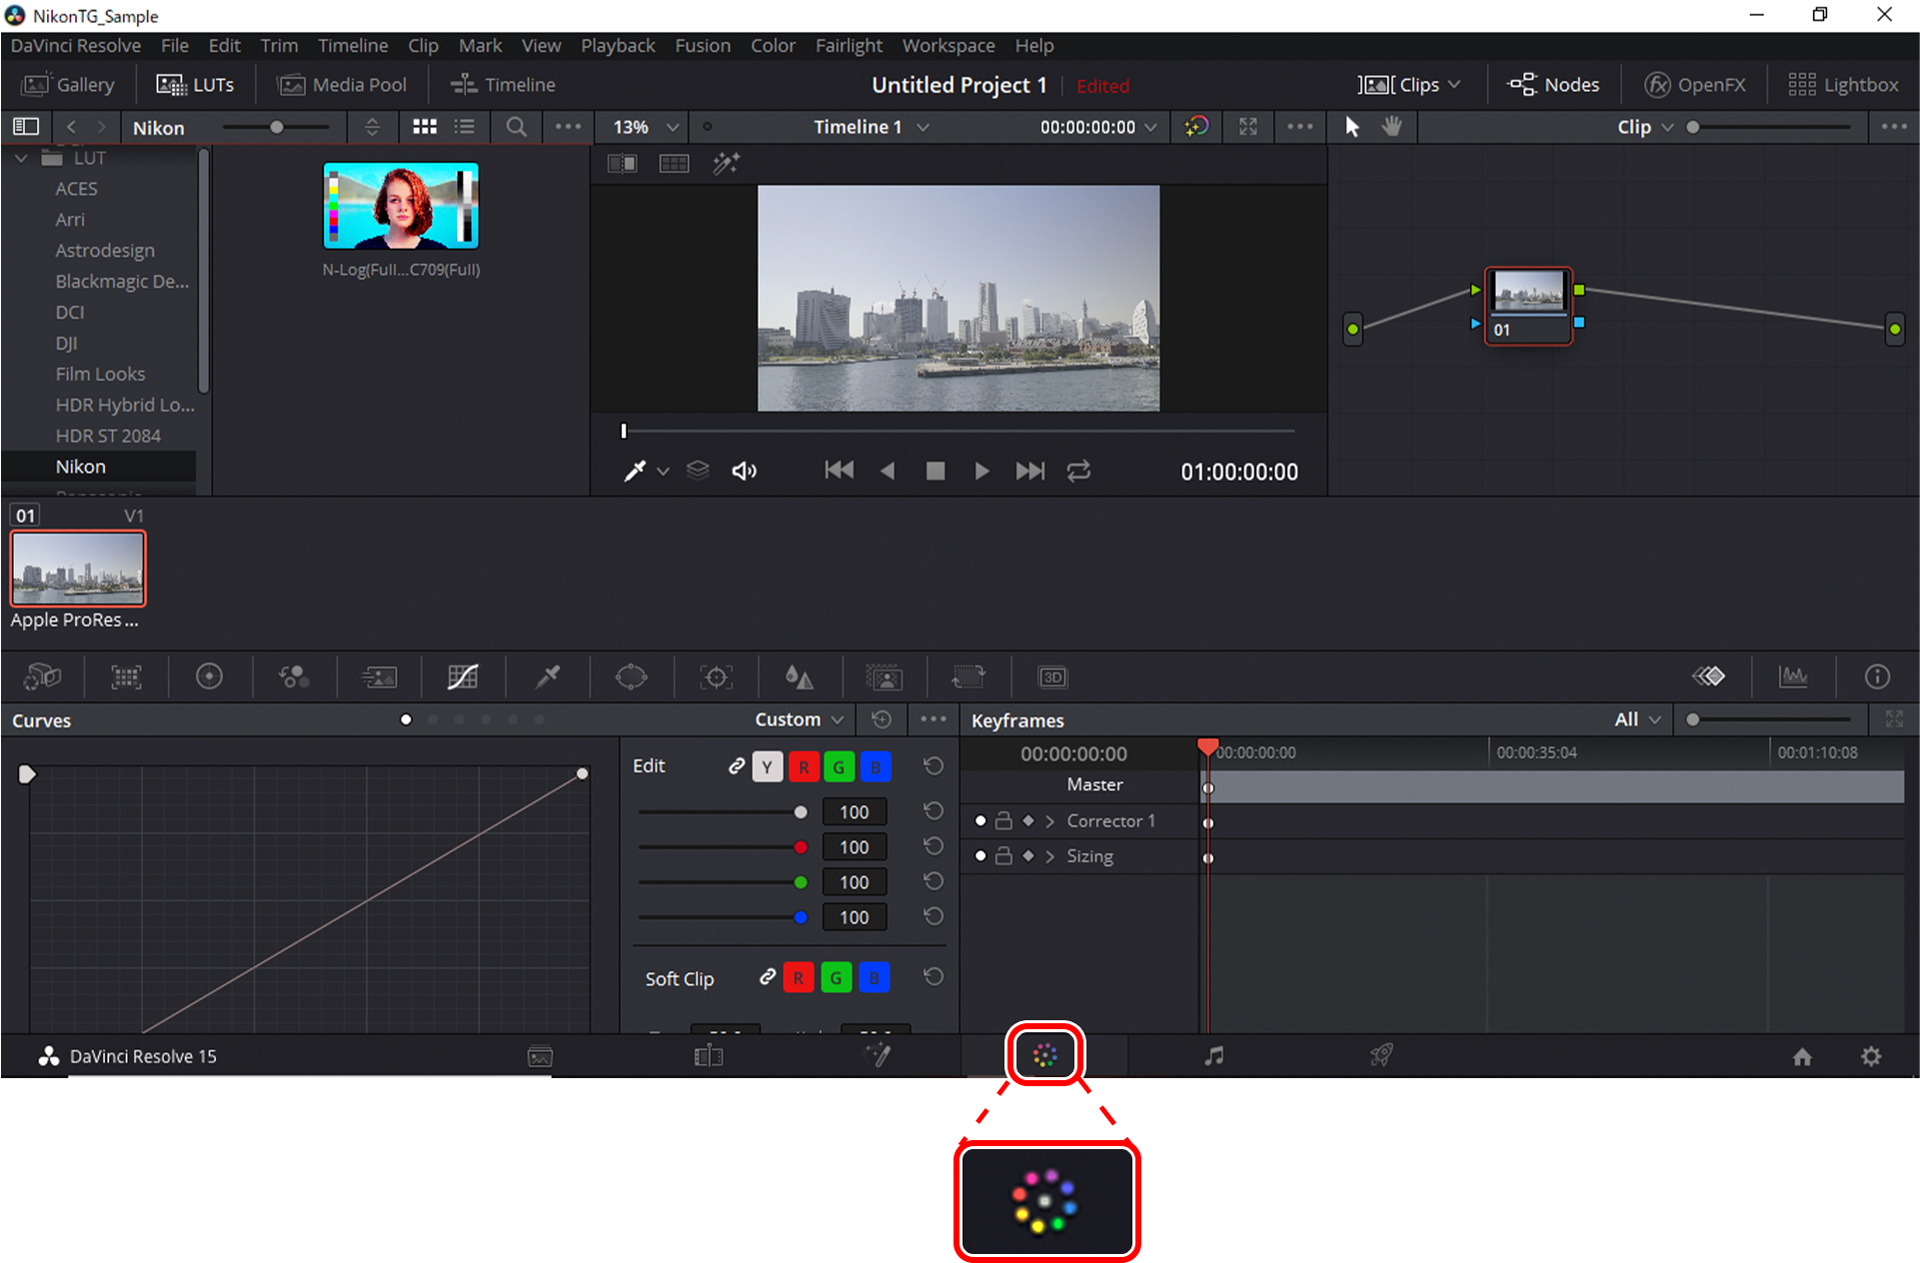
9 Open the "Color" page.
Click the "Color" button () at the bottom of the window to open the "Color" page.
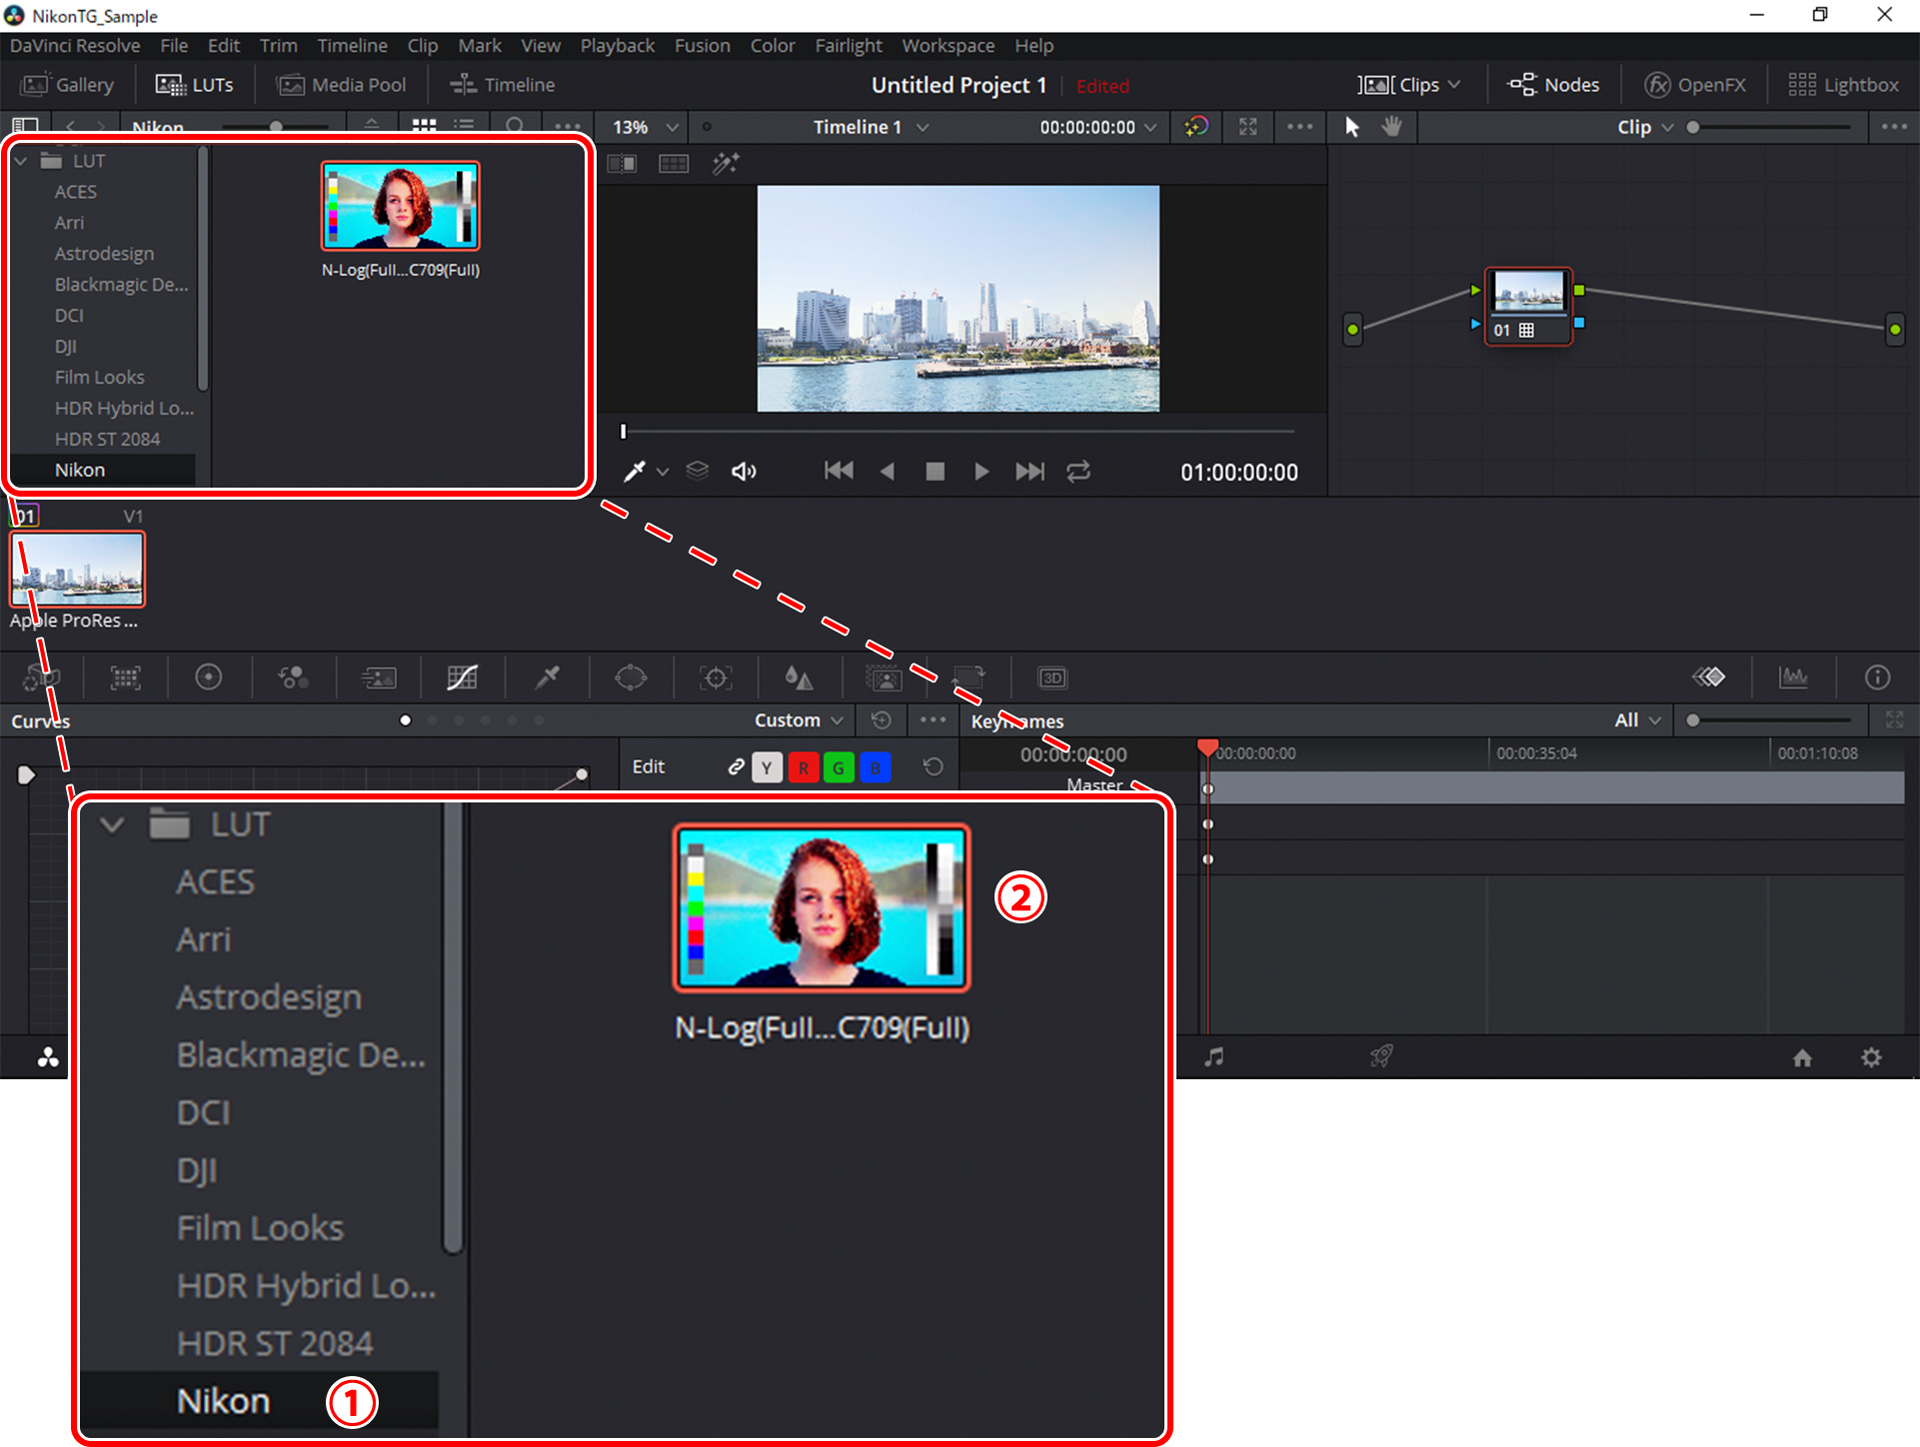
10 Apply the N-Log 3D LUT.
In the LUT browser at the left side of the window, open the folder you created in Step 4 and double-click the N-Log 3D LUT to apply it to the current node.
For information on adjusting the LUT once it has been applied, see online help or the Definitive Guide to DaVinci Resolve 15.