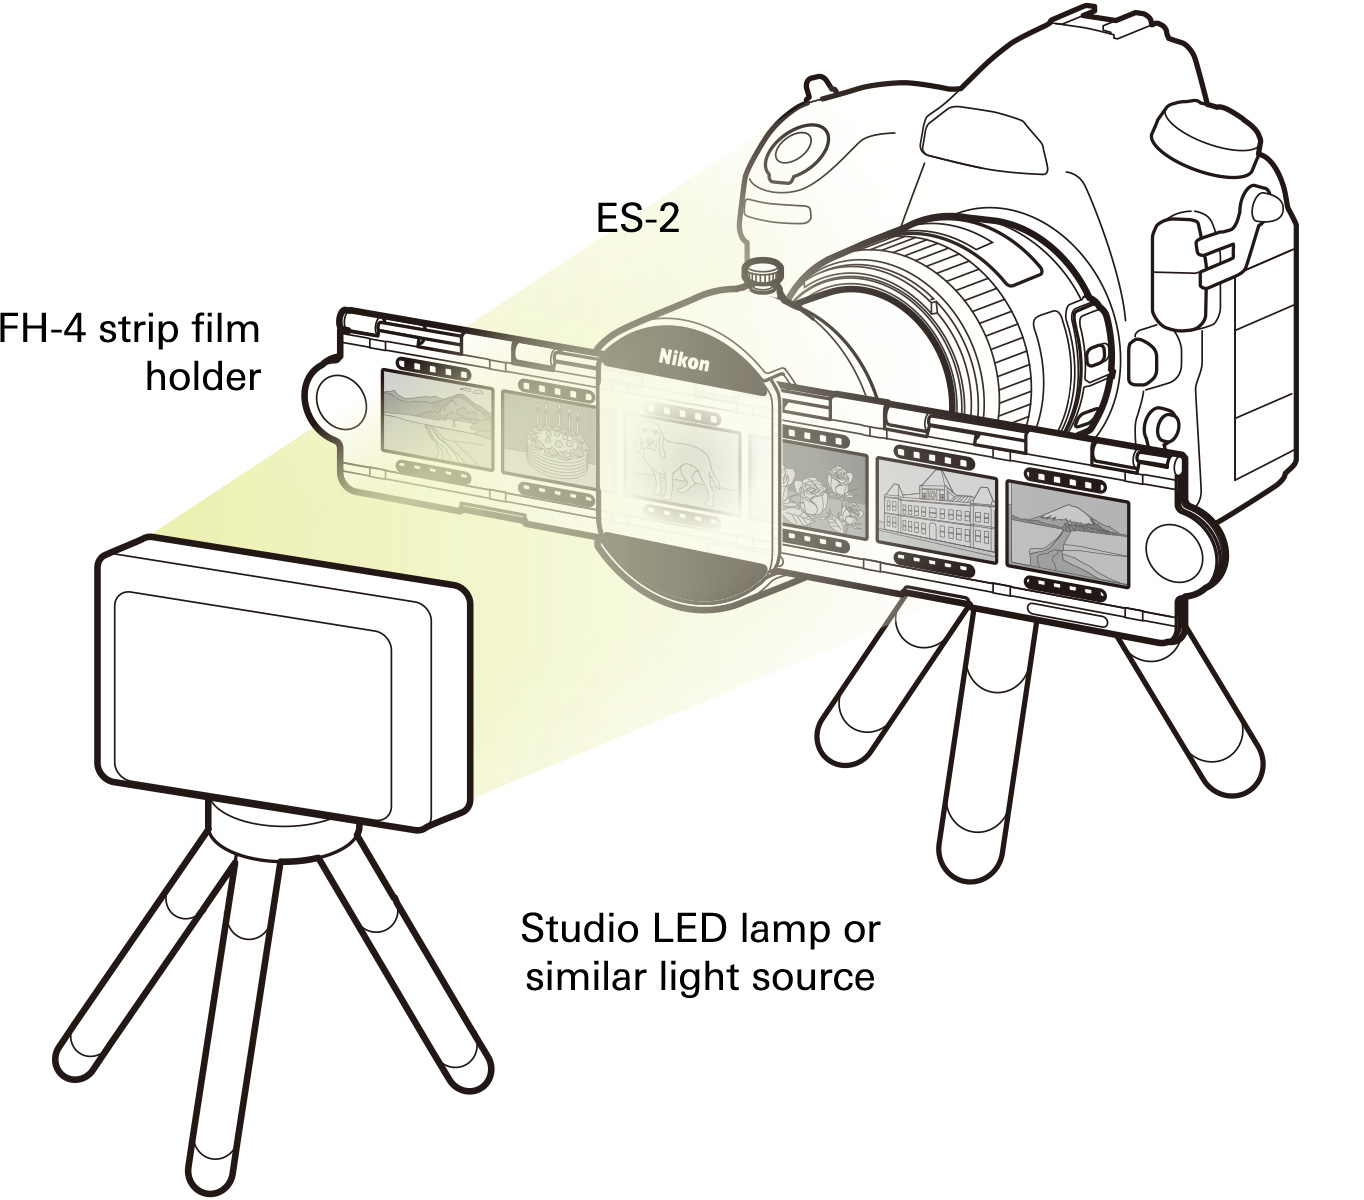
Digitizing film is a snap with an ES-2 film digitizing adapter. With an ES-2 and a bright light source configured as shown below, you can use the D850's Negative digitizer to create positive copies of film negatives.
Review the required equipment and settings before proceeding.
Before scanning 35 mm negatives, ready the items below.
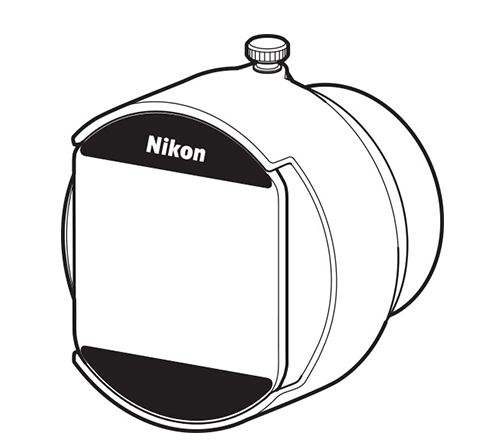
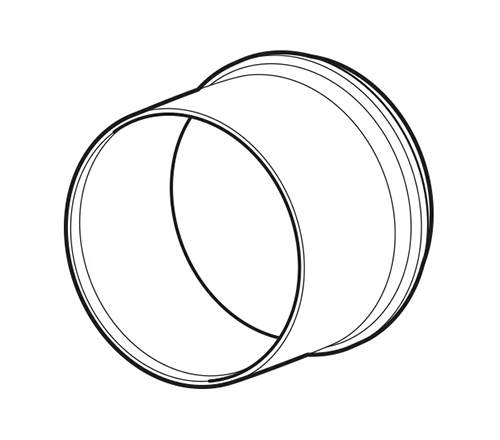
An ES-2 film digitizing adapter, which includes:


A compatible lens. Any of the following can be used:
* Users of this lens can employ an ES-1 slide copy adapter in place of the ES-2 and FH-5 when digitizing slides. A BR-5 ring (available separately) is required when using the ES-1.
In addition to the ES-2 and one of the lenses listed on see this section, you'll need the following when scanning negatives.
| Film |
Color or monochrome negatives
|
|---|---|
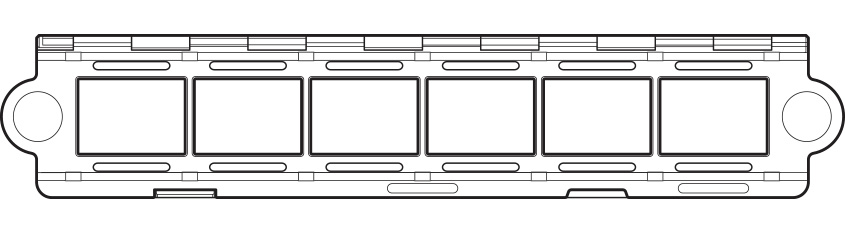
| Film holder | FH-4 * |
| Light source | We recommend shooting in a sunny spot by a window or using a photo light box, a studio LED lamp, or a light source with a high Ra (color rendering index) |
| Technique | Use the Negative digitizer option. The camera functions in mode A (aperture-priority auto). |
| Focus mode | Manual focus is recommended. |
| Image quality | Photographs are saved in JPEG format. |
* The scannable area is approximately 36 mm × 24 mm. Some portions of the frame cannot be photographed.
In addition to the ES-2 and one of the lenses listed on see this section, you'll need the following when scanning positives.
Strip film
| Film |
Positive Film
|
|---|---|
| Film holder | FH-41 |
| Light source | We recommend shooting in a sunny spot by a window or using a photo light box, a studio LED lamp, or a light source with a high Ra (color rendering index) |
| Technique | We recommend shooting in mode A (aperture-priority auto) using live view. |
| Focus mode | Manual focus is recommended. |
| Image quality | Choose from NEF (RAW), TIFF, and JPEG options. |
1.The scannable area is approximately 36 mm × 24 mm. Some portions of the frame cannot be photographed.
2. The scannable area varies with the dimensions of the mount window. An ES-1 slide copy adapter can be used in place of the ES-2 and FH-5 to digitize mounted positives.
Slides
| Film |

Mounted positives
|
|---|---|
| Film holder | FH-52 |
| Light source | We recommend shooting in a sunny spot by a window or using a photo light box, a studio LED lamp, or a light source with a high Ra (color rendering index) |
| Technique | We recommend shooting in mode A (aperture-priority auto) using live view. |
| Focus mode | Manual focus is recommended. |
| Image quality | Choose from NEF (RAW), TIFF, and JPEG options. |
1.The scannable area is approximately 36 mm × 24 mm. Some portions of the frame cannot be photographed.
2. The scannable area varies with the dimensions of the mount window. An ES-1 slide copy adapter can be used in place of the ES-2 and FH-5 to digitize mounted positives.
Wear gloves to keep film free of smudges and fingerprints.
Dust and lint can be removed with a blower.
The recommended procedure for digitizing negatives using the ES-2 is described below.
1 Ready the equipment.
Set up the equipment as shown on see this section.
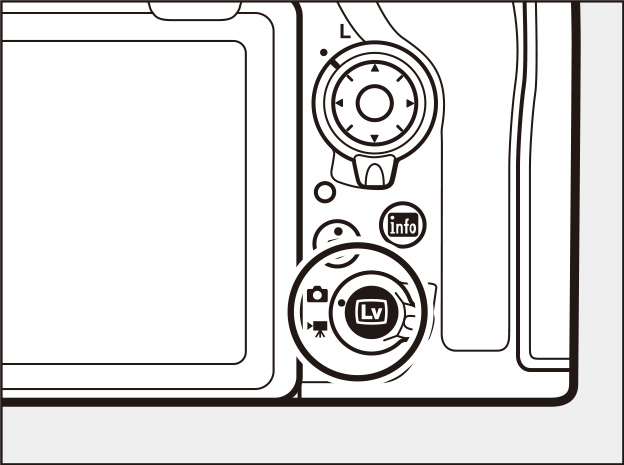
2 Start live view.
Rotate the live view selector to (live view photography) and press the button to start live view.

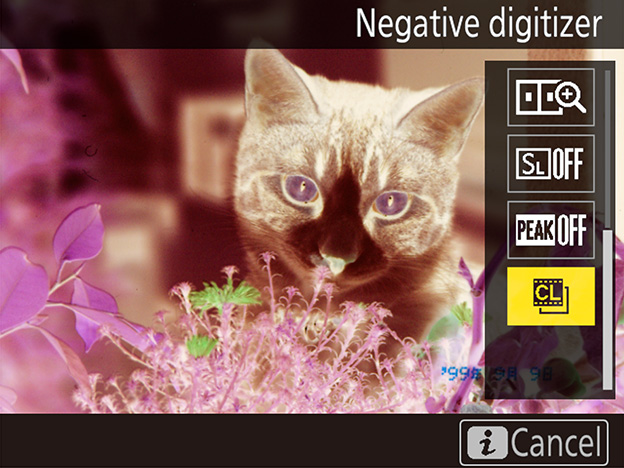
3 Select Negative digitizer.
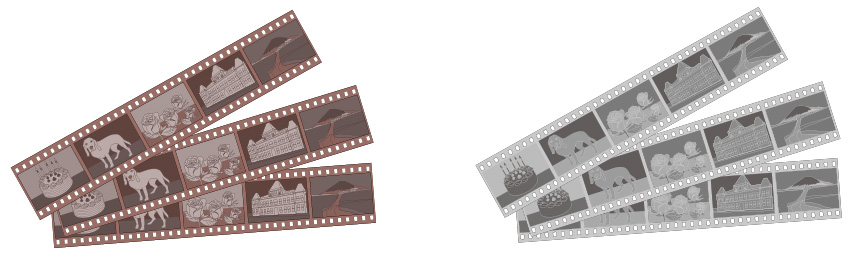
Press the button to display the -button menu, then highlight Negative digitizer and press . The colors in the display will be reversed.
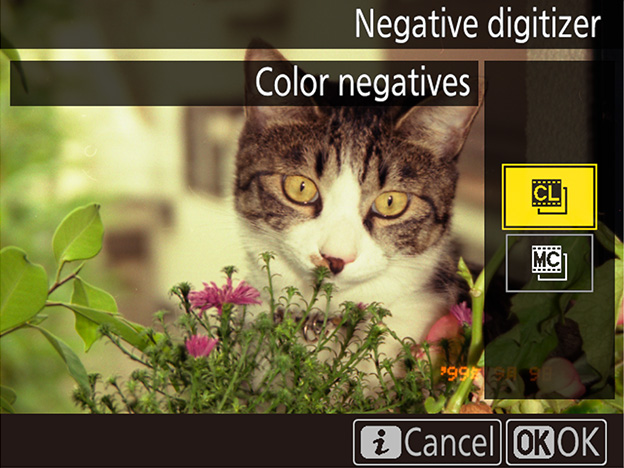
4 Choose the film type.
Highlight Color negatives or Monochrome negatives and press .
5 Frame and focus.
Position the FH-4 so that the portion of the frame you wish to digitize is framed in the camera monitor. Additional adjustments can be made by rotating the ES-2 or sliding it in or out while adjusting focus as necessary (manual focus is recommended, as autofocus may fail to produce the desired results depending on the content of the frame). For precise focus, press to view your subject a higher magnification. After positioning the ES-2 to your satisfaction, tighten the locking screw.
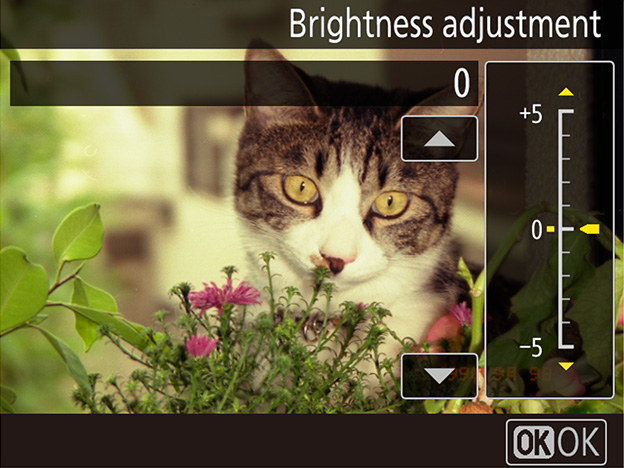
6 Adjust exposure.
Press to display brightness adjustment options and press or to adjust exposure. Press to proceed once exposure has been adjusted to your satisfaction.
7 Take the photograph.
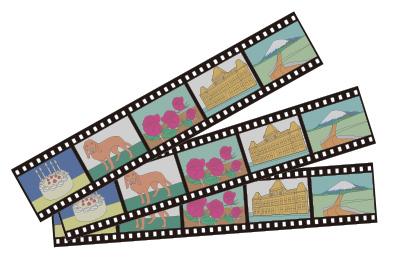
Press the shutter-release button all the way down to take the photograph and save it in JPEG format.
No options are available for correcting dust, scratches, or uneven colors due to faded film. Photos are saved in JPEG format regardless of the option selected for image quality; photos taken with a JPEG option selected will be saved at the chosen setting, while photos taken with NEF (RAW) or TIFF (RGB) selected will be saved in JPEG fine format. Some menu items and features, including bracketing and focus shift (see this section), are unavailable, and optional flash units cannot be used.
Pictures are taken in mode A regardless of the mode selected before shooting begins; aperture defaults to f/8 but can be adjusted as required. Should you notice flicker when shooting under fluorescent lighting or the like, try stopping aperture down or reducing ISO sensitivity to slow shutter speed to the point that the flicker is eliminated.
The recommended procedure for digitizing slides using the ES-2 is described below.
1 Ready the equipment.
Set up the equipment as shown on see this section.
2 Start live view.
Rotate the live view selector to (live view photography) and press the button to start live view.
3 Adjust camera settings.
We recommend using the Flat Picture Control and shooting in mode A at an aperture of around f/8. Should you notice flicker when shooting under fluorescent lighting or the like, try adjusting settings to slow shutter speed to the point that the flicker is eliminated. Matrix metering is recommended, although highlight-weighted metering can be used if you find that highlights are washed out. We also suggest using auto white balance, switching to a setting that matches the light source if auto white balance fails to produce the desired results.
4 Frame and focus.
Position the FH-5 so that the portion of the slide you wish to digitize is framed in the camera monitor. Additional adjustments can be made by rotating the ES-2 or sliding it in or out while adjusting focus as necessary (manual focus is recommended, as autofocus may fail to produce the desired results depending on the content of the frame). For precise focus, press to view your subject a higher magnification. After positioning the ES-2 to your satisfaction, tighten the locking screw.
5 Take the photograph.
Press the shutter-release button all the way down to take the photograph and save it at the setting currently selected for image quality.
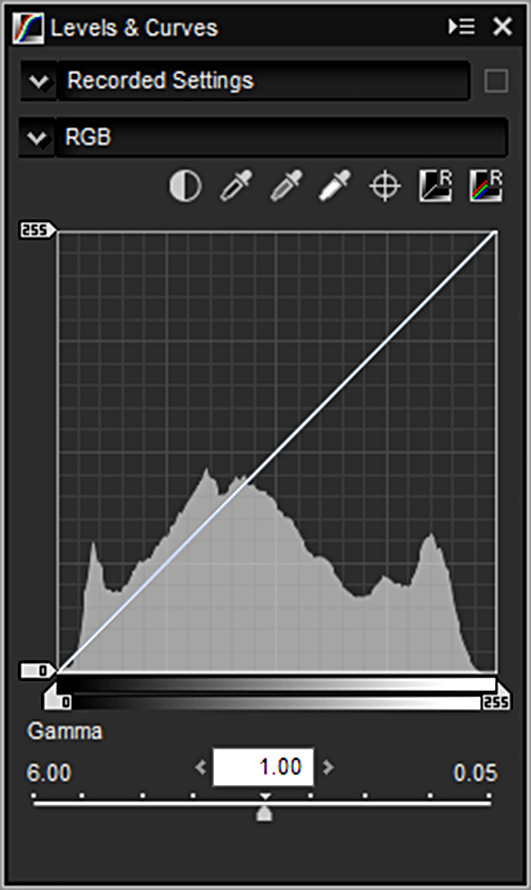
Digitized photos can be retouched using Capture NX-D or other image editing software. The principal editing tools in Capture NX-D are outlined below.
Adjust contrast, tones, and color balance.
Adjust lightness, chroma, and hue.

Straighten pictures by up to ±10°.
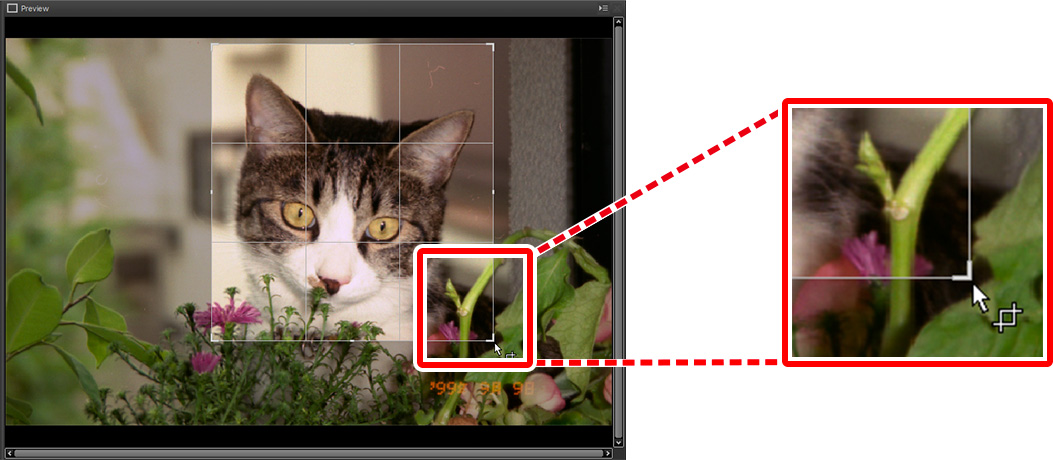
Crop unwanted areas from images.
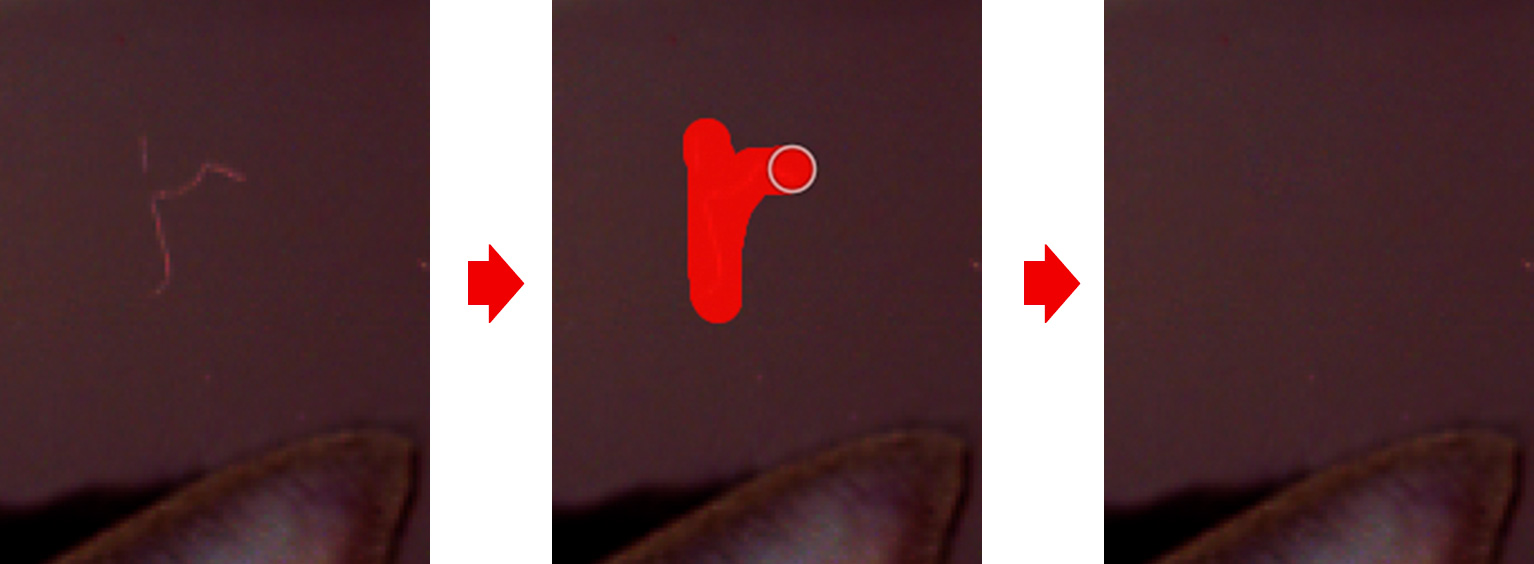
Remove dust and scratches.
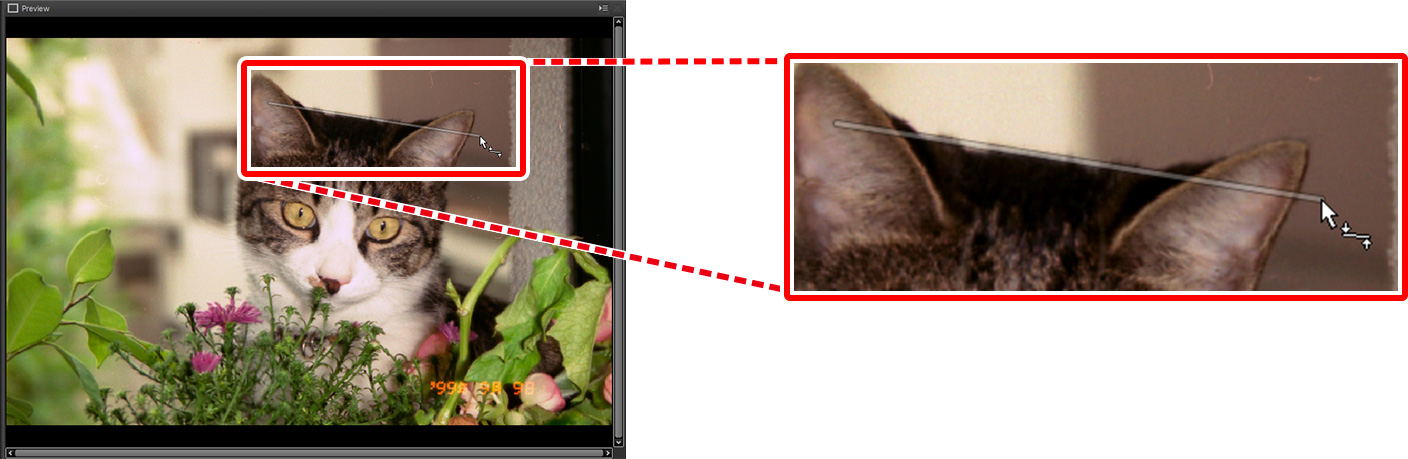
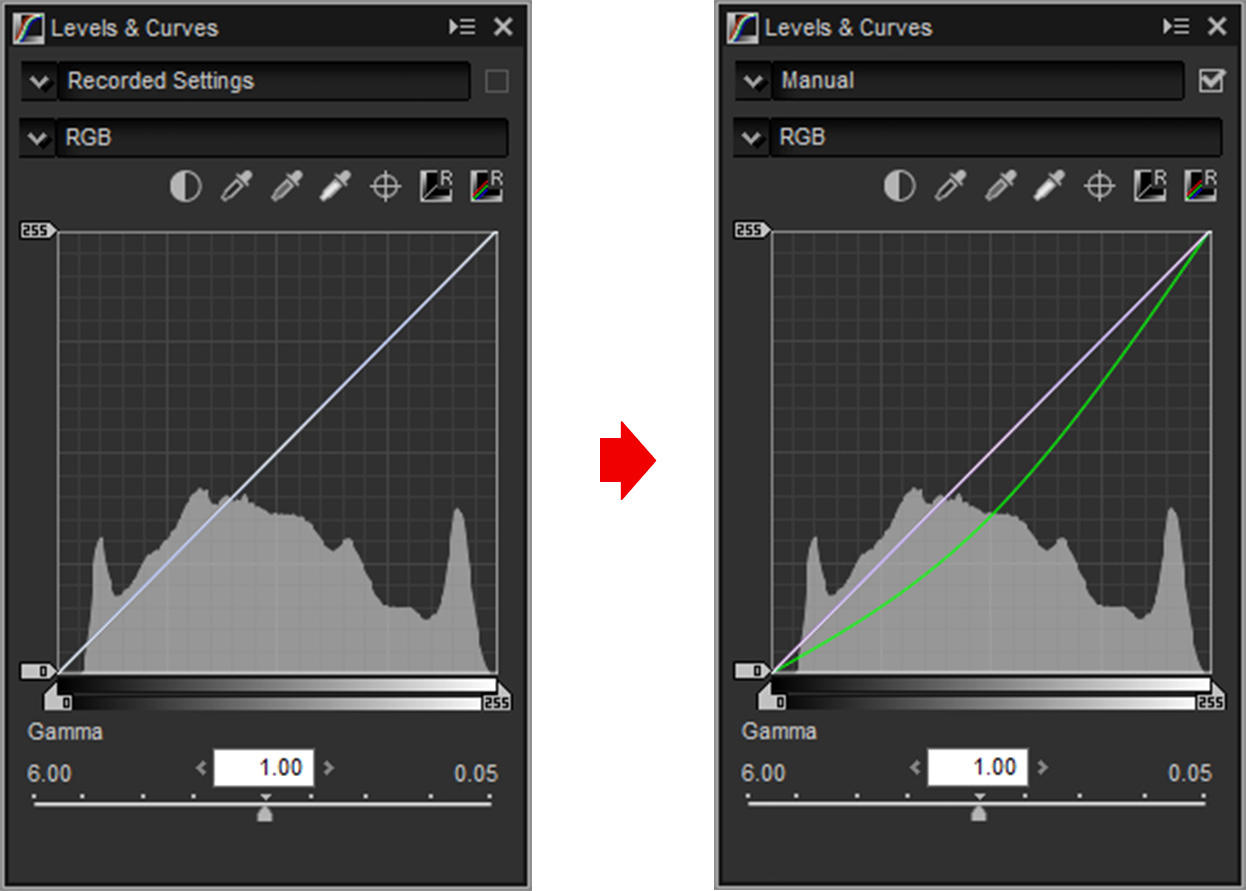
The following example shows how Levels & Curves can be used to remove a green cast from an image.

Before using other applications to view images processed using Capture NX-D, save the images in another format using the Convert Files option in Capture NX-D.