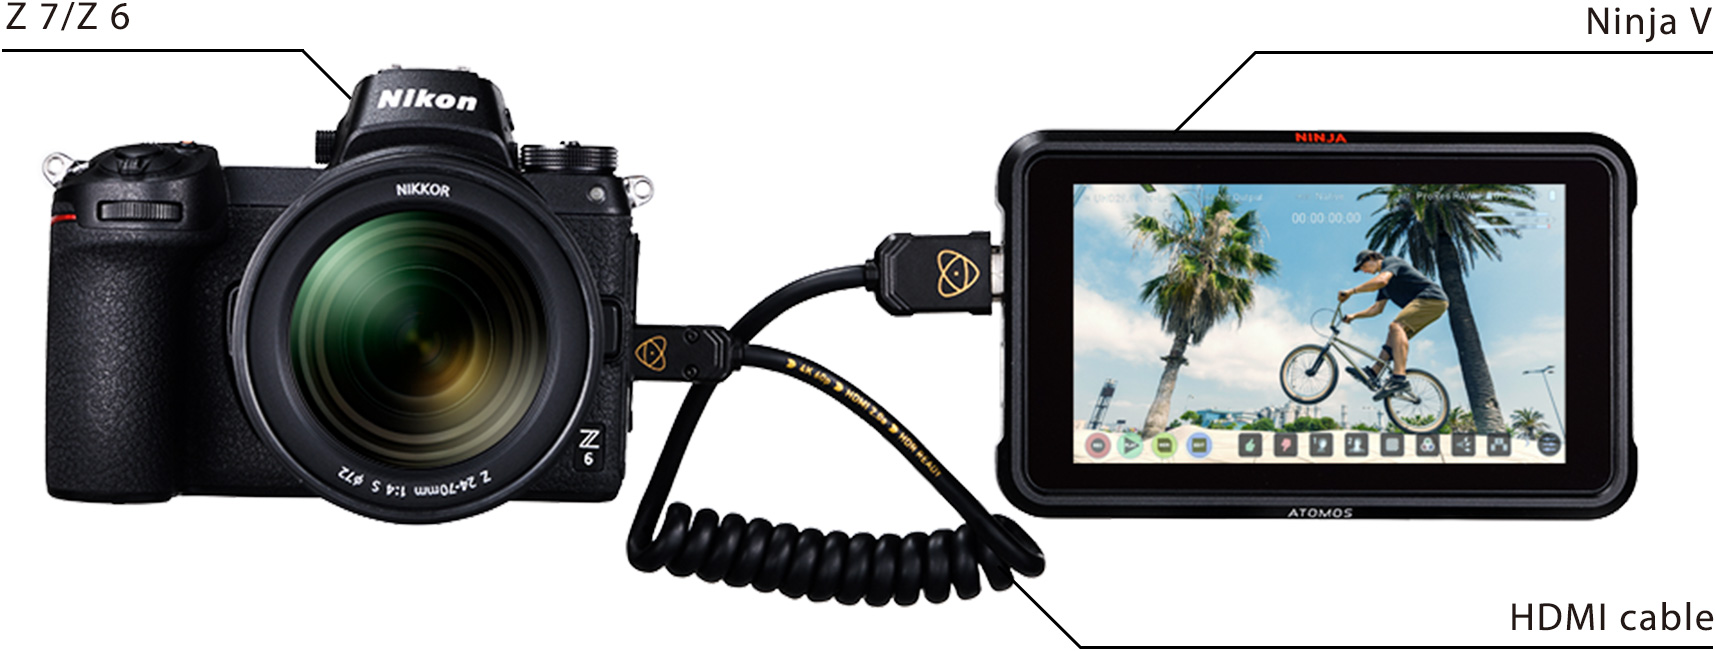

Connect an HDMI cable to the camera's HDMI connector
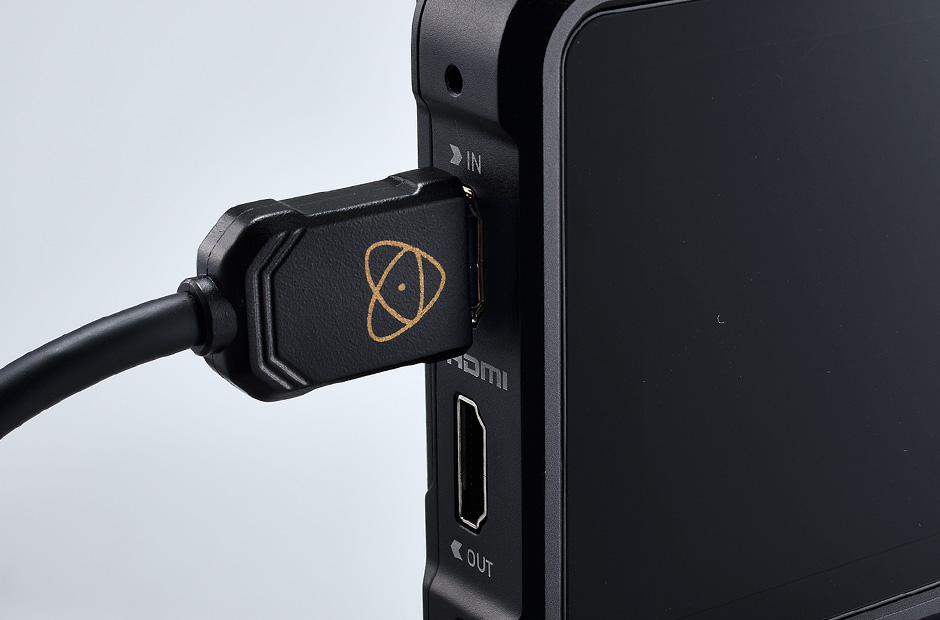
Connect the other end to the Ninja V HDMI video input
Note:
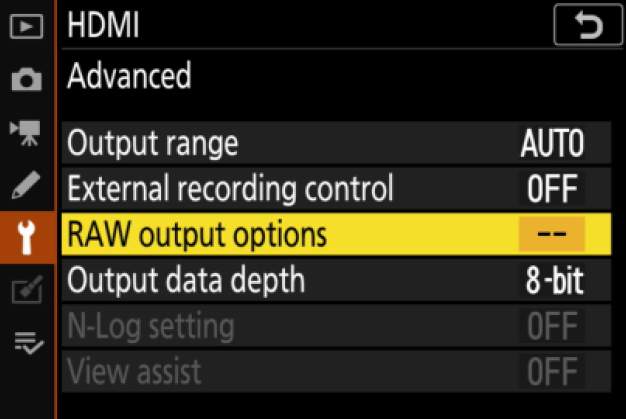
1 Enable RAW output
SETUP MENU > HDMI > Advanced > RAW output options
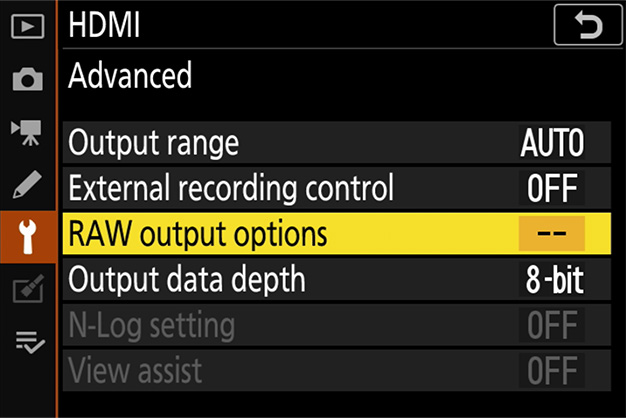
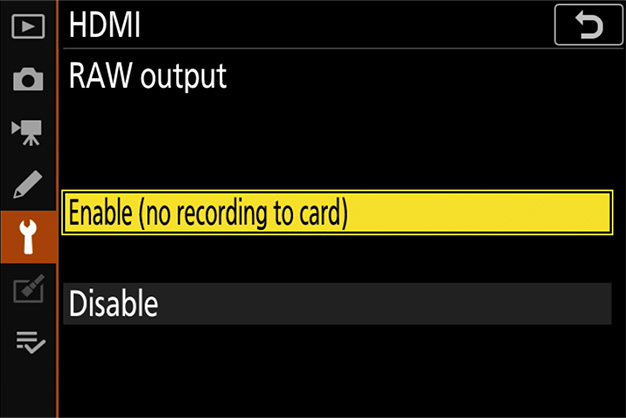
Select RAW output
Select Enable (no recording to card)
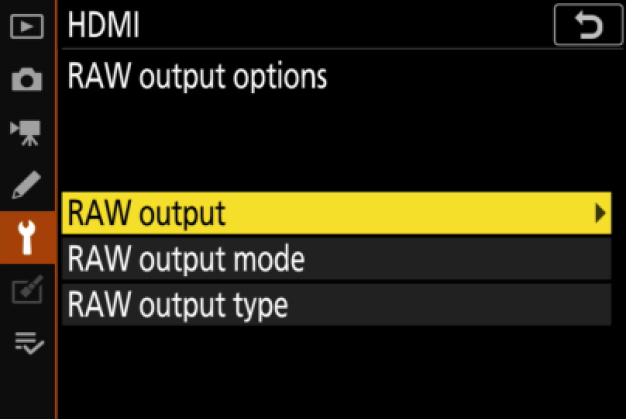
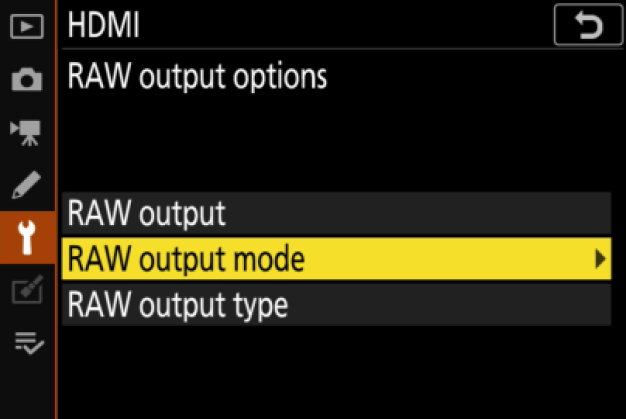
2 Choose a RAW output mode
SETUP MENU > HDMI > Advanced > RAW output options

Select RAW output mode
Pick your desired RAW output mode*
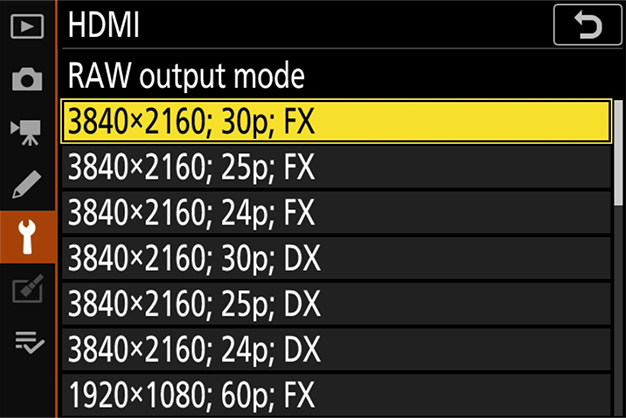
* The menu screen shown here is for the Z 6. There are some differences from the Z 7. Please refer to this page for details.
3 Choose RAW output type A
SETUP MENU > HDMI > Advanced > RAW output options
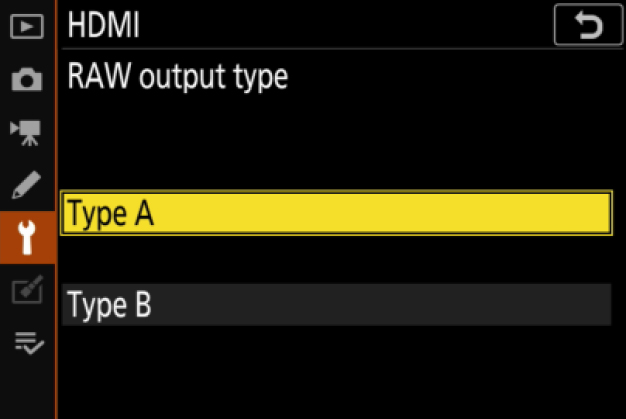
Select RAW output type
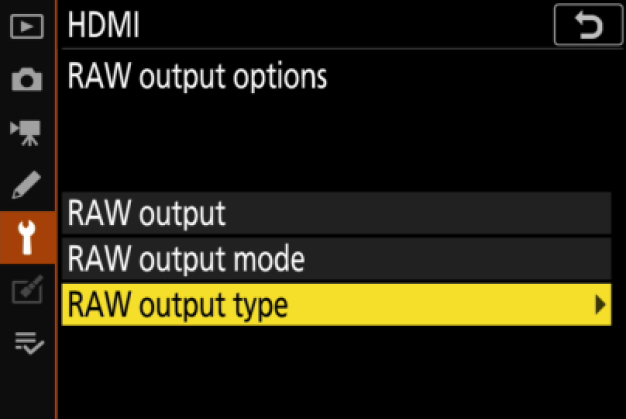
Select A
4 Turn on External recording control
SETUP MENU > HDMI > Advanced > External recording control
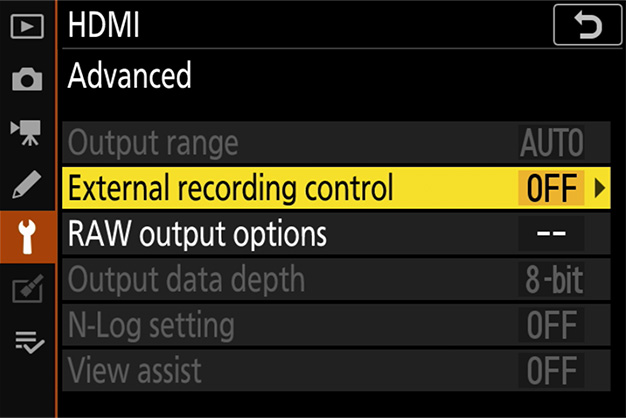
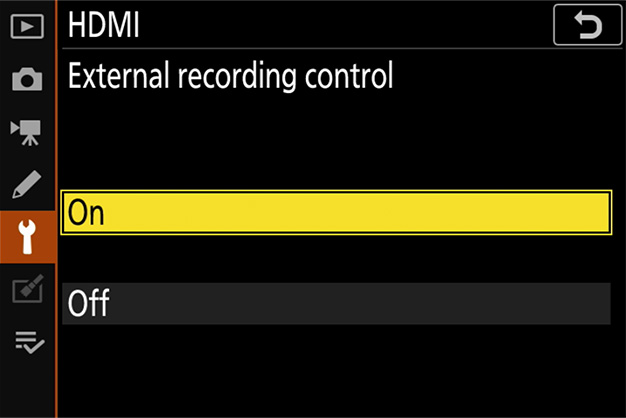
Select On
⇒ You can now start/stop recording by pressing the camera's movie-record button.
(recording) or (standby) icon will be displayed on the camera monitor.
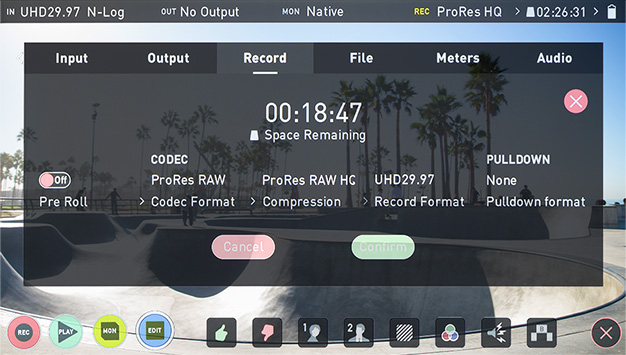
1 Select Record > CODEC > ProRes RAW > Confirm
⇒ Supports RAW input via HDMI and displays monitor image in color.
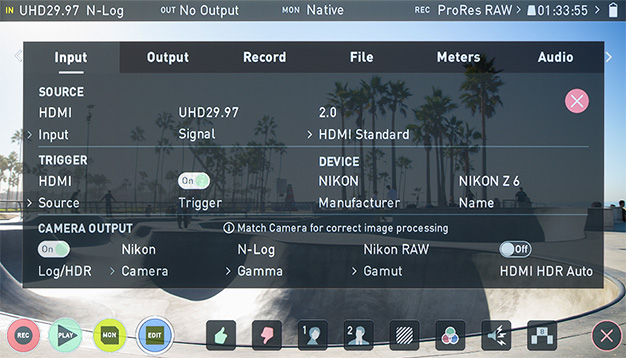
2 Select Input > TRIGGER > HDMI
⇒ Now the camera's movierecord button can be used to control the start/stop of recording on the Ninja V.
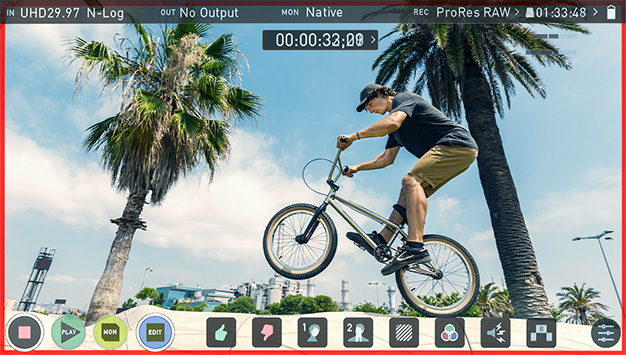
If this is functioning correctly, a red frame will appear on the Ninja V monitor during recording.
Note:
Please refer to the Ninja V User Manual for more details about Ninja V settings.