Technical Solutions | Z 9 TIPS

Exposure

This section is devoted to settings that affect exposure.

Shooting Mode

  • -button menu : —
  • Camera controls :
  • Other menus : —

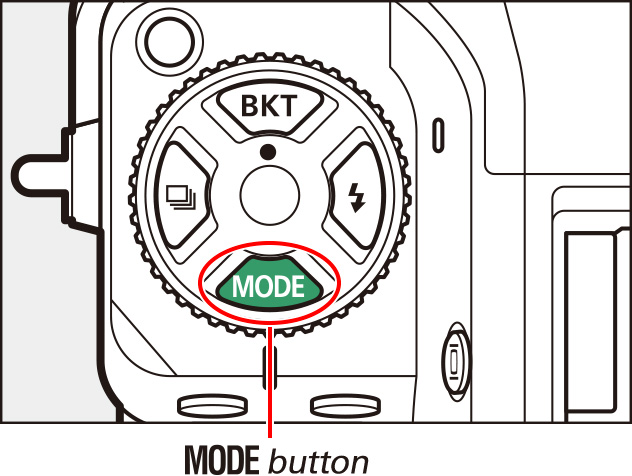
To choose a shooting mode, hold the button and rotate the main command dial.

  • The selected option is shown in the shooting display and control panel.
  • If the image in the display seems over- or under-exposed in mode P or S, switch to mode A and adjust aperture until the desired result is achieved.
  • The exposure settings that can be adjusted during filming vary with the shooting mode:
  1. Exposure control in mode S is the same as in mode P.
  2. The maximum ISO sensitivity for videos recorded with [ON] selected for [Electronic VR] in the video recording menu is ISO 25600.
  3. The upper limit for ISO sensitivity can be selected using the [ISO sensitivity settings] (see this section) > [Maximum sensitivity] item in the video recording menu.
  4. If [ON] is selected for [ISO sensitivity settings] > [Auto ISO control (mode M)] in the video recording menu, the upper limit for ISO sensitivity can be selected using [Maximum sensitivity].
Aperture Shutter speed ISO sensitivity2
P, S1 3
A 3
M 4
Shutter Speed (Mode M)
  • In mode M, shutter speed can be set to values between 1/25s and 1/32000s. The slowest available shutter speed varies with the frame rate.
  • When [ON] is selected for Custom Setting g9 [Extended shutter speeds (mode M)], the shutter speed for frame rates of 60p to 24p can be set as slow as 1/4s (see this section).

Exposure Compensation

  • -button menu :
  • Camera controls :
  • Other menus : —

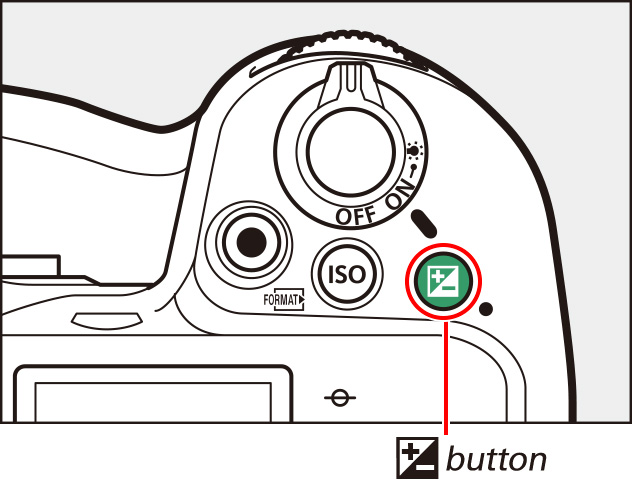
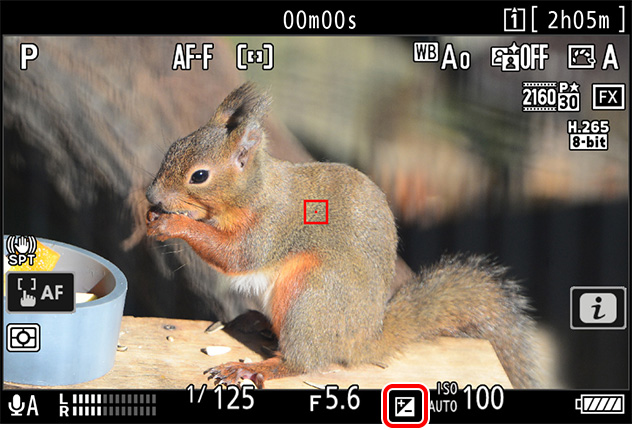
Exposure compensation is used to alter exposure from the value suggested by the camera. It can be used to make pictures brighter or darker.

Hold the button and rotate a command dial.

  • icons appear in the shooting display and control panel. The current value is shown in the control panel. It can also be viewed in the shooting display by pressing the button.
  • Choose from values between –3 EV and +3 EV.
  • At default settings, changes are made in increments of 1/3 EV. The size of the increments can be changed using Custom Setting b2 [EV steps for exposure cntrl].
  • Higher values make the subject brighter, lower values darker.
  • Normal exposure can be restored by setting exposure compensation to ±0.0. Exposure compensation is not reset when the camera is turned off.

Active D-Lighting

  • -button menu :
  • Camera controls :
  • Other menus :

Preserve details in highlights and shadows, creating pictures with natural contrast. Use for high-contrast scenes, for example when photographing brightly-lit outdoor scenery through a door or window or taking pictures of shaded subjects on a sunny day.

Settings can be adjusted using [Active D-Lighting] in the video recording menu.

  • The option currently selected is shown in the display during shooting.
Active D-Lighting

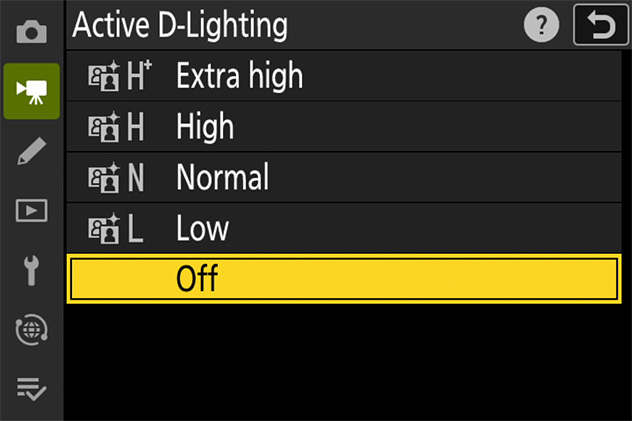
Active D-Lighting will be fixed at [Off] during RAW recording or when [HLG] or [N-Log] is selected for video tone mode.

Video Flicker Reduction

  • -button menu : —
  • Camera controls : —
  • Other menus :

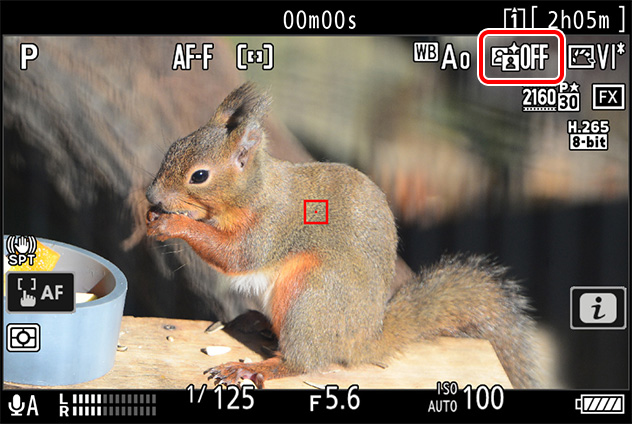
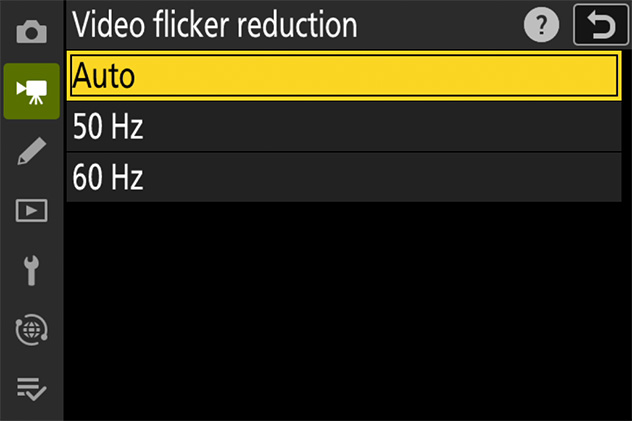
Reduce flicker and banding in the shooting display and in recorded footage when filming video under fluorescent or mercury-vapor lighting.

Settings can be adjusted using [Video flicker reduction] in the video recording menu.

  • Choose [Auto] to allow the camera to automatically choose the correct frequency.
  • If [Auto] fails to produce the desired results, select [50 Hz] or [60 Hz] according to the frequency of the local power supply. Choose [50 Hz] for areas with a 50 Hz power supply, [60 Hz] for areas with a 60 Hz power supply.
  • Changes to [Video flicker reduction] also apply to the shooting display in photo mode.
Cautions: "Video Flicker Reduction"
  • If [Auto] fails to produce the desired results and you are unsure as to the frequency of the local power supply, test both the 50 and 60 Hz options and choose the one that produces the best results.
  • Flicker reduction may not produce the desired results if the subject is very bright. If this is the case, try choosing a smaller aperture (higher f-number).
  • Tailoring shutter speed to minimize flicker may not produce the desired results in modes other than M, as the actual speed may not precisely match the value selected. If this is the case, select mode M and choose a shutter speed adapted to the frequency of the local power supply:
    • 50 Hz: 1/100s, 1/50s, 1/25s
    • 60 Hz: 1/125s, 1/60s, 1/30s

Metering

  • -button menu :
  • Camera controls :
  • Other menus :

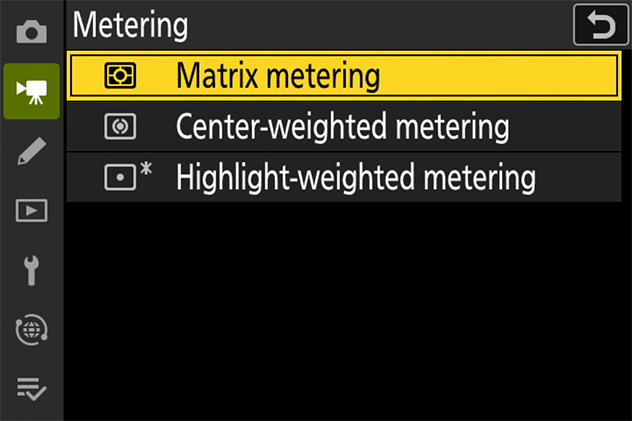
Metering determines how the camera sets exposure.

Settings can be adjusted using [Metering] in the video recording menu.

  • The option currently selected is shown in the shooting display.

Metering Options

[Matrix metering]

The camera meters a wide area of the frame and sets exposure according to tone distribution, color, composition, and distance for results close to those seen by the naked eye.

[Center-weighted metering]

The camera assigns the greatest weight to the center of the frame. This mode can, for example, be used with subjects that dominate the composition.

[Highlight-weighted metering]

The camera assigns the greatest weight to highlights. Use this option to reduce loss of detail in highlights, for example when photographing spotlit performers on stage.
Spot Metering

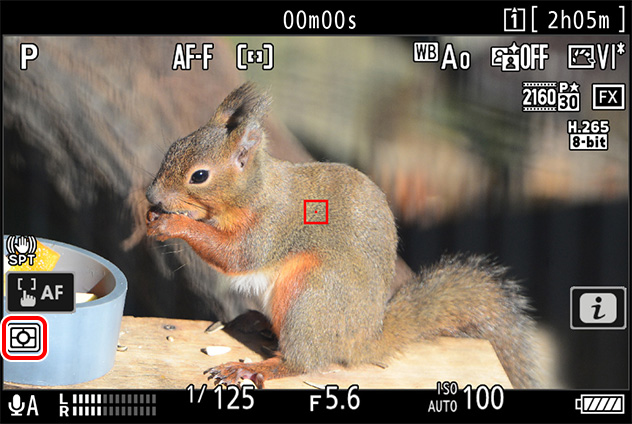
Spot metering cannot be used to record videos.

Extended Shutter Speeds (Mode M)

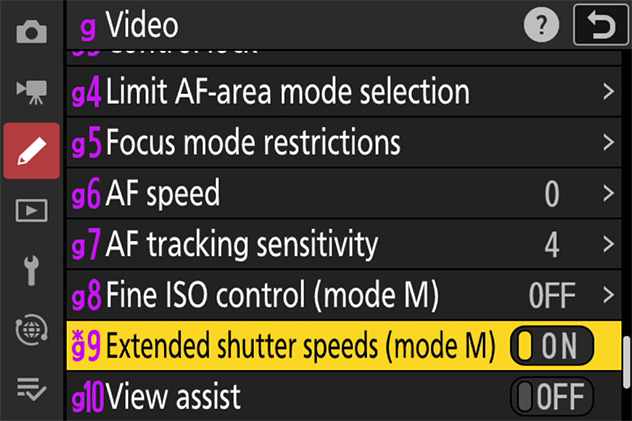
Extend the range of shutter speeds available in mode M.

When [ON] is selected for Custom Setting g9 [Extended shutter speeds (mode M)], the shutter speed for frame rates of 60p to 24p can be set as slow as 1/4s.

  • Extended shutter speeds help keep ISO sensitivity low for shots of the night sky and other dark subjects.
  • Videos recorded at slow shutter speeds when [ON] is selected will include repeated multiple copies of the same frames.
  • Videos recorded at slow shutter speeds when [ON] is selected may be jerky or blurred. We recommend mounting the camera on a tripod when filming landscapes and other static subjects.