This section takes you through the workflow for outdoor portrait and wedding photography.
©Alina Rudya
"Composing and Posing" (see this section)
![]()
"Test Shots" (see this section)
![]()
"Taking Pictures" (see this section)
![]()
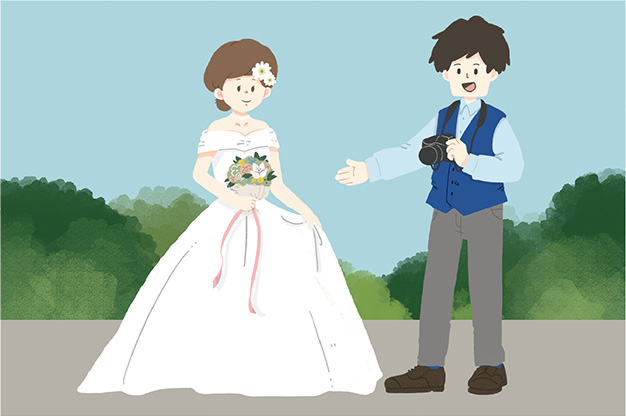
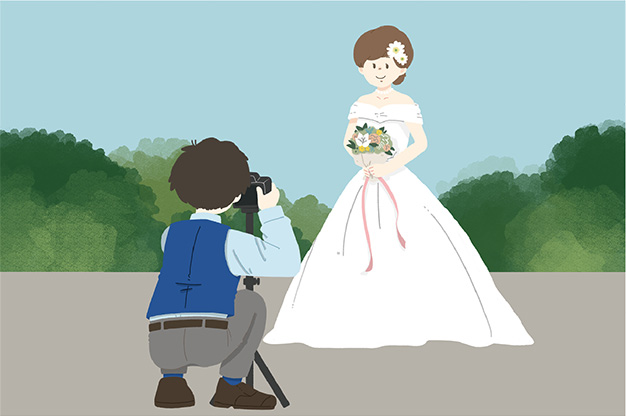
Before composing shots and requesting your subjects to take their places, tell them the sort of pictures and poses you have in mind. Communication is the key.
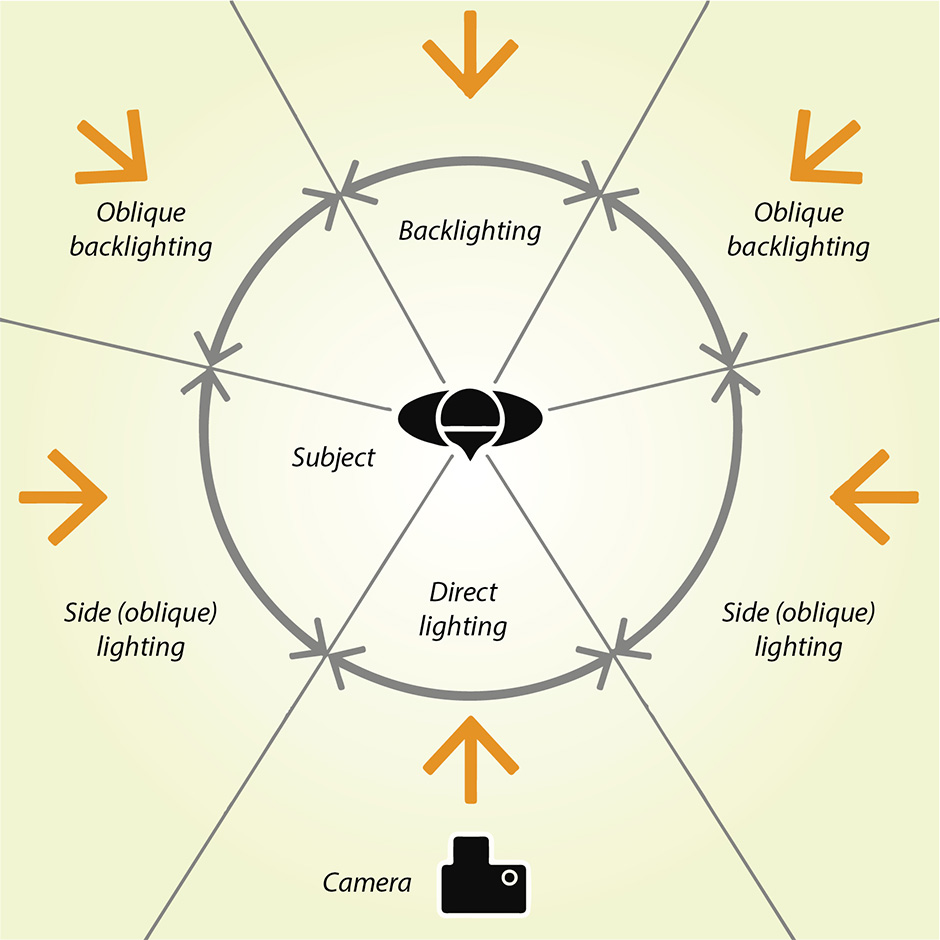
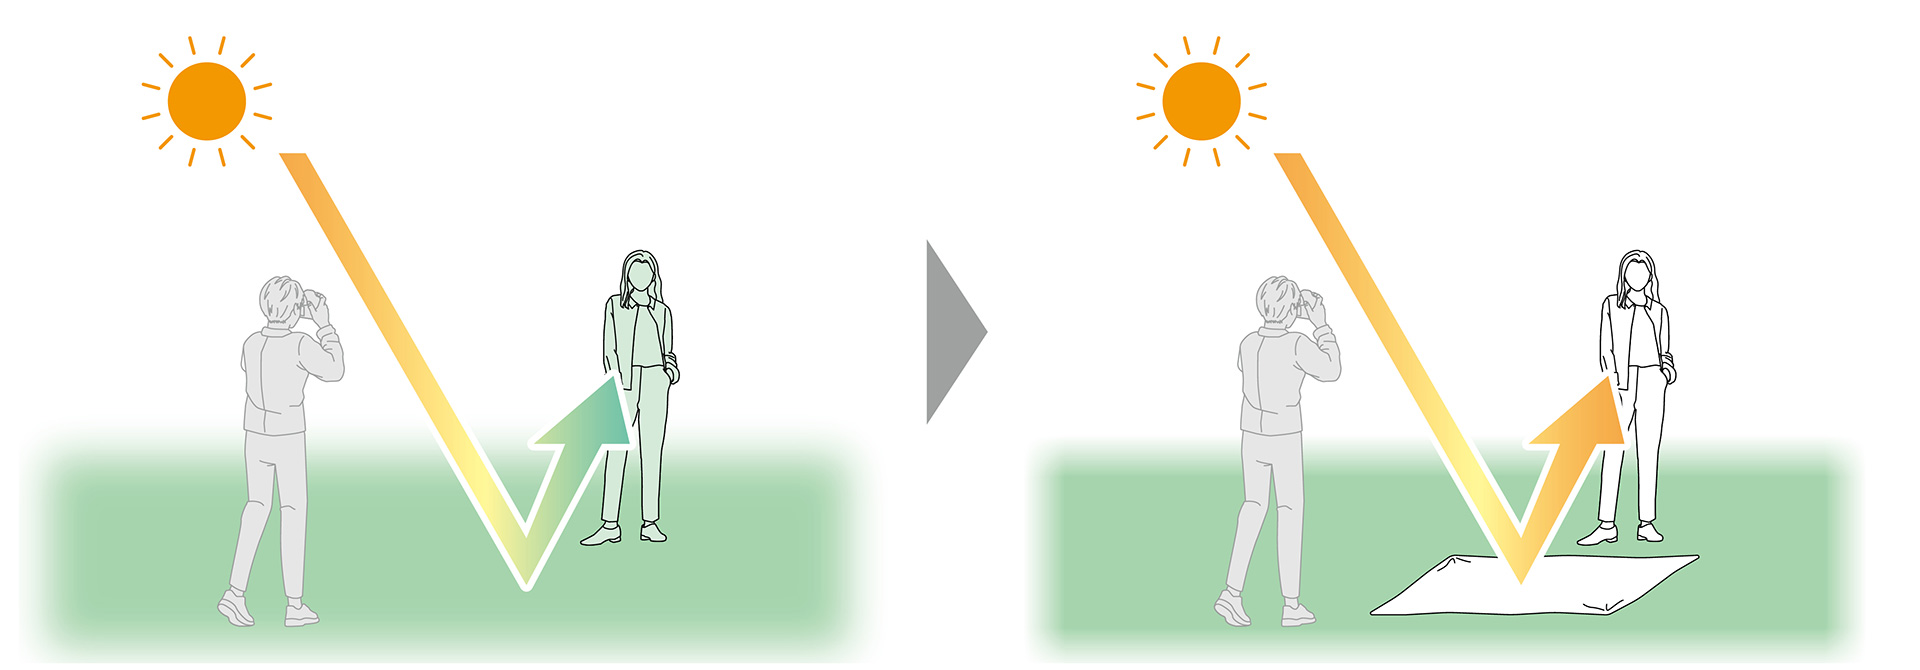
You'll generally find yourself using natural light for outdoor shots. Among the factors you'll need to consider when composing shots and choosing poses are where the light is coming from, the time of day (and position of the sun), and the weather.
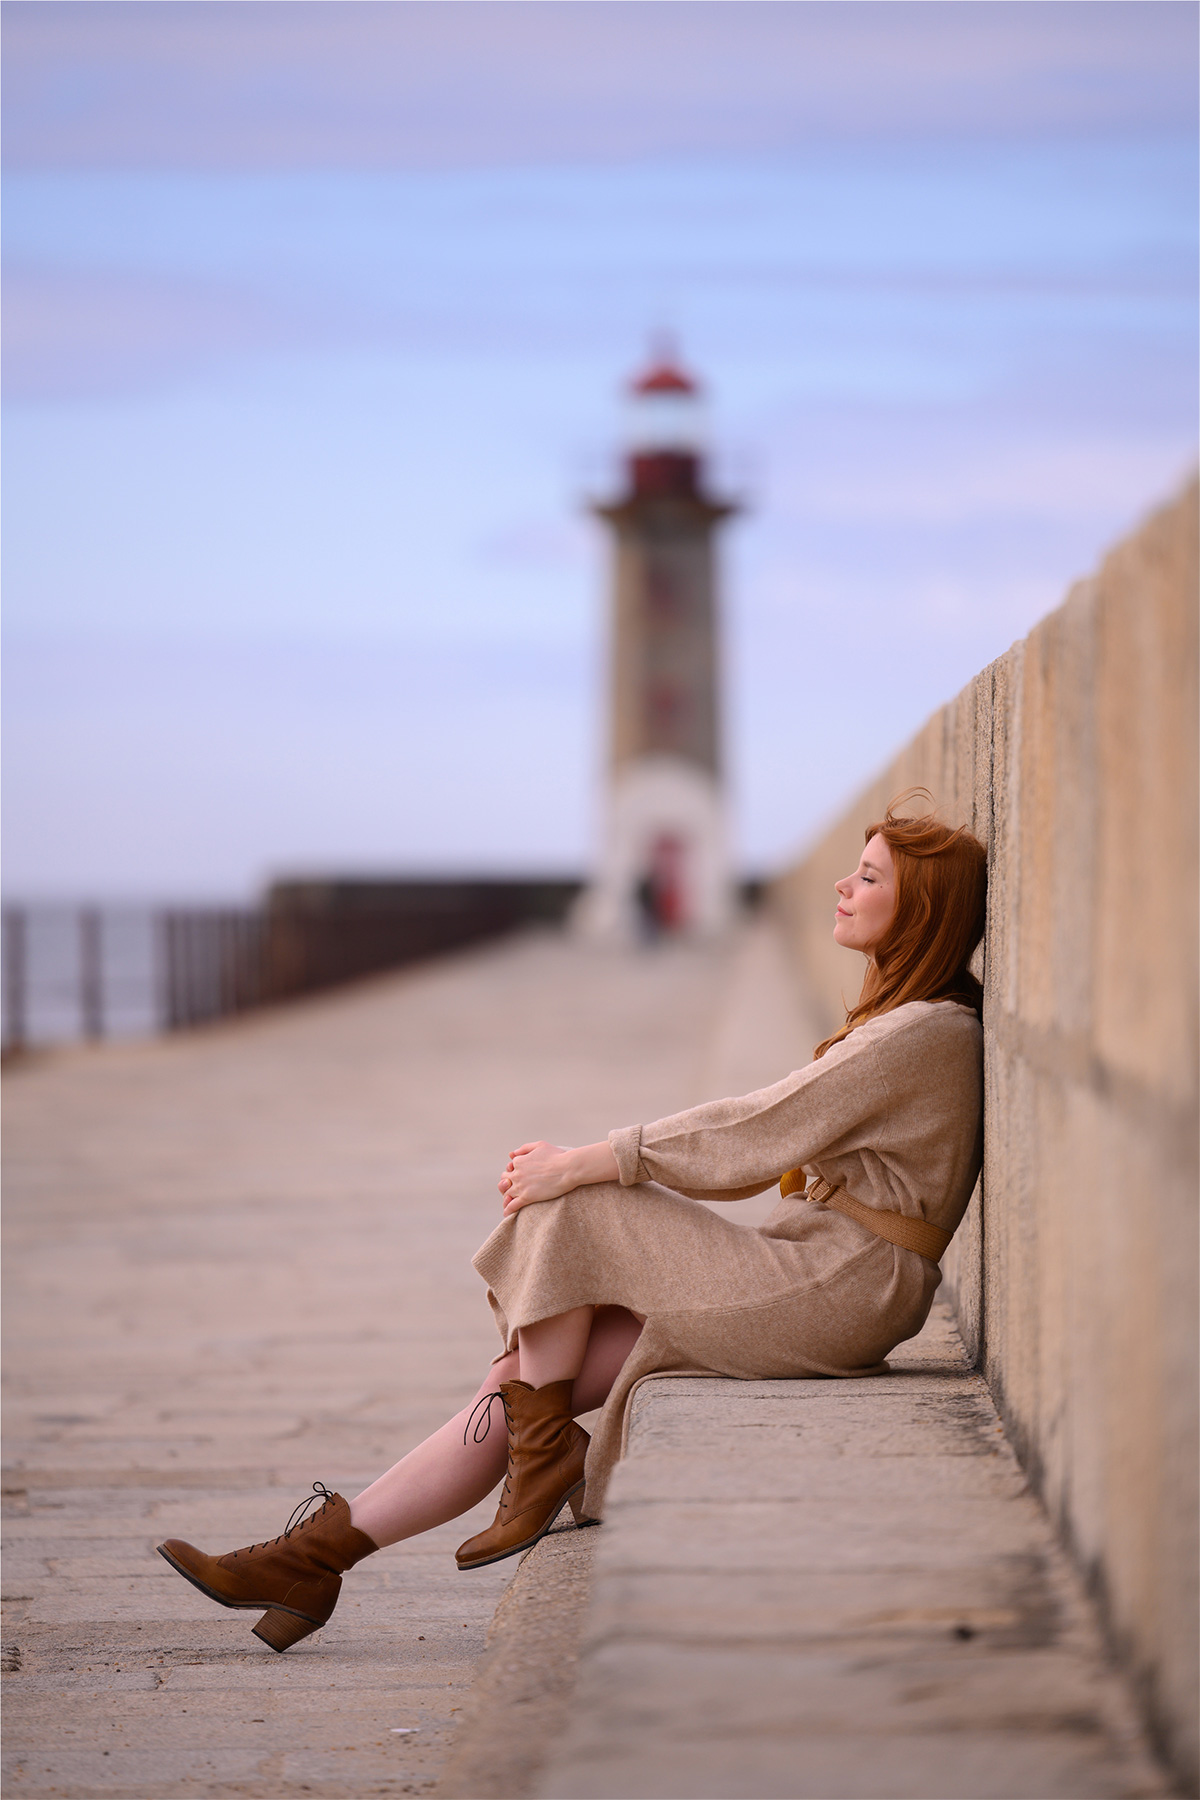
Positioning your subject with sunlight coming from the front at an angle of 30° to 45° adds catchlights to their eyes and life to their countenance. The shadows created by lighting faces from one side add just enough relief to further enhance facial expressions.
Take test shots before the main event to see if the look and colors match what you have in mind.
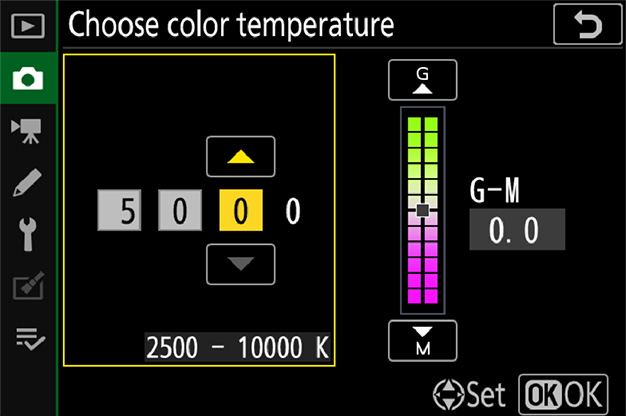
For colors closely matching those of the original scene, try using preset manual white balance. Preset manual meters white balance directly from a white or gray object lit the same way as your actual subject. It can be accessed using [White balance] > PRE ([Preset manual]) in the menu. For more information, see the camera Reference Manual, available via the Nikon Download Center (https://downloadcenter.nikonimglib.com/).
To adjust exposure compensation using only a command dial, choose [On] for Custom Setting b2 [Easy exposure compensation]. The selected value will not be reset when the camera is turned off or the standby timer expires.
Those who enjoy tweaking Picture Controls will find custom Picture Controls a useful tool (see this section). You can name and save them as you choose or copy them to memory cards for use with compatible software or other cameras of the same type.
Raising [Sharpening] or [Contrast] too high may make portraits look harsh.
Now on to the main event: taking the actual pictures.
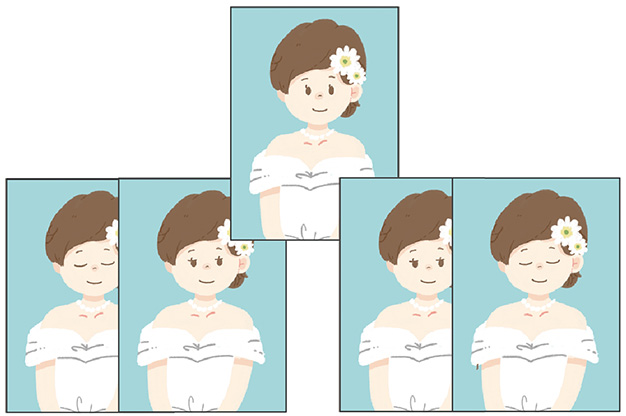
…My Model Tends to Blink?
If conditions are making it hard for your model not to blink, try shooting bursts with [Continuous L] or [Continuous H] selected for release mode and picking the best shots.
…I Need to Be Quiet?
If you're worried that sounds from the camera may disturb those around you, select [On] for [Silent photography] in the photo shooting menu to eliminate the noise and vibration from the mechanical shutter.
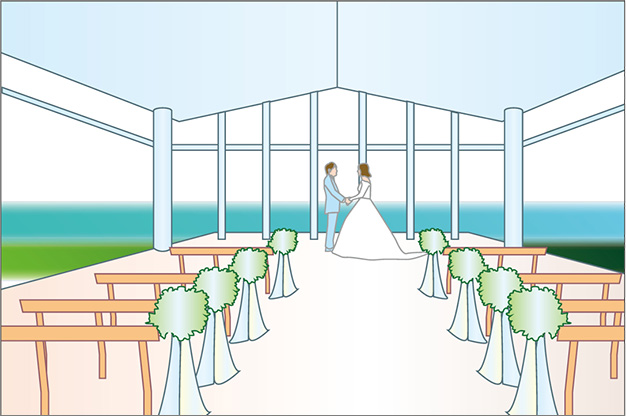
…The Scene Has Depth?
Stopping aperture down or opening it up to increase or reduce depth of field changes the amount of bokeh and thus the impressions your photos create.
This section introduces you to the art of retouching pictures using Nikon's NX Studio computer software. Available only from Nikon, NX Studio can be used to view and edit pictures and process NEF (RAW) photos. An installer is available from the Nikon Download Center (https://downloadcenter.nikonimglib.com/).
Color control points can be used for targeted adjustments to brightness, color, or the like.
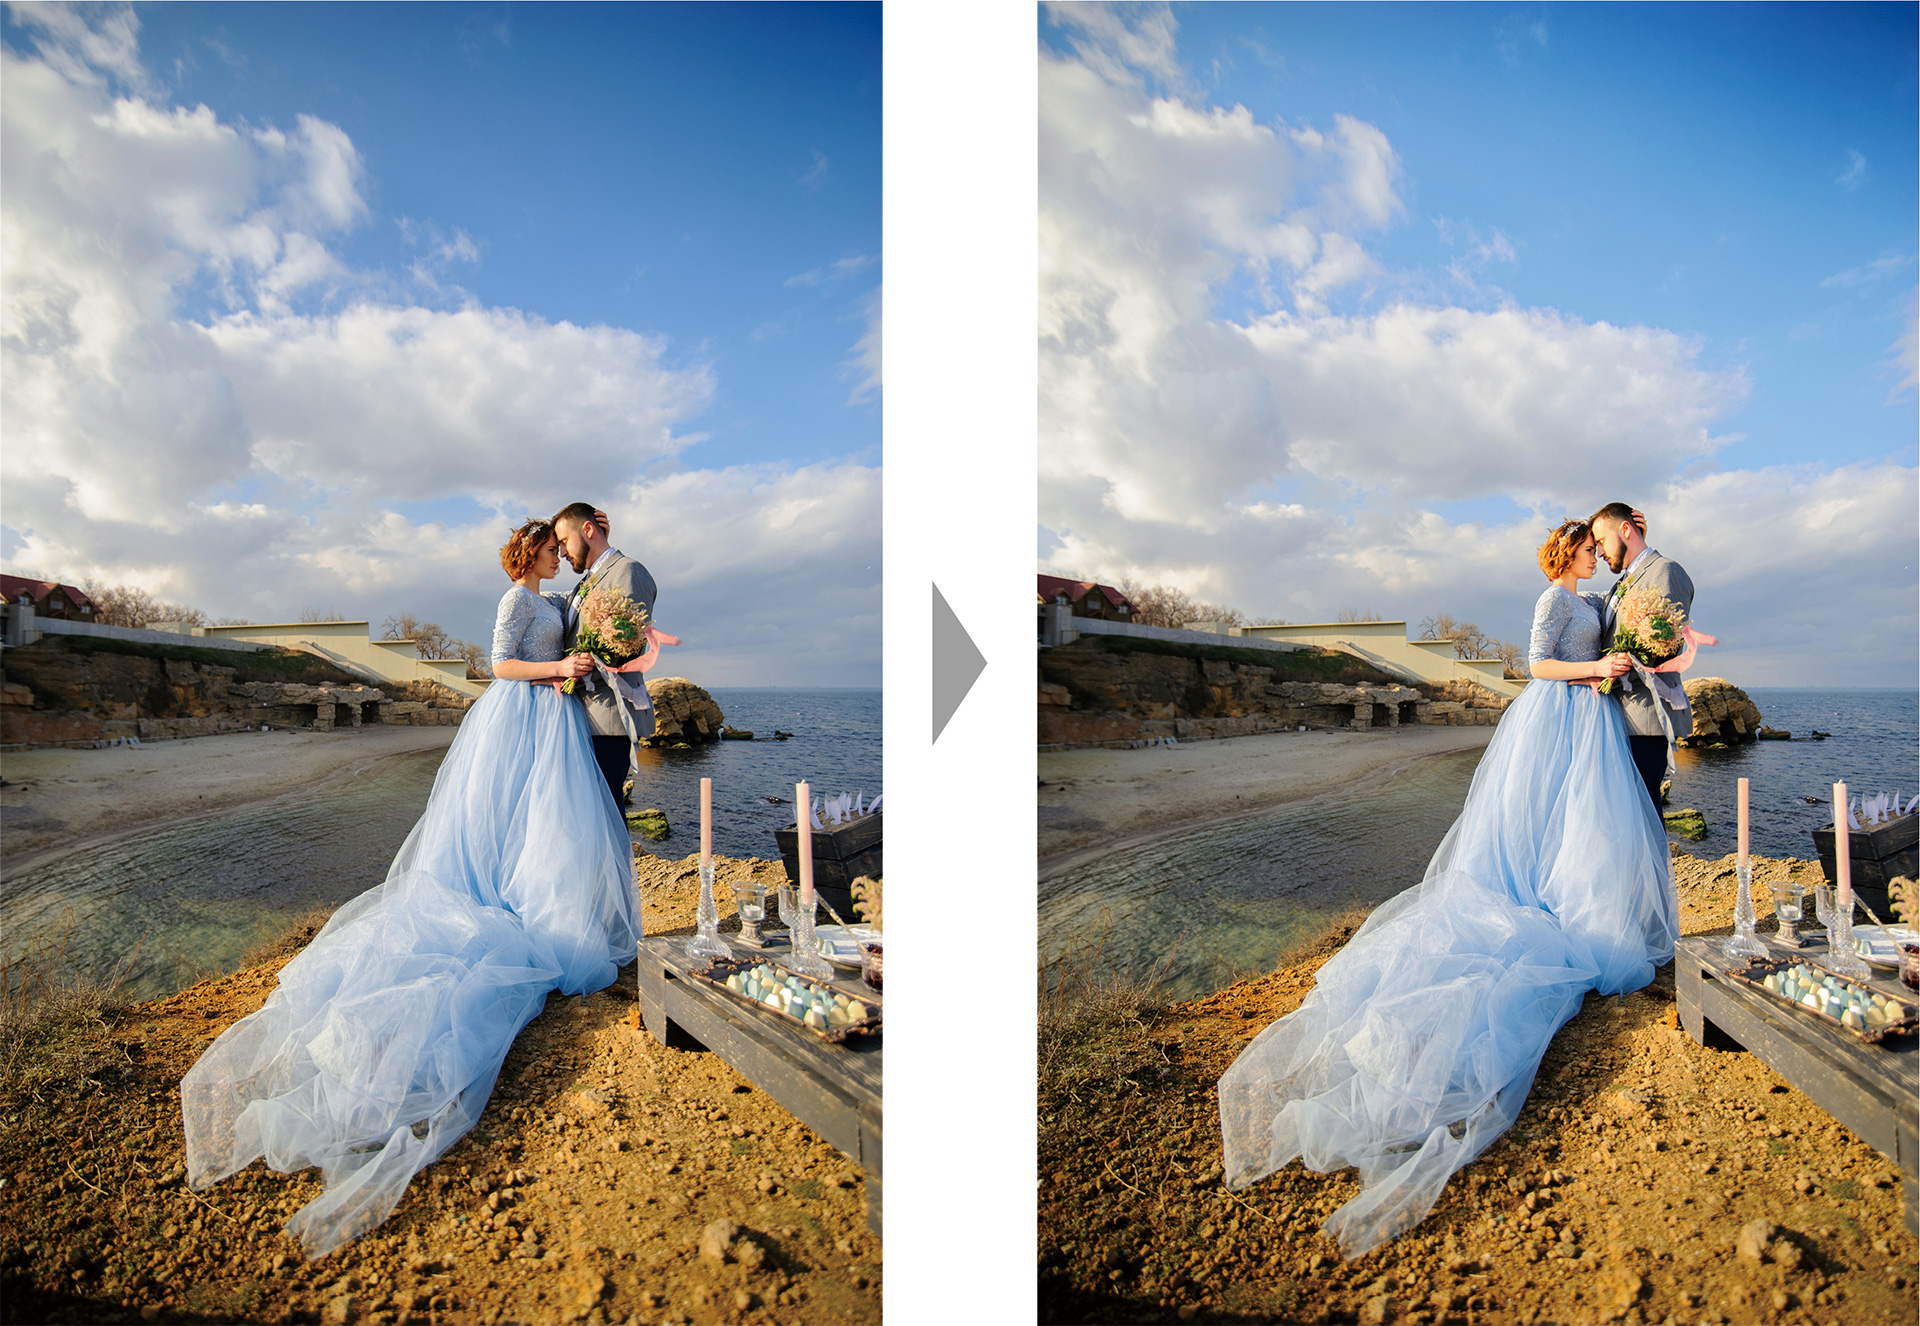
The color booster tool optimizes saturation to make colors more vivid.
"People"
Choose [People] to boost colors without affecting the look of portrait subjects.
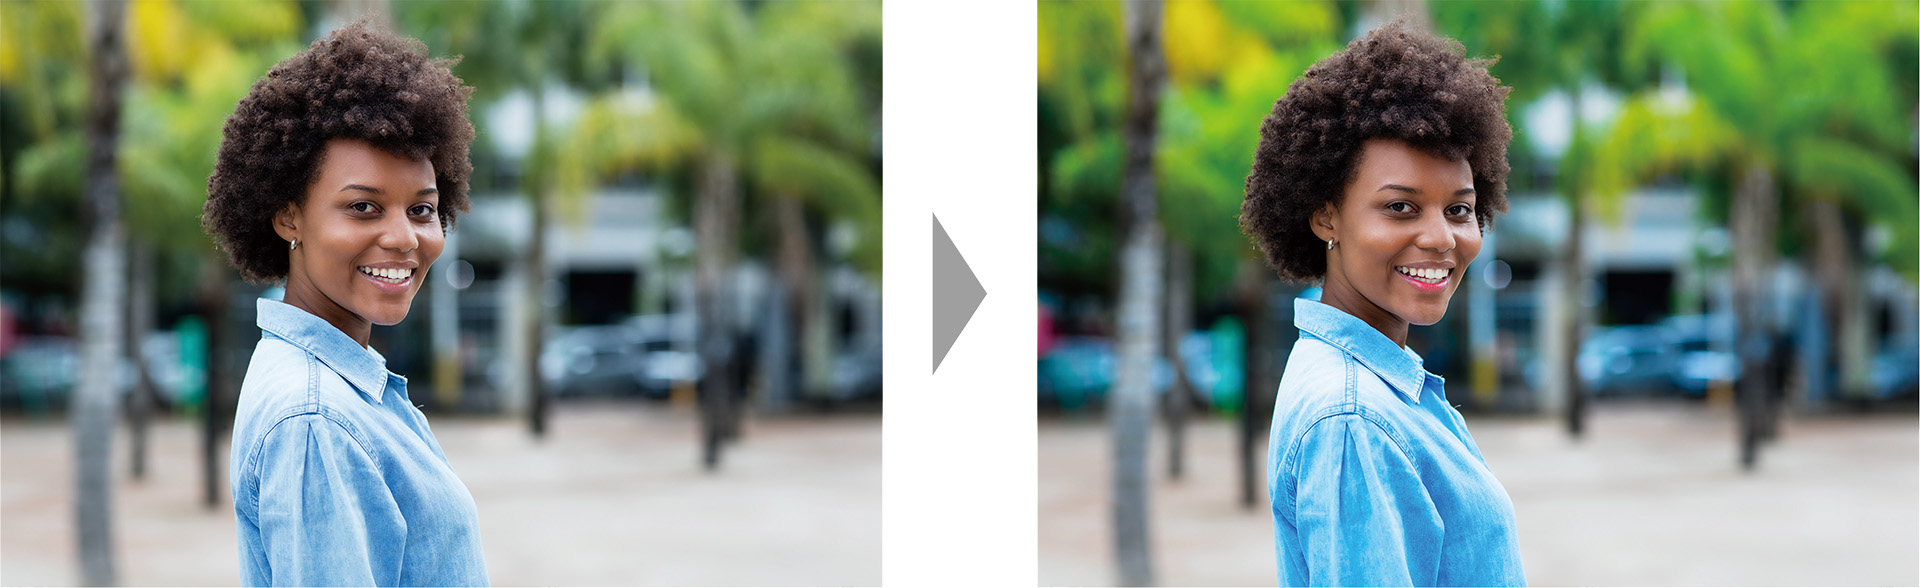
"Nature"
Choose [Nature] to boost the colors of all elements in the frame, including portrait subjects.