This section takes you through the workflow for in-studio portrait and wedding photography.
"Composing and Posing" (see this section)
![]()
"Test Shots" (see this section)
![]()
"Taking Pictures" (see this section)
![]()
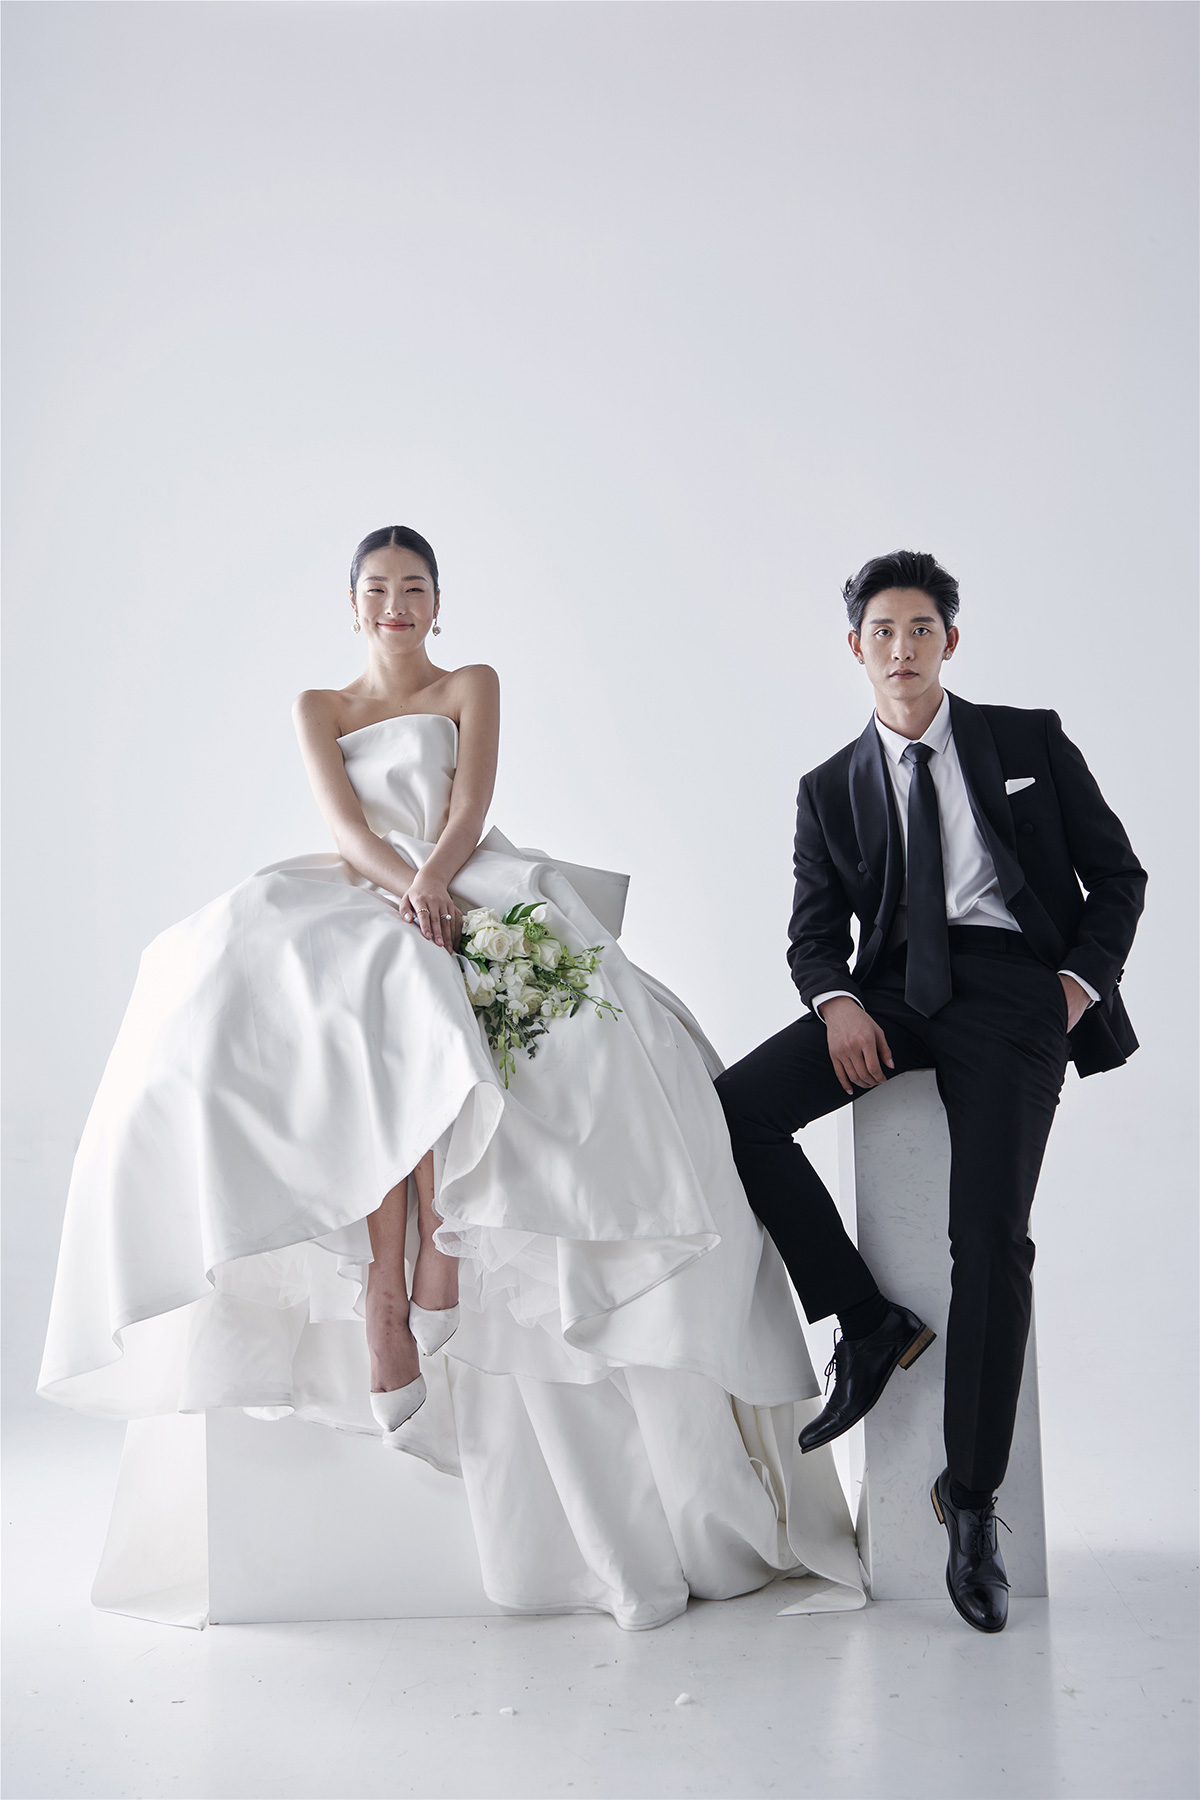
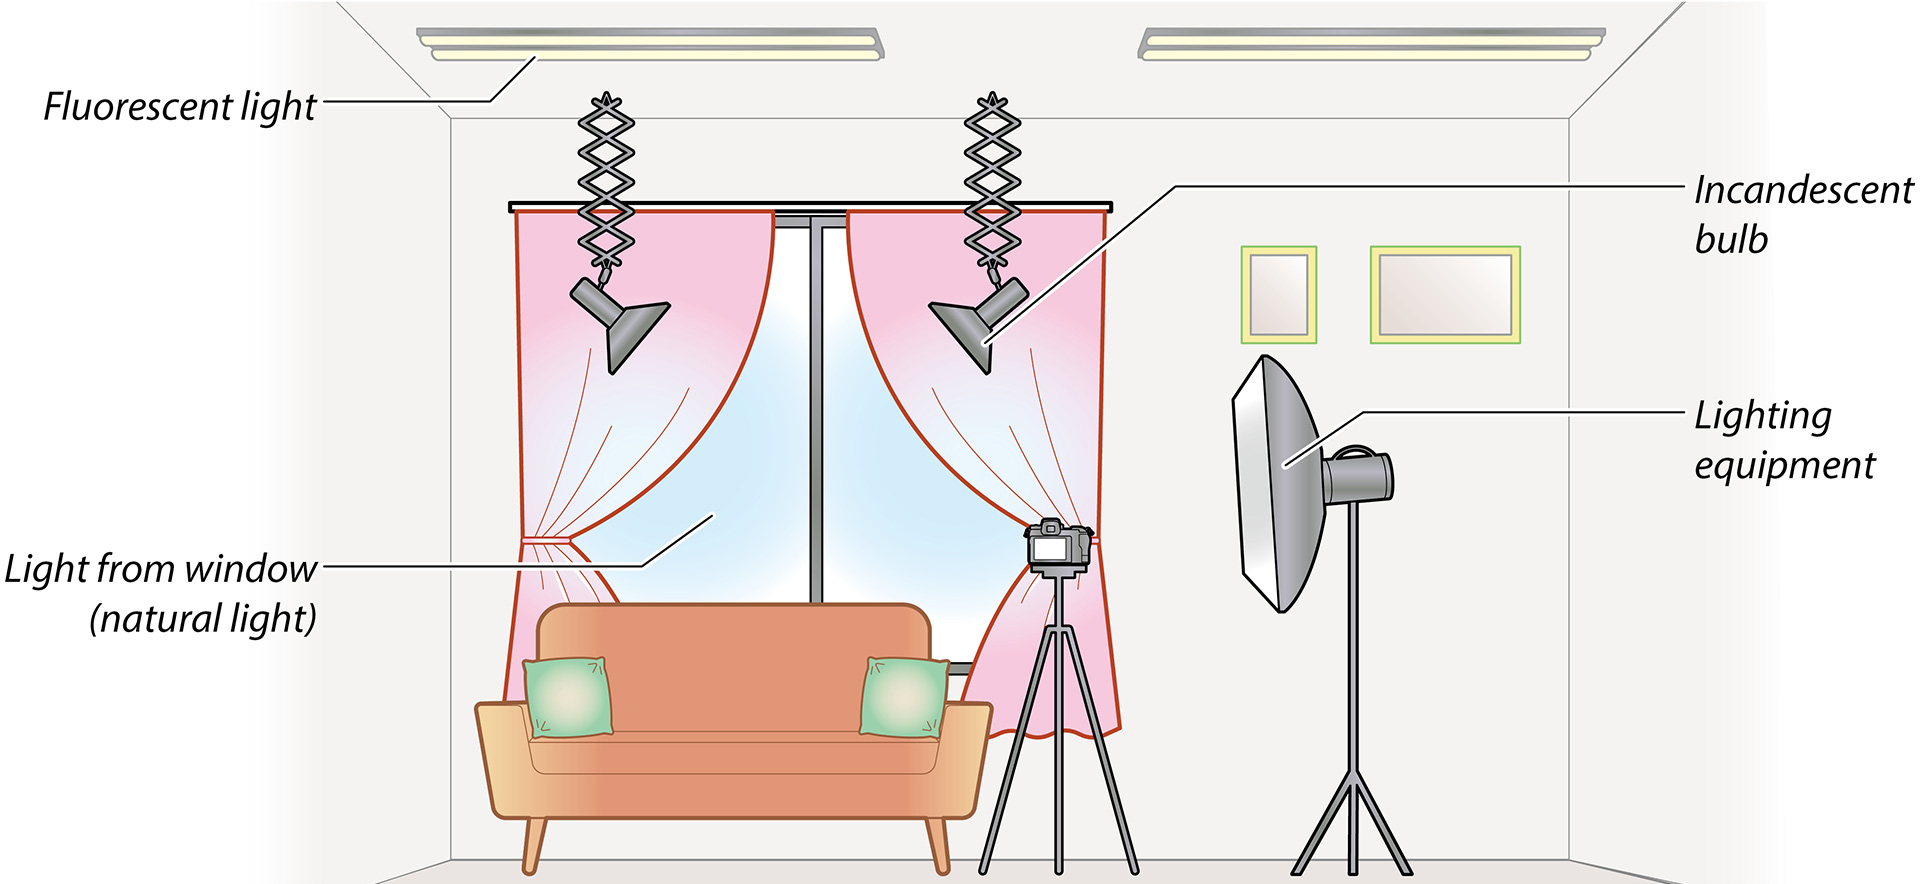
Before composing shots and requesting your subjects to take their places, tell them the sort of pictures and poses you have in mind. Communication is the key.
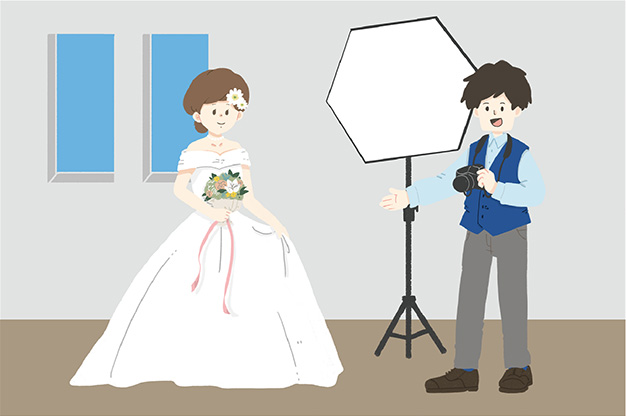
Light the scene for the pictures and poses you have in mind.

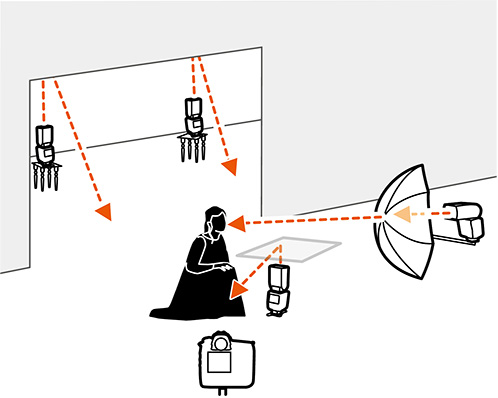
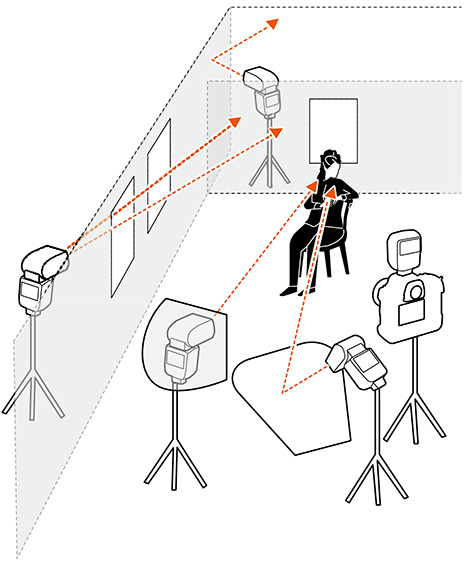
Lighting Tips for Indoor Portrait Shots
Take test shots before the main event to see if the look and colors match what you have in mind.
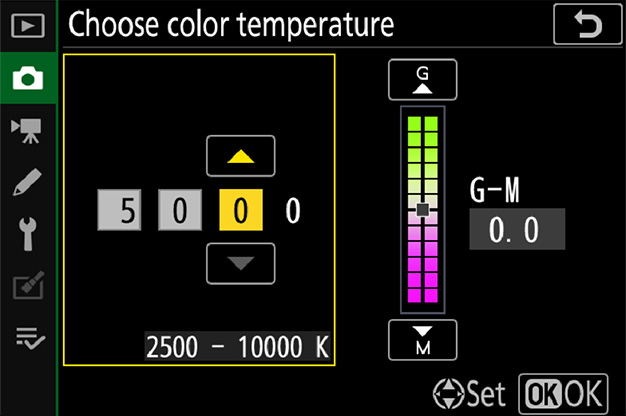
For colors closely matching those of the original scene, try using preset manual white balance. Preset manual meters white balance directly from a white or gray object lit the same way as your actual subject. It can be accessed using [White balance] > PRE ([Preset manual]) in the menu. For more information, see the camera Reference Manual, available via the Nikon Download Center (https://downloadcenter.nikonimglib.com/).
Those who enjoy tweaking Picture Controls will find custom Picture Controls a useful tool (see this section). You can name and save them as you choose or copy them to memory cards for use with compatible software or other cameras of the same type.
Raising [Sharpening] or [Contrast] too high may make portraits look harsh.
Now on to the main event: taking the actual pictures.
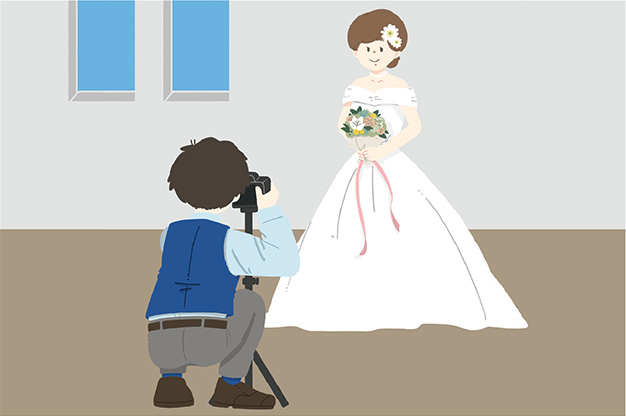
…I Need to Preserve Details in Highlights?
To preserve details in highlights or in light-colored objects (such as white wedding dresses), select [Highlight-weighted metering].

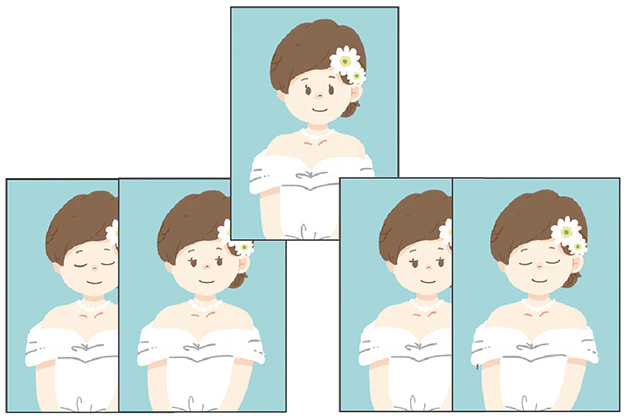
…My Model Tends to Blink?
If conditions are making it hard for your model not to blink, try shooting bursts with [Continuous L] or [Continuous H] selected for release mode and picking the best shots.
…I Want to Photograph a Group in Profifile?
If your subjects are at different distances from the camera (as may be the case, for example, when you're photographing the newlyweds together in profile), try stopping aperture down to increase depth of field.

This section introduces you to the art of retouching pictures using Nikon's NX Studio computer software. Available only from Nikon, NX Studio can be used to view and edit pictures and process NEF (RAW) photos. An installer is available from the Nikon Download Center (https://downloadcenter.nikonimglib.com/).
Color control points can be used for targeted adjustments to brightness, color, or the like.
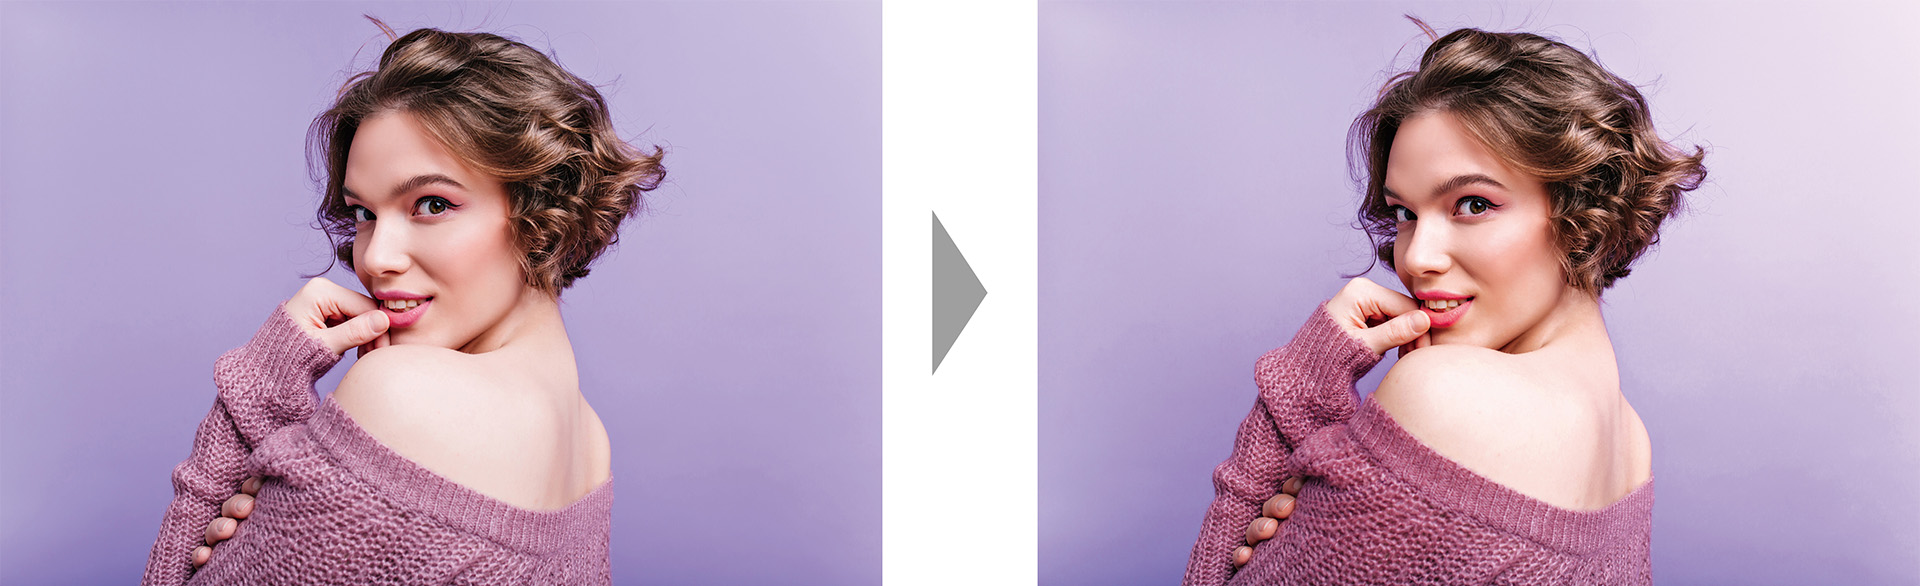
The color booster tool optimizes saturation to make colors more vivid.
"People"
Choose [People] to boost colors without affecting the look of portrait subjects.

"Nature"
Choose [Nature] to boost the colors of all elements in the frame, including portrait subjects.