Connecting Z 9 Cameras to FTP Servers
Before adjusting camera settings, confirm that the FTP server is up and running.
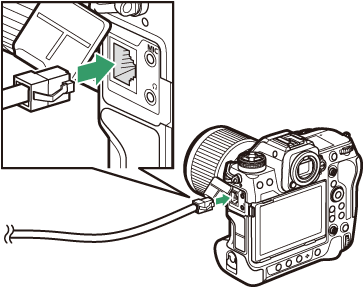
Connect an Ethernet cable to the camera’s Ethernet connector.
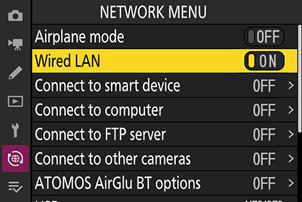
Select [ON] for [Wired LAN] in the network menu.
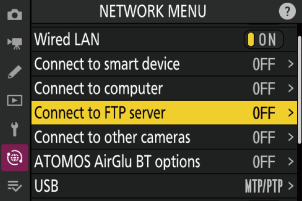
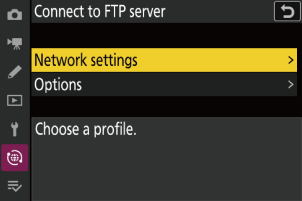
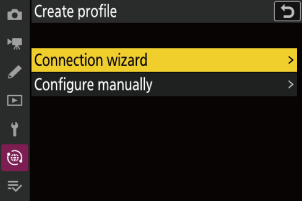
In the network menu, select [Connect to FTP server] > [Network settings] > [Create profile] > [Connection wizard].

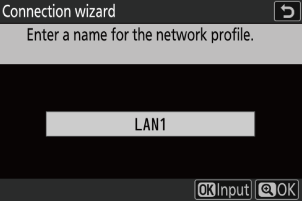
Name the new profile.
When prompted to choose how the IP address is obtained, select [Enter manually].
- If [Obtain automatically] is selected, settings on the master camera will need to be updated whenever a remote camera’s IP address changes. We recommend that you select [Enter manually] and choose a fixed IP address for use with the NX Field System.
- Ask the network administrator for fixed IP addresses, subnet masks, and any other information you may need to enter.

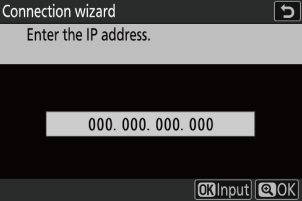
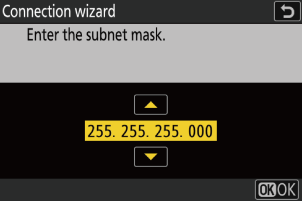
Enter the camera IP address and subnet mask.
Assign each camera a unique IP address.
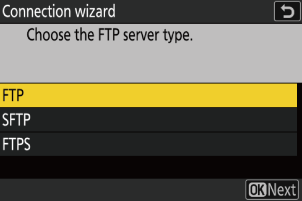
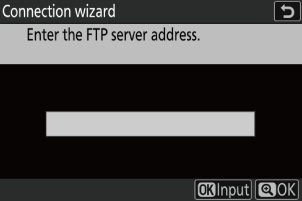
Choose the server type and enter the FTP server address.
FTPS
[FTPS] is available from Z 9 “C” firmware version 3.00. Before connecting to an FTPS server, you will need to load a root certificate onto the camera. Root certificates can be managed using [Connect to FTP server] > [Options] > [Manage root certificate] in the camera network menu.
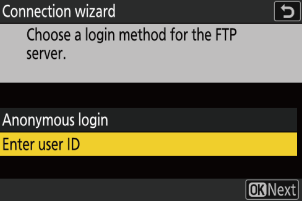
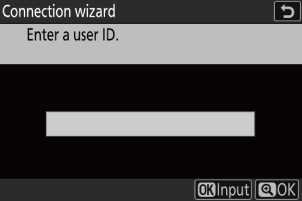
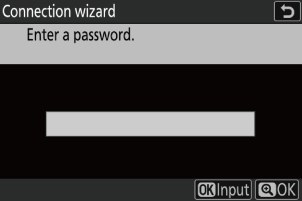
When prompted to choose a login method, select [Enter user ID] and supply a user ID and password.
User IDs and passwords can be obtained from the network administrator.
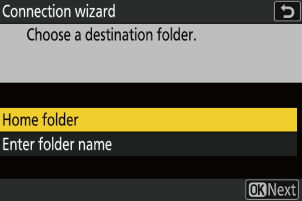
Choose a destination folder.
To enter the folder name manually, select [Enter folder name]. The folder must already exist on the server.
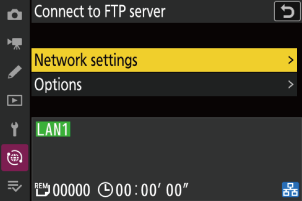
Confirm that the camera has connected to the FTP server.
- Once a connection is established, the profile name will be displayed in green.
- If the profile name is displayed in red, check FTP or network settings.